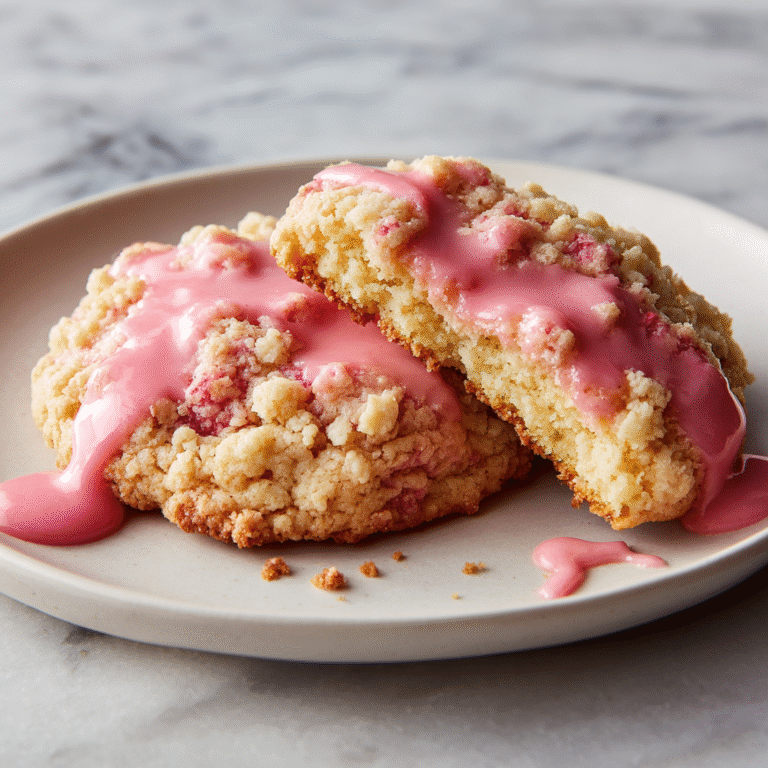
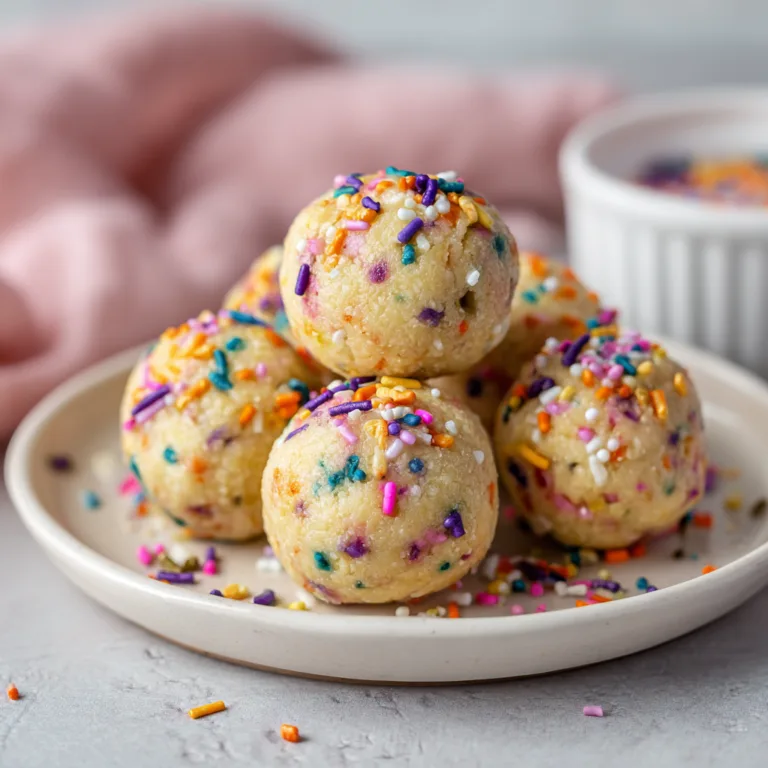
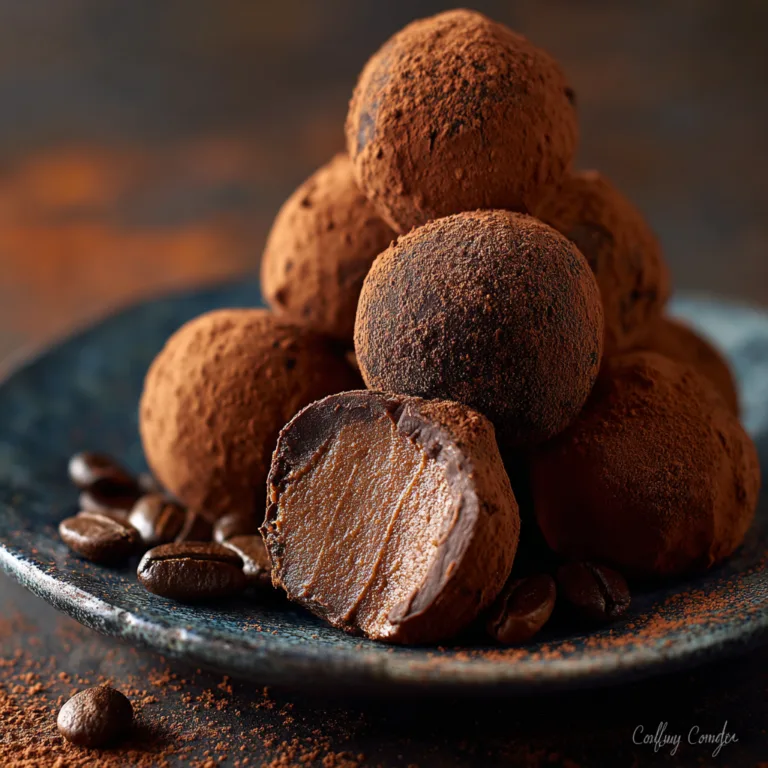
Ultimate Homemade Samoas Cookies: A Decadent Copycat Recipe
Ultimate Homemade Samoas Cookies: A Decadent Copycat Recipe
The Magic of a Nostalgic Classic, Reimagined in Your Kitchen
There are few things in the culinary world that spark as much joy, anticipation, and pure nostalgia as Girl Scout Cookie season. Among the brightly colored boxes that are enthusiastically purchased by the dozen, one cookie consistently reigns supreme for lovers of complex, layered desserts: the legendary Samoa (also known in some regions as the Caramel deLite). This iconic treat is a masterclass in flavor and texture balancing. It begins with a delicate, crisp, and buttery vanilla shortbread ring. That base is then lovingly crowned with a thick, chewy, outrageously sticky layer of rich caramel and toasted coconut. Finally, the entire masterpiece is finished with a dip and a generous drizzle of dark, snappy chocolate. It is a symphony of sweet, salty, buttery, crunchy, and chewy elements all harmonizing in a single, perfect bite.
For decades, we have been conditioned to believe that this level of cookie perfection is only attainable for a fleeting few weeks out of the year. We hoard boxes in our freezers, rationing them out to make the magic last as long as possible. But what if you could break free from the seasonal constraints? What if you could recreate—and perhaps even elevate—that iconic flavor profile right in your own kitchen, any day of the year? Enter this Ultimate Homemade Samoas Cookies recipe. This isn’t just a passable imitation; it is a gourmet, from-scratch tribute that yields a cookie fresher, richer, and decidedly more decadent than the original. By taking control of the ingredients, you can ensure the shortbread is deeply buttery, the coconut is perfectly toasted, and the chocolate is of the highest, most luxurious quality. Prepare yourself, because once you master this recipe, your friends and family will be placing orders with you instead of the local troop.
Why You Will Completely Fall in Love With This Homemade Version
If the idea of unlimited Samoas hasn’t already sold you, let’s explore why making these at home is an incredibly rewarding baking project that yields spectacular results.
- Superior Ingredient Control: Store-bought cookies rely on preservatives for shelf life. By making them at home, you use real, high-quality butter, pure vanilla extract, and premium chocolate, resulting in a significantly superior flavor profile.
- Customizable Textures: Do you prefer your shortbread a little softer, or extra crisp? Do you like a mountain of coconut, or just a thin layer? Making them yourself allows you to tweak the ratios exactly to your personal preference.
- Year-Round Availability: No more waiting for spring! Whether it is a cozy Tuesday evening in October or a summer barbecue, you can satisfy that specific caramel-coconut craving whenever it strikes.
- The Ultimate Flex: Bringing a platter of picture-perfect, homemade Samoas to a potluck, holiday party, or office gathering is a guaranteed showstopper. They look incredibly impressive and taste even better.
- A Fun Baking Challenge: While there are a few steps involved, none of them are particularly difficult. It is a fantastic weekend baking project that will hone your skills in dough chilling, caramel melting, and chocolate tempering.
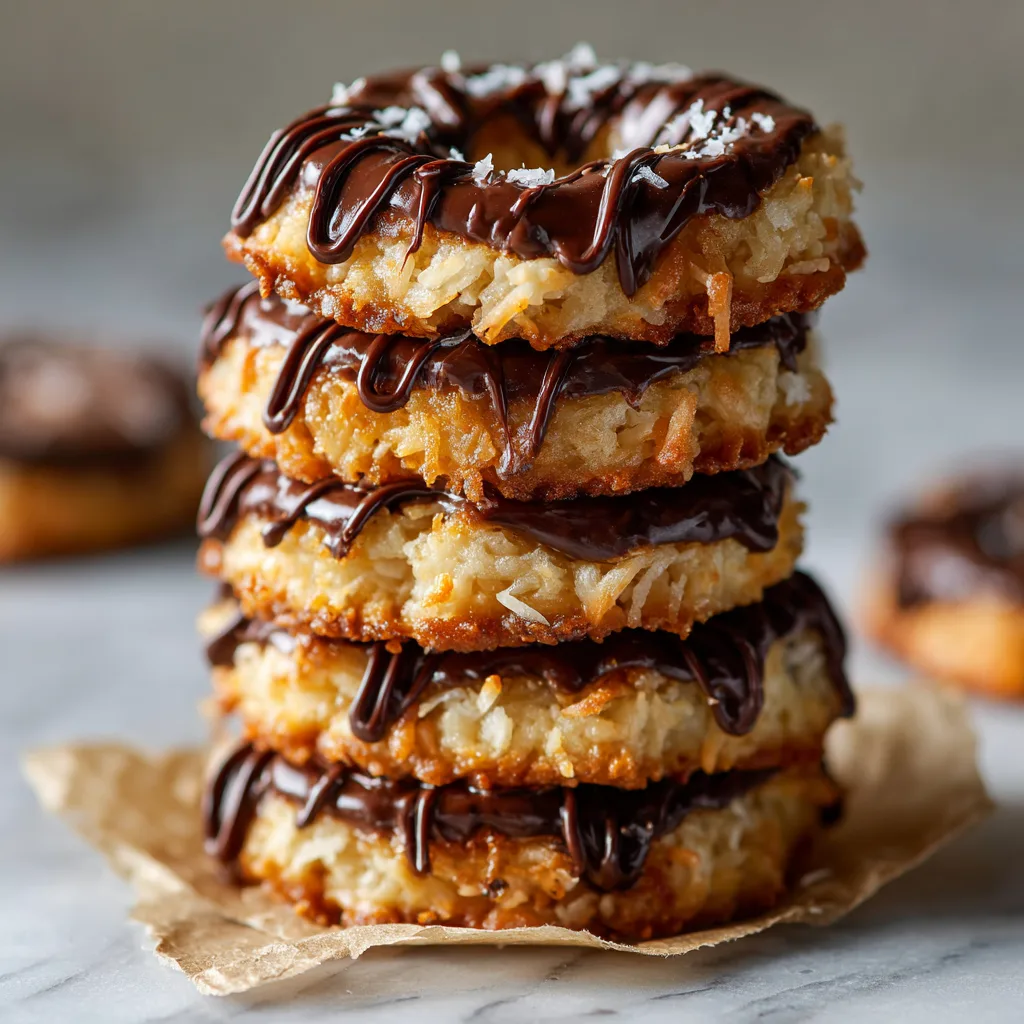
Deconstructing the Samoa: Key Ingredients Breakdown
To achieve copycat perfection, we must carefully examine and execute the three distinct components that make up this legendary cookie. Here is a closer look at what you will need for each layer.
Component 1: The Crisp Vanilla Shortbread Base
The foundation of the cookie must be sturdy enough to hold the heavy caramel topping, yet delicate enough to provide a satisfying, buttery snap. We use a classic shortbread dough.
- Unsalted Butter: The backbone of the shortbread. It must be softened to room temperature so it creams perfectly with the sugar, creating a tender crumb. Using unsalted butter allows you to control the exact sodium level of the dough.
- Granulated Sugar: We use granulated sugar rather than powdered sugar here to help achieve those crisp, defined edges that hold their shape in the oven.
- All-Purpose Flour: Provides the necessary structure. Be sure to measure your flour using the spoon-and-level method to avoid a dense, dry cookie.
- Vanilla Extract and Salt: Pure vanilla extract provides the signature aroma, while a pinch of salt enhances the buttery flavor and balances the sweetness.
Component 2: The Chewy Caramel Coconut Topping
This is where the magic happens. The topping provides the signature chew and the dominant flavor profile of the cookie.
- Shredded Sweetened Coconut: You want standard sweetened coconut flakes. The key is toasting them meticulously until they turn a beautiful, nutty golden brown. Toasting deepens the flavor exponentially and prevents the topping from becoming cloyingly sweet.
- Soft Chewy Caramels: To keep this recipe accessible, we use high-quality, individually wrapped soft caramels (like Kraft or Werther’s Chewy Caramels). Melting these down provides the perfect sticky binder for the coconut.
- Heavy Whipping Cream: A splash of heavy cream is melted with the caramels. This thins the caramel out just enough to make it workable, while ensuring it remains soft and chewy at room temperature rather than setting rock-hard.
- A Pinch of Sea Salt: Adding a tiny pinch of salt to the caramel-coconut mixture elevates the flavors and provides a wonderful salted-caramel undertone.
Component 3: The Rich Chocolate Coating and Drizzle
The dark, slightly bitter chocolate cuts through the intense sweetness of the caramel and coconut, providing the crucial final balancing act.
- Semi-Sweet or Dark Chocolate Chips: Do not use milk chocolate; it will make the cookie overwhelmingly sweet. A high-quality semi-sweet or dark chocolate (around 60% cacao) is ideal.
- Coconut Oil or Shortening (Optional): Adding a tiny amount of coconut oil to the melting chocolate thins it out slightly, making dipping and drizzling much easier, and gives the finished chocolate a beautiful, glossy sheen.
Step-by-Step Instructions for Cookie Perfection
Creating these cookies is a labor of love, broken down into manageable phases. Follow these detailed instructions closely for the best results.
Phase 1: Creating the Shortbread Base
- Cream the Butter and Sugar: In the bowl of a stand mixer fitted with the paddle attachment (or using a large bowl and a hand mixer), beat the softened butter and granulated sugar together on medium speed until light, fluffy, and pale in color. This should take about 2 to 3 minutes. Scrape down the sides of the bowl as needed.
- Add Flavor and Structure: Beat in the vanilla extract until fully incorporated. Turn the mixer down to the lowest speed and gradually add the all-purpose flour and salt. Mix just until the dough comes together and no streaks of dry flour remain. Do not overmix, or the cookies will be tough.
- Chill the Dough: The dough will be quite soft. Gather it into a ball, flatten it into a thick disk, wrap it tightly in plastic wrap, and refrigerate for at least 30 to 45 minutes. Chilling relaxes the gluten and firms up the butter, ensuring the cookies do not spread during baking.
- Preheat and Prep: Preheat your oven to 350°F (175°C). Line two large baking sheets with parchment paper or silicone baking mats.
- Roll and Cut: On a lightly floured surface, roll out the chilled dough to about 1/4-inch thickness. Use a 2-inch or 2.5-inch round cookie cutter to cut out circles. Then, use a much smaller cutter (like the wide end of a piping tip, or a small bottle cap) to punch out the center hole, creating a donut shape. Place the rings on the prepared baking sheets. Gather the scraps, re-roll, and cut out more cookies.
- Bake to Perfection: Bake for 10 to 12 minutes, or until the edges are just barely beginning to turn a light golden brown. Remove from the oven and allow the cookies to cool on the baking sheet for 5 minutes before transferring them to a wire rack to cool completely. The cookies must be completely cool before adding toppings.
Phase 2: The Caramel Coconut Assembly
- Toast the Coconut: Spread the shredded sweetened coconut evenly onto a rimmed baking sheet. Bake at 300°F (150°C) for 15 to 20 minutes, stirring every 5 minutes, until the coconut is an even, toasted golden brown. Keep a very close eye on it, as coconut can go from toasted to burnt in a matter of seconds. Let it cool slightly.
- Melt the Caramel: Unwrap all the soft caramels and place them in a microwave-safe bowl along with the heavy cream. Microwave in 30-second intervals, stirring vigorously after each interval, until the caramel is completely melted, smooth, and fluid.
- Combine and Coat: Reserve about 1/4 cup of the melted caramel and set it aside. Pour the remaining melted caramel over the toasted coconut and fold them together until the coconut is thoroughly coated and sticky.
- Prime the Cookies: Take the reserved 1/4 cup of melted caramel. Using an offset spatula or a butter knife, spread a very thin layer of this plain caramel onto the top of each cooled shortbread cookie. This acts as the “glue” that will hold the heavy coconut mixture in place.
- Apply the Topping: While the plain caramel on the cookies is still tacky, use your fingers or two small spoons to press generous clumps of the caramel-coconut mixture onto the top of each cookie, shaping it around the ring to maintain the center hole. Press down firmly so it adheres.
Phase 3: The Chocolate Finish
- Melt the Chocolate: In a microwave-safe bowl, combine the chocolate chips and the coconut oil (if using). Microwave in 30-second bursts at 50% power, stirring thoroughly between each burst, until the chocolate is completely melted, smooth, and glossy.
- Dip the Bottoms: Pick up a coconut-topped cookie and carefully dip the bottom into the melted chocolate. Gently shake off any excess, and place the cookie back down onto a parchment-lined baking sheet. Repeat for all cookies.
- The Signature Drizzle: Transfer the remaining melted chocolate into a small zip-top bag or a piping bag. Snip a tiny corner off the bag and confidently drizzle the chocolate back and forth over the tops of the cookies, creating the iconic Samoa stripes.
- Set the Chocolate: Allow the cookies to sit at room temperature until the chocolate is completely set and firm. To speed up this process, you can place the baking sheets in the refrigerator for about 15 to 20 minutes.
Professional Tips for the Best Homemade Samoas
To elevate your cookies from amateur to bakery-quality, keep these expert tips in mind during the process:
- Do Not Rush the Chill: Skipping the dough-chilling step will result in cookies that spread out in the oven, losing their defined donut shape and becoming too thin to hold the heavy topping.
- Watch the Coconut Like a Hawk: Toasting coconut is unpredictable. Because of its high fat and sugar content, it toasts slowly at first, and then burns rapidly. Stir frequently and pull it from the oven just before it reaches your desired darkness, as it will continue to toast slightly on the hot pan.
- Work with Warm Caramel: The caramel-coconut mixture will become increasingly difficult to work with as it cools and sets. If you find it getting too stiff to easily press onto the cookies, pop the bowl back into the microwave for 10-15 seconds to soften it up again.
- Keep Your Hands Damp: When pressing the sticky caramel-coconut mixture onto the cookies, lightly dampening your fingertips with cold water will prevent the mixture from aggressively sticking to your hands.
- The Power of Tempering (Optional): If you want chocolate that stays perfectly crisp at room temperature and won’t melt on your fingers, consider taking the time to properly temper your chocolate rather than just melting it. However, the coconut oil trick mentioned in the recipe provides a very good, easy alternative for a glossy finish.
Time-Saving Hacks and Recipe Variations
While making everything from scratch is incredibly rewarding, sometimes you need a shortcut. Furthermore, baking at home means you can get creative with flavor profiles!
- The Ultimate Shortcut: Short on time? You can skip Phase 1 entirely and buy high-quality, store-bought shortbread cookies (like Walker’s). Simply apply the caramel, coconut, and chocolate steps to the pre-made cookies. They won’t have the hole in the middle, but the flavor will still be outstanding.
- Salted Caramel Samoas: Sprinkle a few flakes of high-quality flaky sea salt (like Maldon) over the wet chocolate drizzle before it sets. The sweet-salty dynamic takes the cookie to a whole new, sophisticated level.
- Nutty Samoas: Mix half a cup of finely chopped, toasted pecans or almonds into the caramel-coconut mixture for an added layer of crunch and rich, nutty flavor.
- White Chocolate Drizzle: For a striking visual contrast and a slightly sweeter profile, use dark chocolate for the bottom dip, but drizzle the tops with melted premium white chocolate.
Storage, Freezing, and Make-Ahead Instructions
These cookies are wonderful for making ahead, as they store and freeze beautifully.
Room Temperature Storage: Store the fully set cookies in an airtight container at room temperature for up to 5 days. To prevent them from sticking together, layer pieces of parchment paper or wax paper between the cookies.
Refrigerator Storage: If your kitchen is particularly warm, the chocolate and caramel might soften too much. In this case, store the airtight container in the refrigerator for up to a week. They are wonderfully chewy when eaten slightly chilled!
Freezing the Finished Cookies: Place the set cookies in a single layer on a baking sheet and freeze until solid (about 1 hour). Once frozen, transfer them to a freezer-safe zip-top bag or container, separating layers with parchment paper. They will keep in the freezer for up to 3 months. Thaw at room temperature for about 20-30 minutes before eating.
Freezing the Dough: You can make the shortbread dough in advance. Wrap the disk tightly in plastic wrap and freeze for up to 3 months. Thaw the dough overnight in the refrigerator before rolling, cutting, and baking.
Frequently Asked Questions (FAQs)
Can I make these cookies vegan or dairy-free?
Yes, but it requires several substitutions. Use a high-quality vegan butter block for the shortbread. For the caramel, you will need to find soft vegan caramels or make a homemade dairy-free caramel using coconut cream. Ensure your chocolate chips are certified dairy-free/vegan.
My caramel mixture got too hard after I put it on the cookies. Why?
This usually happens if you over-microwaved the caramels initially, causing the sugars to cook further, or if you didn’t add enough heavy cream. Make sure you only heat the caramels until they are *just* melted, and ensure you measure the cream accurately to keep the mixture pliable.
Can I use unsweetened coconut flakes?
You can, but it will slightly alter the flavor and texture. Unsweetened coconut is drier and less sticky. The resulting cookie will be less sweet and have a slightly more intense, earthy coconut flavor. You may need to add a tiny splash more heavy cream to the caramel to ensure it binds the drier flakes properly.
Do I absolutely need the donut hole in the middle?
Not at all! The hole is purely for aesthetics and to mimic the classic Girl Scout cookie shape. If you don’t want to bother with the extra step of cutting out the center, simply leave them as solid rounds. You will get a slightly larger cookie with more surface area for the delicious toppings!
Conclusion: The Ultimate Baking Triumph
Taking on the challenge of recreating a beloved, iconic treat like the Samoa cookie is a deeply satisfying endeavor. While it requires a bit of patience and several distinct steps, the final product is undeniably worth the effort. By layering buttery, crisp shortbread with toasted, golden coconut, chewy, rich caramel, and dark, snappy chocolate, you create a dessert that surpasses its commercial inspiration in every conceivable way. These Ultimate Homemade Samoas Cookies are a testament to the magic of home baking, offering you the power to enjoy your favorite flavors whenever the craving strikes, all while delighting anyone lucky enough to share a batch with you. So tie on your apron, preheat your oven, and prepare to create a batch of absolute perfection.
Homemade Samoas Cookies
Ingredients
Equipment
Method
- In a large bowl, cream together the softened butter and granulated sugar until light and fluffy. Beat in the vanilla extract.
- Gradually add the flour and salt, mixing on low speed just until the dough comes together. Form the dough into a disk, wrap in plastic wrap, and chill in the refrigerator for 30-45 minutes.
- Preheat oven to 350°F (175°C). Line two baking sheets with parchment paper. On a lightly floured surface, roll the chilled dough to 1/4-inch thickness. Cut out 2-inch circles, then use a smaller cutter to remove the center, creating a donut shape.
- Place cookies on the prepared baking sheets and bake for 10-12 minutes until the edges are lightly golden. Let cool completely on wire racks.
- Spread the shredded coconut on a baking sheet and toast in the 300°F (150°C) oven for 15-20 minutes, stirring frequently, until golden brown. Let cool.
- In a microwave-safe bowl, combine the unwrapped caramels, heavy cream, and a pinch of salt. Microwave in 30-second intervals, stirring until completely smooth and melted.
- Reserve 1/4 cup of the plain melted caramel. Pour the remaining caramel over the toasted coconut and fold until the coconut is completely coated.
- Spread a very thin layer of the reserved plain caramel over the top of each cooled cookie. Then, press generous spoonfuls of the sticky caramel-coconut mixture onto each cookie, shaping it around the center hole.
- In a separate microwave-safe bowl, melt the chocolate chips and coconut oil in 30-second intervals until smooth.
- Dip the bottom of each coconut-topped cookie into the melted chocolate and place on a parchment-lined pan. Transfer the remaining chocolate to a piping bag or zip-top bag, snip the corner, and heavily drizzle over the tops of the cookies.
- Let cookies set at room temperature or in the refrigerator until the chocolate is firm before serving.