Brown Butter Toffee Cookies
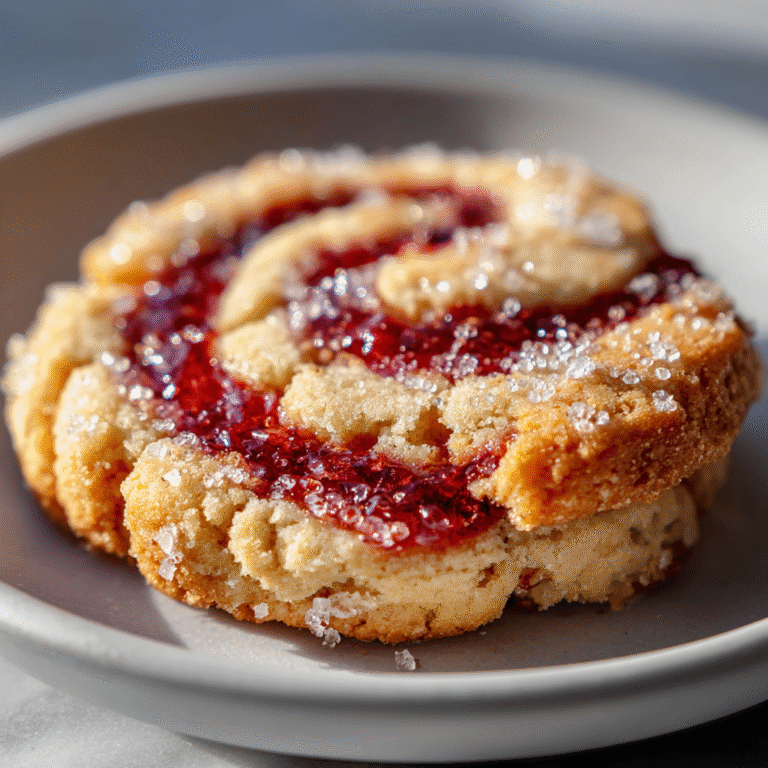
The Ultimate Thick and Chewy Brown Butter Toffee Cookies
Let’s be honest. In the world of cookies, there’s “good,” and then there’s “life-changing.” A standard chocolate chip cookie? That’s good. But a cookie that makes you stop, close your eyes, and question all your previous baking choices? That is life-changing. Welcome to the cookie that will do just that: the Thick and Chewy Brown Butter Toffee Cookie.
This isn’t just another cookie recipe. It’s a study in flavor, texture, and pure, unadulterated indulgence. The magic lies in one simple, transformative step: browning the butter. This one act of kitchen alchemy elevates a simple drop cookie into a gourmet masterpiece. We’re not just melting butter; we’re toasting the milk solids until they release a nutty, complex, caramel-like aroma that infuses every single crumb of the dough.
When you combine that deep, nutty butter base with the sweet, buttery crunch of toffee bits and a final, sharp sprinkle of flaky sea salt… the result is extraordinary. It’s a cookie that tastes complex, sophisticated, and deeply comforting all at once. It’s the perfect balance of sweet, salty, nutty, and rich. And the texture? Forget flat, crispy, or cakey. We are building a cookie that is proudly thick, with a gloriously chewy center and perfectly crisp edges. This is the cookie you bake to impress. This is the cookie you hide from the rest of the family. This is, quite simply, the ultimate.
What Makes Brown Butter a “Secret Weapon” in Baking?
If you’ve never baked with brown butter, you are in for a revelation. Brown butter, or beurre noisette as it’s known in French, is simply regular butter that has been cooked past its melting point until the milk solids separate and toast on the bottom of the pan. This process is a form of the Maillard reaction, the same chemical reaction that gives a seared steak its crust and toast its flavor.
So, why is this a “secret weapon”?
- Unbelievable Flavor: As the milk solids (proteins and sugars) toast, they develop hundreds of new flavor compounds. The butter transforms from a simple fat into a complex ingredient with notes of roasted nuts, toffee, and caramel. This nutty depth is the perfect counterpart to the sweet toffee bits, creating a flavor profile that is leagues beyond what regular melted or softened butter can offer.
- Enhanced Aroma: The smell of browning butter is one of the most intoxicating aromas in the culinary world. This aroma doesn’t just disappear when baked; it lingers in the finished cookie, hitting your senses before you even take a bite.
- Chewy Texture: Using melted butter (which brown butter is) in a cookie recipe, as opposed to creamed softened butter, results in a chewier, denser texture. Creaming butter incorporates air, which creates a lighter, cake-like crumb. Melted butter coats the flour, inhibiting gluten formation just enough to keep the cookie tender while promoting a tight, chewy structure.
Browning butter takes an extra five minutes, but the return on that small investment of time is immeasurable. It is the single most important step in this recipe.
The Anatomy of a Perfect “Thick and Chewy” Cookie
The “Thick and Chewy” promise isn’t just a catchy title; it’s a structural guarantee built into the recipe’s DNA. Here’s how we achieve that perfect bakery-style texture.
- Melted (Browned) Butter: As mentioned, this is the foundation for a chewy texture.
- An Extra Egg Yolk: This is another key trick. Egg yolks are rich in fat, which adds tenderness and richness. They are also powerful emulsifiers, which helps bind the dough and create a tight, moist crumb that we perceive as chewy.
- More Brown Sugar than White: White sugar creates spread and crispness. Brown sugar, on the other hand, is hygroscopic, meaning it attracts and holds onto moisture. By using a higher ratio of brown sugar, we are literally forcing the cookie to stay moist and chewy long after it has cooled.
- The Critical Chill: This is the most important technique for a thick cookie. Chilling the dough for at least two hours (and preferably overnight) does two essential things. First, it solidifies the fat (the brown butter). This means when you put the cookie in the hot oven, the fat takes much longer to melt, preventing the cookie from spreading out flat before the edges have time to set. Second, it hydrates the flour, allowing the starches to absorb the liquid (the eggs and moisture from the butter) and resulting in a chewier, more substantial final product. Do not skip the chill.
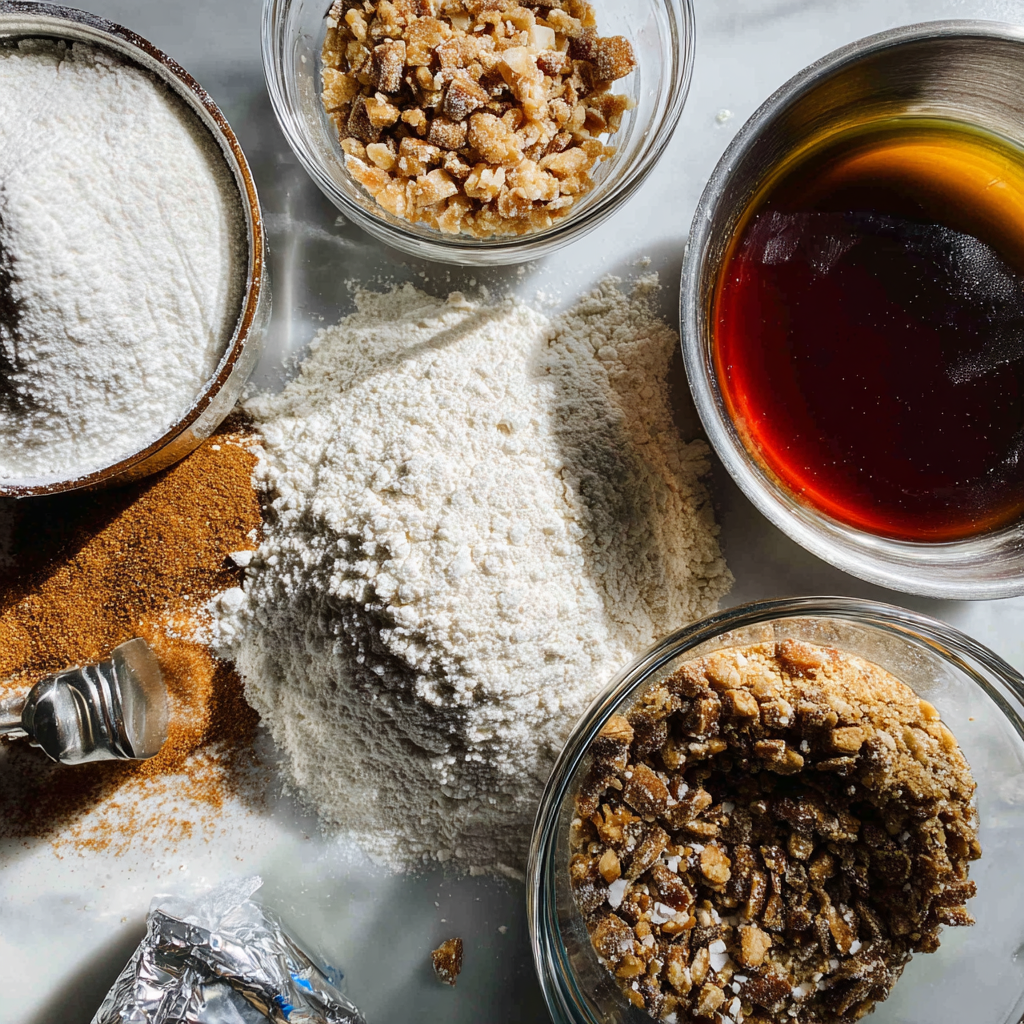
Ingredients: Your Toolkit for Cookie Perfection
Here’s what you’ll need to gather. Precision is key in baking, so try to use a kitchen scale if you have one!
- 1 cup (2 sticks or 226g) unsalted butter
- 2 ¼ cups (280g) all-purpose flour
- 1 teaspoon baking soda
- 1 teaspoon cornstarch (our little secret for extra thickness and softness)
- ½ teaspoon salt
- 1 cup (220g) packed dark brown sugar
- ½ cup (100g) granulated white sugar
- 1 large egg
- 1 large egg yolk
- 2 teaspoons pure vanilla extract
- 1 cup (170g) English toffee bits (like Heath bits, without chocolate)
- 1 teaspoon flaky sea salt (like Maldon), for finishing
Step-by-Step Instructions: Mastering the Brown Butter Toffee Cookie
- Brown the Butter: This is the first and most important step. Place the 2 sticks of unsalted butter in a heavy-bottomed, light-colored saucepan (so you can see the color change). Melt the butter over medium heat. Once melted, the butter will begin to foam and sizzle. Swirl the pan frequently. The sizzling will subside, and the foam will clear, revealing golden-brown milk solids (little specks) forming at the bottom of the pan. It will smell intensely nutty. This whole process takes about 5-8 minutes.
- Cool the Butter: Immediately pour the brown butter, including all the toasted brown bits, into a large, heatproof mixing bowl. Let it cool on the counter for about 15-20 minutes. You don’t want it to re-solidify, but you also don’t want it hot enough to scramble the eggs.
- Combine Dry Ingredients: While the butter cools, whisk the all-purpose flour, baking soda, cornstarch, and salt together in a medium bowl. Set it aside.
- Mix Wet Ingredients: To the large bowl with the cooled brown butter, add the dark brown sugar and granulated white sugar. Whisk vigorously for about 1 minute until the mixture is smooth and combined. Add the large egg, the extra egg yolk, and the vanilla extract. Whisk again until the mixture is glossy and smooth.
- Combine Wet and Dry: Pour the dry ingredient mixture into the wet ingredient mixture. Use a wooden spoon or rubber spatula to fold the ingredients together until just combined. Do not overmix. The dough will be soft and seem a little greasy—this is normal.
- Add Toffee: Gently fold in the toffee bits.
- CHILL THE DOUGH (Mandatory): Cover the bowl with plastic wrap, pressing it directly onto the surface of the dough to prevent a skin from forming. Refrigerate for at least 2 hours, or preferably overnight (up to 72 hours). Chilling is not optional! It is the secret to a thick cookie that doesn’t spread into a puddle.
- Preheat and Prepare: When ready to bake, preheat your oven to 350°F (175°C). Line two large baking sheets with parchment paper.
- Scoop and Bake: Remove the cold, firm dough from the refrigerator. Use a medium cookie scoop (about 1.5 tablespoons) to portion out the dough into uniform balls. Place them 2-3 inches apart on the prepared baking sheets.
- Bake: Bake for 10-12 minutes. The edges should be set and golden brown, but the centers should look slightly soft and underdone. This is the key to a chewy center. Do not overbake!
- The Finishing Touch: As soon as the cookies come out of the oven, sprinkle each one with a tiny pinch of flaky sea salt. The salt will stick to the warm, gooey cookies.
- Cool: Let the cookies cool on the baking sheet for 5-10 minutes (this allows the center to finish cooking) before transferring them to a wire rack to cool completely.
Troubleshooting & Pro-Tips for Bakery-Worthy Cookies
- “My cookies spread too much!” You didn’t chill the dough long enough. This is the #1 reason for flat cookies with this recipe. The butter was still too soft. Give it the full 2 hours, minimum.
- “My brown butter burned!” Your heat was too high, or you didn’t swirl the pan. If you see black specks instead of brown, you must throw it out and start over. Burned butter is acrid and will ruin the entire batch.
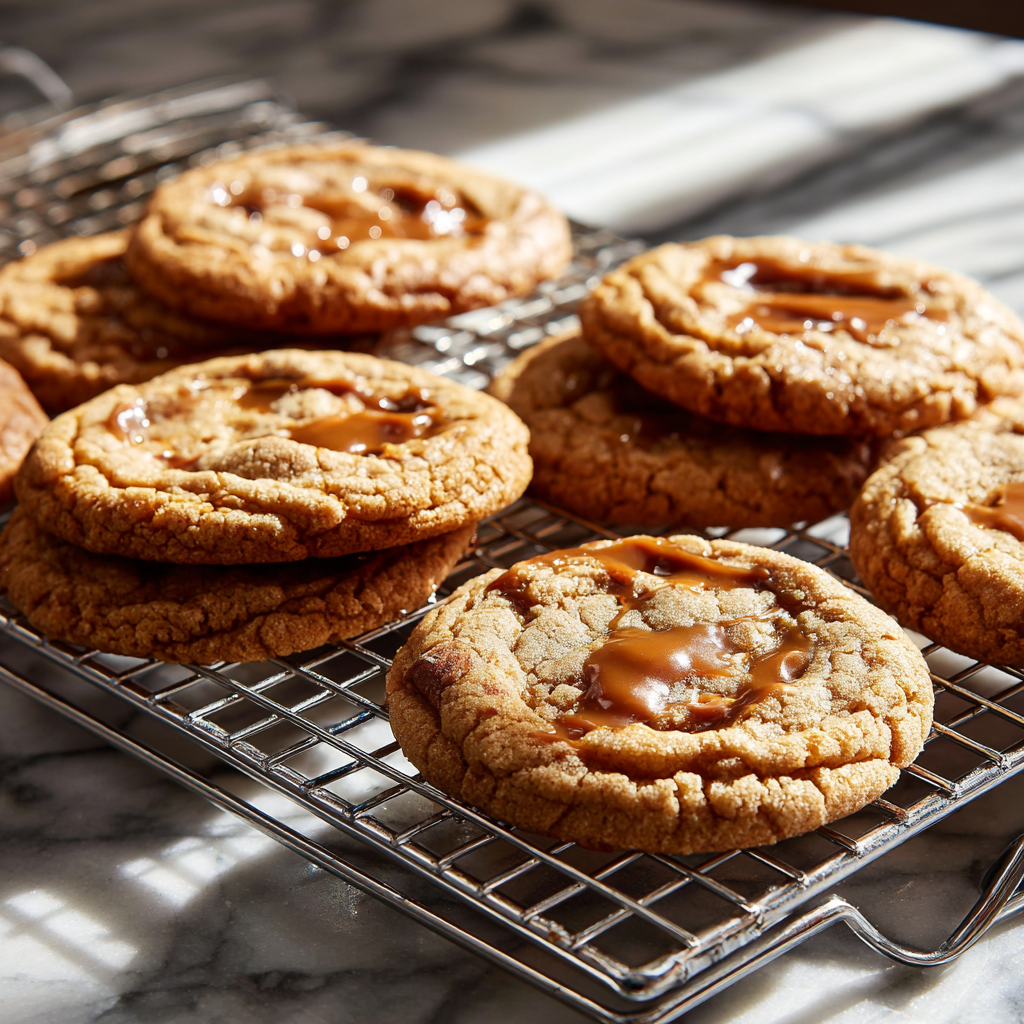
- “How do I get those perfect pools of toffee on top?” The secret is to press a few extra toffee bits directly onto the tops of the dough balls right before you put them in the oven. This ensures they melt on top and look picture-perfect.
- “My cookies are hard, not chewy.” You overbaked them. The moment the edges are golden, pull them out. The residual heat from the pan will finish the job.
- Storage: These cookies are best fresh, but they will stay chewy in an airtight container at room temperature for up to 4 days. To keep them extra soft, add a slice of plain sandwich bread to the container.
Why Settle for Good When You Can Have Gooey? (Conclusion)
This is more than just a recipe; it’s an experience. It’s the aroma of the nutty butter filling your kitchen, the anticipation as the dough chills, and the ultimate reward of biting into a warm, thick cookie where rich, buttery dough, sweet toffee, and sharp sea salt collide.
This cookie has structure. It has depth. It has a personality. It’s the cookie that will make your friends and family demand the recipe. It proves that a few extra minutes and one simple technique can transform the familiar into the unforgettable. So go ahead, brown that butter. Your cookie jar will never be the same.
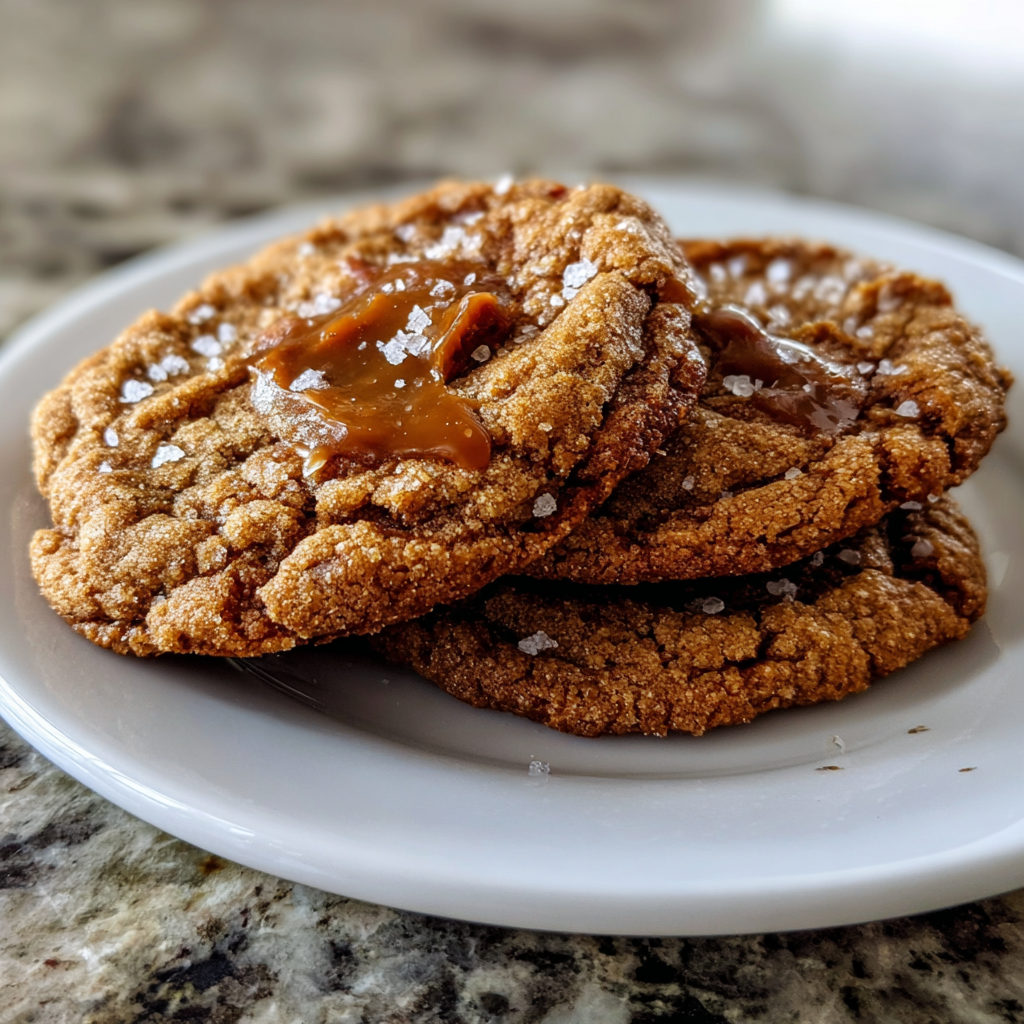
Thick and Chewy Brown Butter Toffee Cookies
Ingredients
Equipment
Method
- Brown the butter: In a light-colored saucepan, melt butter over medium heat. Continue cooking, swirling often, until it foams, sizzles, and then quiets down. Watch for nutty-smelling, golden-brown specks to form at the bottom (5-8 min).
- Cool the butter: Immediately pour the brown butter (including the brown bits) into a large, heatproof bowl. Let cool for 15-20 minutes.
- Combine dry ingredients: In a medium bowl, whisk together the flour, baking soda, cornstarch, and salt.
- Mix wet ingredients: To the cooled brown butter, whisk in the brown sugar and granulated sugar until smooth. Add the egg, egg yolk, and vanilla, and whisk until glossy.
- Combine mixtures: Add the dry ingredients to the wet ingredients and fold with a spatula until just combined. Do not overmix. Fold in the toffee bits.
- Chill the dough: Press plastic wrap onto the surface of the dough and refrigerate for at least 2 hours, or overnight. This step is mandatory for thick cookies.
- Preheat and prep: Preheat oven to 350°F (175°C). Line baking sheets with parchment paper.
- Scoop: Use a 1.5-tablespoon cookie scoop to make dough balls. Place 2-3 inches apart on the prepared baking sheets.
- Bake: Bake for 10-12 minutes, until edges are golden but centers look slightly soft and underdone.
- Finish: Immediately sprinkle each hot cookie with a small pinch of flaky sea salt. Let cool on the pan for 5 minutes before transferring to a wire rack.