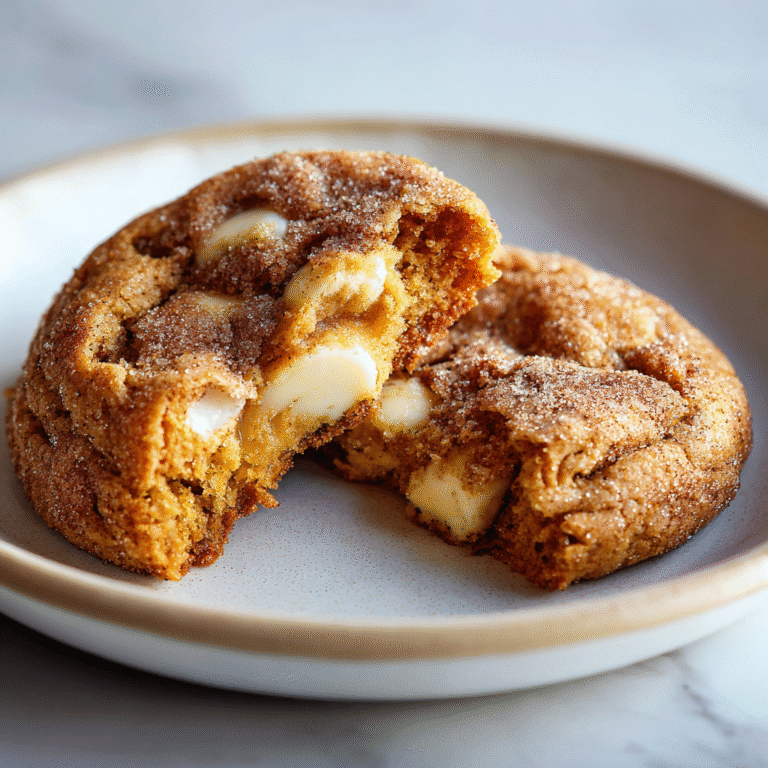
Wonderland Chocolate Chip Cookies
Easy Winter Wonderland Chocolate Chip Cookies (The Ultimate Festive Treat)
There is a unique magic that fills the air during the holiday season. It’s a feeling of warmth, nostalgia, and cozy comfort, often sparked by the simplest things: the twinkle of lights, the sound of a familiar carol, or, perhaps most powerfully, the scent of fresh-baked cookies wafting from a warm kitchen. If you’re looking to capture that exact feeling in an easy, delicious, and absolutely beautiful treat, then look no further. These Easy Winter Wonderland Chocolate Chip Cookies are your one-way ticket to holiday joy.
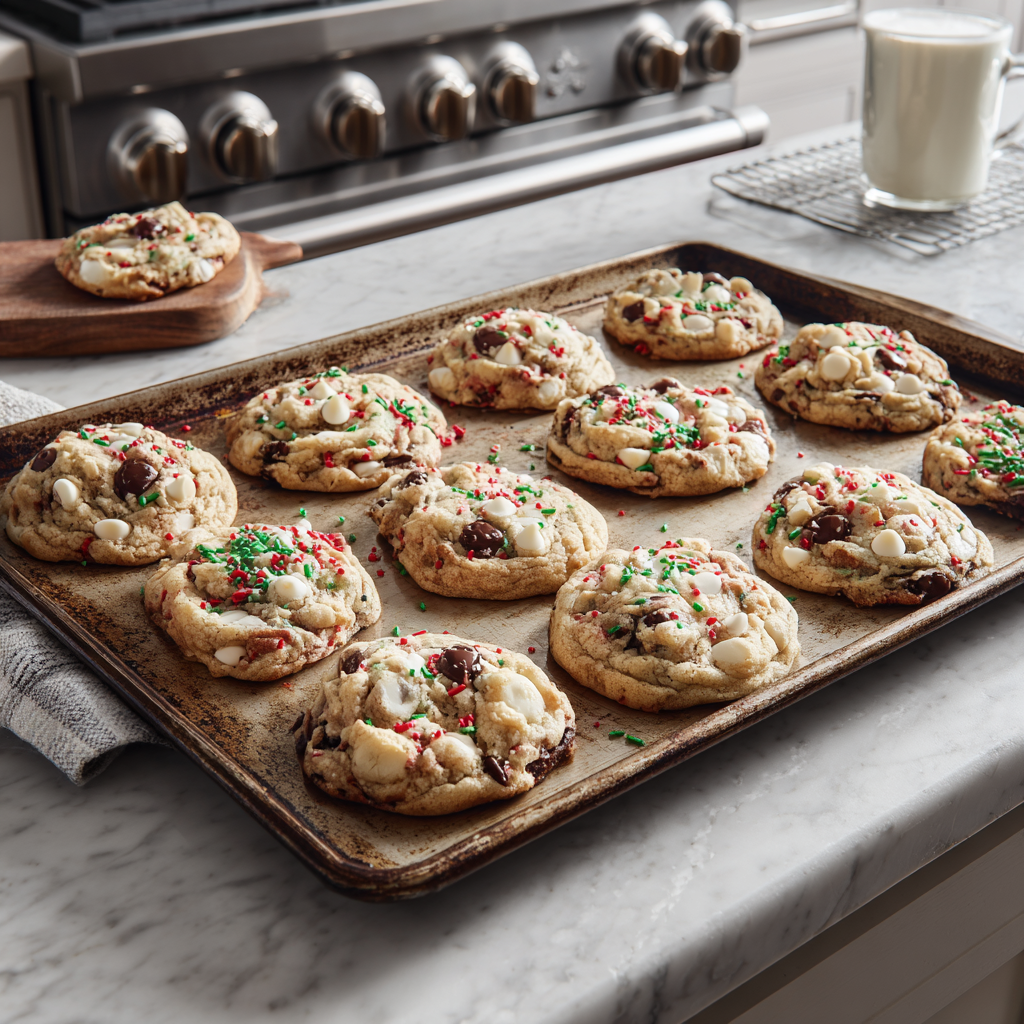
These aren’t just your standard chocolate chip cookies. They are a festive celebration in every bite. We’re taking the classic, beloved soft and chewy chocolate chip cookie and dressing it up for the season’s biggest party. Imagine a perfectly soft, buttery cookie, loaded with not one, but two kinds of chocolate—rich semi-sweet and creamy, sweet white chocolate. Then, to make it a true “Winter Wonderland,” we’re studding the dough with a generous flurry of festive red and green sprinkles.
They are the perfect cookie for a holiday exchange, a thoughtful homemade gift, a plate to leave out for Santa, or just a personal batch to enjoy with a mug of hot cocoa on a cold winter night. And the best part? They live up to their “easy” name. You don’t need to be a professional pastry chef to pull these off. All you need is a little time, a lot of holiday spirit, and a craving for the best festive cookie of the season.
Why These Cookies Are Your New Holiday Staple
In a sea of complicated holiday desserts, these Winter Wonderland cookies stand out for their delightful simplicity and incredible flavor. Let’s break down what makes them so special.
First, the flavor profile is a perfectly balanced symphony. The buttery, brown-sugar-based dough provides a rich, caramel-like foundation. This is punctuated by the deep, classic flavor of semi-sweet chocolate chips. Then, the white chocolate chips or chunks chime in, adding a wave of creamy, vanilla-like sweetness that cuts the richness and makes each bite more complex. The sprinkles don’t just add a visual pop; they lend a subtle, sugary crunch that provides a wonderful textural contrast.
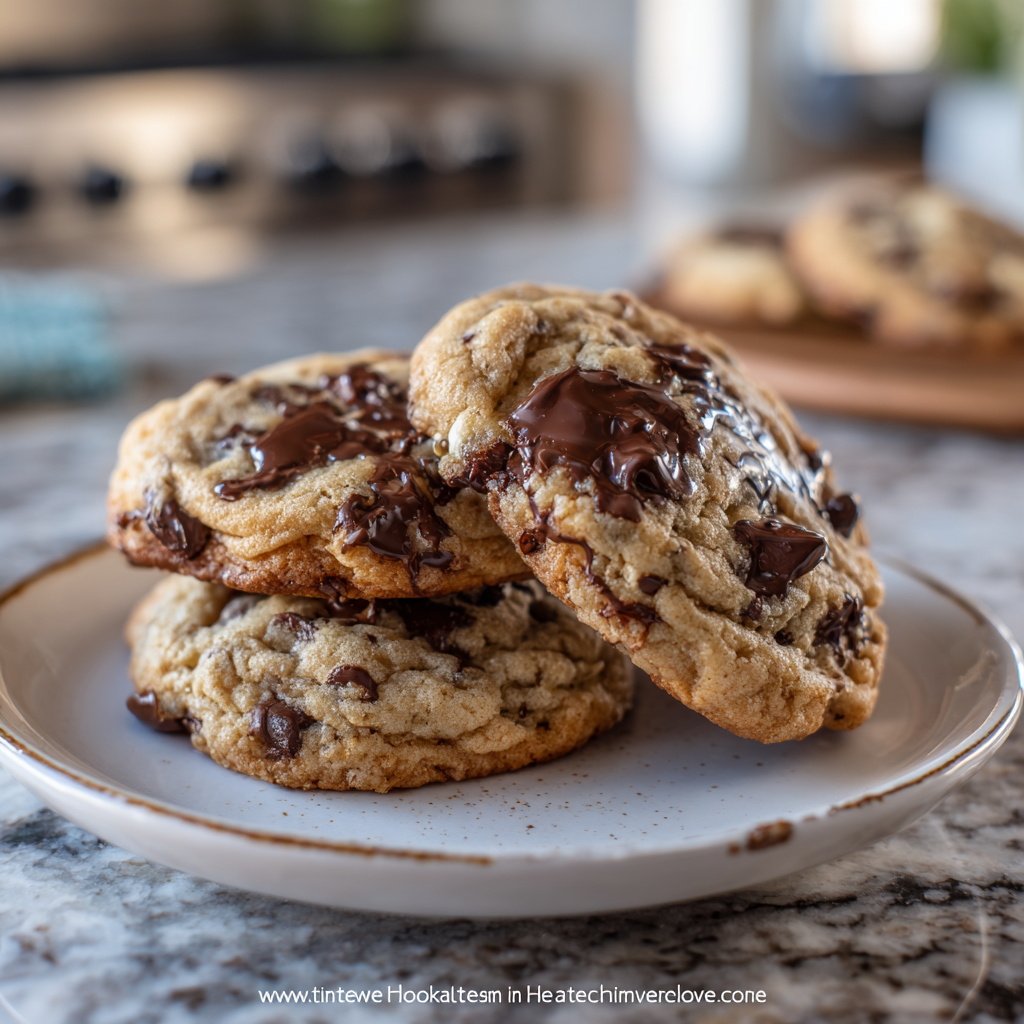
Second is that coveted texture: soft, chewy, and gooey. The secret lies in the blend of sugars and, most importantly, the chilling time (which we’ll get to later). This recipe is engineered to produce cookies with those perfectly crisp, golden-brown edges that give way to a soft, tender, and incredibly chewy center. When served warm, the melted chocolate creates those irresistible, gooey pulls that are the hallmark of a truly great cookie.
Finally, the sheer festivity! The vibrant red and green sprinkles against the golden-brown cookie, studded with dark and white chocolate, make these visually stunning. They look like they came from a high-end bakery, yet they are completely achievable at home. They are the epitome of “Winter Wonderland” in cookie form—joyful, bright, and guaranteed to make you smile. They are, quite simply, the perfect project for a day of holiday baking.
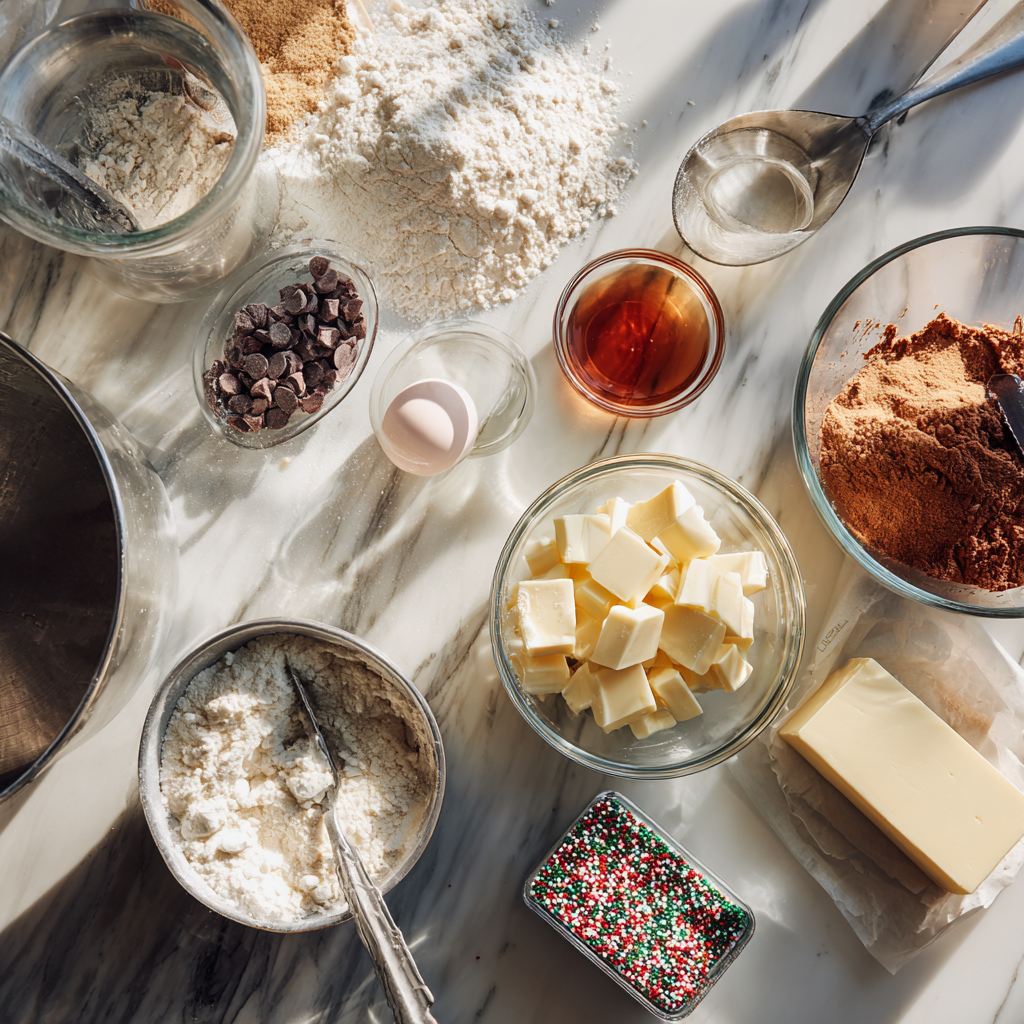
The Cast of Characters: Your Winter Wonderland Ingredients
To create this holiday magic, you’ll need a lineup of classic cookie ingredients. Precision is key in baking, so gathering everything beforehand (your mise en place) makes the process smooth and fun.
- 2 ¼ cups all-purpose flour
- 1 teaspoon baking soda
- 1 teaspoon salt
- 1 cup (2 sticks) unsalted butter, softened to room temperature
- ¾ cup granulated sugar
- ¾ cup packed light or dark brown sugar
- 1 teaspoon vanilla extract
- 2 large eggs, at room temperature
- 1 cup semi-sweet chocolate chips
- 1 cup white chocolate chips or chunks
- ½ cup red and green sprinkles (use jimmies or quins)
Mastering the Mix: A Step-by-Step Baking Journey
Follow these steps closely, and you’ll be on your way to a perfect batch of festive cookies. The most important instruction is one you might be tempted to skip—don’t!
- Pre-heat and Prep: Preheat your oven to 375°F (190°C). Line two large baking sheets with parchment paper. This prevents sticking and ensures even baking.
- Whisk the Dry: In a medium-sized bowl, whisk together the all-purpose flour, baking soda, and salt. This distributes the leavening agent and salt evenly, so you don’t get a salty bite or a flat cookie. Set this bowl aside.
- Cream Butter and Sugars: In a separate, large bowl or the bowl of a stand mixer fitted with the paddle attachment, add your softened unsalted butter, the granulated sugar, and the packed brown sugar. Beat on medium speed for about 3-4 minutes until the mixture is light in color and has a fluffy, creamy consistency. This step is crucial as it whips air into the dough, which helps the cookies rise.
- Add Eggs and Vanilla: Add the eggs, one at a time, beating well after each addition until it’s fully incorporated. Scrape down the sides of the bowl as needed. Once the eggs are mixed in, beat in the vanilla extract.
- Combine Wet and Dry: With the mixer on low speed, slowly add the dry flour mixture to the wet butter mixture. Mix just until the last streaks of flour have disappeared. Be very careful not to overmix! Overmixing develops the gluten in the flour, leading to tough, dense, and cakey cookies instead of soft and chewy ones.
- Fold in the ‘Wonderland’: Gently fold in the semi-sweet chocolate chips, the white chocolate chips, and the red and green sprinkles using a rubber spatula. Again, mix only until they are evenly distributed.
- THE CRITICAL STEP (Do Not Skip): Cover the bowl with plastic wrap and chill the cookie dough in the refrigerator for at least 2 hours, or preferably overnight (up to 72 hours). This is the non-negotiable secret to thick, chewy, flavorful cookies. Chilling solidifies the fat (the butter), which prevents the cookies from spreading into thin, flat puddles in the oven. It also allows the flour to hydrate and the flavors to meld, resulting in a chewier, more flavorful cookie.
- Scoop the Dough: Once chilled, the dough will be firm. Use a medium cookie scoop (about 1.5 tablespoons) to portion out rounded balls of dough. Place them on your prepared baking sheets, about 2 inches apart.
- Bakery-Style Tip (Optional): For that professional, “loaded” look you see in the photos, gently press a few extra semi-sweet chips, white chocolate chunks, and a pinch of sprinkles onto the tops of the dough balls before baking.
- Bake to Perfection: Bake for 10-12 minutes. The edges should be lightly golden brown, and the centers should still look slightly soft and underdone. Do not overbake! They will continue to cook and set up on the hot pan.
- Cool Down: Let the cookies cool on the baking sheets for 5-10 minutes. This “hot pan” time is essential for them to firm up. After 5-10 minutes, transfer the cookies to a wire rack to cool completely.
Secrets from Santa’s Workshop: Tips for Cookie Perfection
Want to elevate your cookie game from amateur to artisan? Here are the little secrets that make a big difference.
- Room Temperature is Law: When a recipe calls for “softened butter” and “room temperature eggs,” it’s not a suggestion. Softened butter (not melted!) creams with sugar to create those vital air pockets. Room temperature eggs emulsify seamlessly into the batter, creating a smoother, more uniform dough. Pull them out of the fridge at least an hour before you start.
- The Science of Sugar: This recipe uses both white and brown sugar for a reason. Granulated (white) sugar helps the cookies spread and creates those crispier edges. Brown sugar, which contains molasses, provides moisture, a chewy texture, and that rich, caramel-like flavor. The combination gives you the best of both worlds.
- Spoon and Level Your Flour: How you measure your flour is one of the most common baking pitfalls. Never, ever scoop the flour directly with your measuring cup. This compacts the flour, and you can end up with 25% more flour than the recipe calls for, resulting in dry, hard, cakey cookies. Instead, use a spoon to fluff up the flour in its container, then spoon it into your measuring cup until it’s overflowing. Finally, use the back of a knife to level it off.
- Troubleshooting: The Great Spread: Did your cookies spread into one giant, flat cookie-pancake? The culprit is almost always temperature. Either your dough wasn’t chilled long enough (or at all), your butter was too soft (or melted), or your oven temperature was too low. Chilling is your number one defense!
- A Note on Sprinkles: Use “jimmies” (the little rod-shaped ones) or “quins” (the flat, round ones). Avoid “nonpareils” (the tiny, hard balls) inside the dough, as their color can bleed excessively and create a muddy-looking cookie. Jimmies and quins hold their shape and color much better during baking.
Deck the Halls (and Your Cookies): Variations and Storage
These cookies are a fantastic canvas for your own creativity.
- Peppermint Wonderland: Add ¼ to ½ teaspoon of peppermint extract along with the vanilla extract for a delicious peppermint-bark-inspired cookie.
- Nutty & Nice: Fold in ½ cup of toasted, chopped pecans or walnuts for an extra layer of crunch and nutty flavor.
- Winter Spice: Add ½ teaspoon of cinnamon and a pinch of nutmeg to the dry ingredients for a warmly spiced version.
- Extra Drizzle: Once the cookies are completely cool, melt some extra white chocolate and drizzle it over the tops for a beautiful, snowy finish.
Storing Your Holiday Haul:
- At Room Temperature: Store the cooled cookies in an airtight container for up to 5 days. To keep them extra soft and chewy, add a slice of plain bread to the container. The cookies will absorb the moisture from the bread.
- Freezing Baked Cookies: These freeze beautifully. Place them in a single layer on a baking sheet to freeze solid, then transfer to a freezer-safe bag or container, separating layers with parchment paper. They’ll last for up to 3 months.
- Freezing the Dough: This is my favorite method. Scoop the dough balls onto a parchment-lined tray and freeze until solid. Transfer the frozen dough balls to a freezer bag. You can bake them directly from frozen—no need to thaw! Just add 1-2 extra minutes to the baking time for fresh-baked holiday cookies on demand.
Wrapping Up Your Batch of Holiday Joy
Baking is about so much more than just the ingredients. It’s an act of love. It’s about creating something warm and tangible to share with the people you care about. It’s about slowing down during a hectic season to make a memory, to fill your home with an intoxicating aroma, and to create a little bit of edible happiness.
These Easy Winter Wonderland Chocolate Chip Cookies are more than just a recipe; they are an experience. They are the perfect, simple, and joyful project to ring in the season. So, turn on your favorite holiday playlist, pour yourself a festive beverage, and get baking. Share them with friends, gift them to neighbors, or keep them all for yourself (we won’t tell). Happy holidays, and happy baking!
Easy Winter Wonderland Chocolate Chip Cookies
Ingredients
Equipment
Method
- Preheat oven to 375°F (190°C). Line two large baking sheets with parchment paper.
- In a medium bowl, whisk together the all-purpose flour, baking soda, and salt. Set aside.
- In a large bowl or stand mixer, cream the softened butter, granulated sugar, and brown sugar on medium speed until light and fluffy, about 3-4 minutes.
- Beat in the eggs one at a time, mixing well after each, then beat in the vanilla extract.
- On low speed, gradually add the dry flour mixture to the wet butter mixture, mixing just until combined. Do not overmix.
- Gently fold in the semi-sweet chocolate chips, white chocolate chips, and sprinkles with a spatula.
- CRITICAL: Cover the bowl and chill the dough in the refrigerator for at least 2 hours or overnight. This is essential to prevent spreading.
- Scoop rounded tablespoons (about 1.5 tbsp) of chilled dough onto the prepared baking sheets, spacing them 2 inches apart.
- Bake for 10-12 minutes, until the edges are golden brown and the centers are still slightly soft. Do not overbake.
- Let the cookies cool on the baking sheets for 5-10 minutes before transferring them to a wire rack to cool completely.