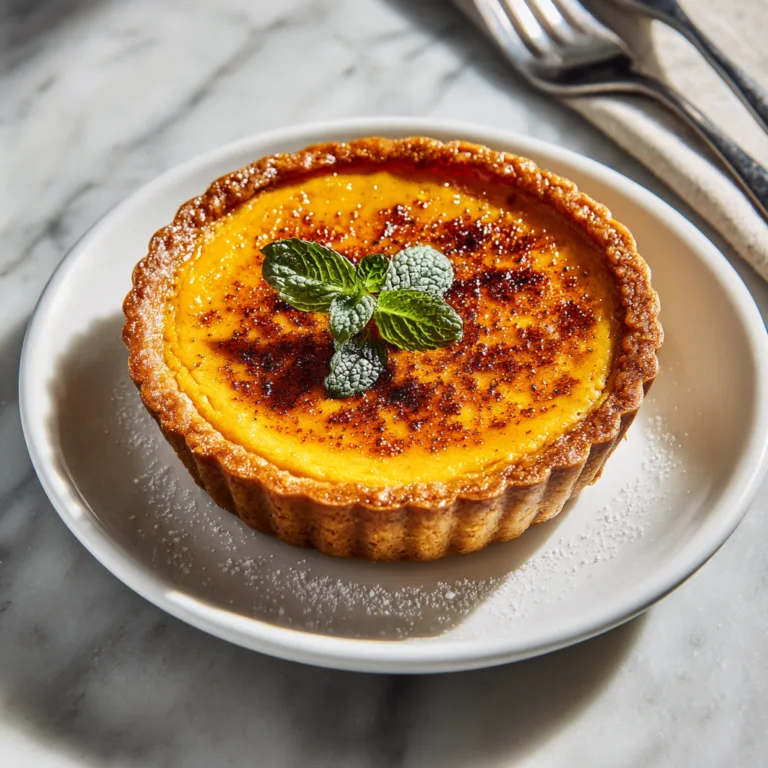
Cream Cheese Puff Pastry Danishes
Easy Cream Cheese Puff Pastry Danishes: Better Than the Bakery
There is something undeniably luxurious about biting into a warm, flaky pastry filled with sweet, tangy cream cheese. It is the kind of treat we usually reserve for coffee shop runs or Sunday bakery visits. But what if I told you that you could make a batch of Cream Cheese Danishes at home that are fresher, gooier, and infinitely more delicious than anything you can buy? Using the magic of store-bought puff pastry, these golden squares of heaven come together in under 30 minutes.
This recipe is the ultimate hack for the home baker. You skip the hours of laminating dough and go straight to the good part: the filling. We are talking about a rich, velvety cheesecake center that stays soft and creamy even after baking. Encased in layers of buttery, shattering crisp pastry and drizzled with a simple vanilla glaze, these danishes are a texture lover’s dream. The contrast between the crunch of the pastry and the smooth, melting filling is absolute perfection.
In this guide, we will cover everything you need to know to master this easy breakfast treat. From handling puff pastry so it rises sky-high to mixing the perfect lump-free filling, you are about to become the star of your next brunch.
Why This Recipe Works
Simplicity is the key to this recipe’s success. Here is why it will become your go-to:
- Texture Contrast: The puff pastry provides hundreds of micro-layers of butter and dough that puff up in the oven, creating a light, airy vessel for the dense, rich cream cheese.
- Minimal Effort, Maximum Payoff: using pre-made puff pastry sheets saves you hours of work while still delivering that “made from scratch” taste and appearance.
- Customizable: While the classic cream cheese filling is divine on its own, this recipe is a blank canvas for fruit jams, fresh berries, or chocolate chips.
- Crowd Pleaser: Who can say no to cheesecake and pastry? These disappear from the plate in seconds.
Ingredients
You only need a handful of ingredients to create these bakery-style treats:
Easy Cream Cheese Puff Pastry Danishes
Ingredients
Equipment
Method
- Preheat oven to 400°F (200°C) and line two baking sheets with parchment paper.
- In a mixing bowl, beat cream cheese, granulated sugar, vanilla, and lemon juice until smooth and creamy.
- Unfold thawed puff pastry sheets on a lightly floured surface. Cut each sheet into 4 equal squares.
- Lightly score a border 1/2 inch from the edge of each square using a knife (do not cut through).
- Place a generous spoonful of filling in the center of each square, spreading slightly within the border.
- Brush the exposed pastry edges with the egg wash.
- Bake for 15-20 minutes until the pastry is puffed and deep golden brown.
- Whisk powdered sugar and milk to create a glaze. Drizzle over warm danishes before serving.
Notes
- Puff Pastry (1 package / 2 sheets): Find this in the frozen dessert aisle. Thaw it according to the package instructions (usually 40 minutes on the counter or overnight in the fridge). Keep it cold until you are ready to bake!
- Cream Cheese (8 oz): Use full-fat, brick-style cream cheese. Soften it to room temperature so it mixes smoothly without lumps.
- Granulated Sugar (1/3 cup): Sweetens the filling.
- Vanilla Extract (1 tsp): Adds that classic bakery aroma.
- Lemon Juice (1 tsp): A tiny splash of acid brightens the flavor and cuts through the richness of the cheese.
- Egg (1 large): You will use this for an “egg wash” (brushed on the pastry) to give it that shiny, golden-brown bakery finish.
- Powdered Sugar & Milk: For the optional (but highly recommended) glaze.
Instructions
Follow these steps for danishes that look like they came from a professional patisserie.
Step 1: Preparation
Preheat your oven to 400°F (200°C). Line two large baking sheets with parchment paper. This prevents sticking and makes cleanup a breeze.

Step 2: Make the Filling
In a medium mixing bowl, beat the softened cream cheese, granulated sugar, vanilla extract, and lemon juice together until completely smooth and creamy. You can use a hand mixer or just a sturdy whisk and some elbow grease.
Step 3: Prepare the Pastry
Unfold your thawed puff pastry sheets onto a lightly floured surface. Use a rolling pin to gently smooth out the creases. Cut each sheet into 4 large squares (for a total of 8 danishes) or 9 smaller squares (for 18 mini danishes).
Pro Tip: Use a sharp knife to lightly score a border about 1/2 inch from the edge of each square. Do not cut all the way through! This tells the pastry to puff up around the edges, creating a “wall” to hold the filling.
Step 4: Fill and Wash
Place a generous dollop (about 1.5 tablespoons) of the cream cheese mixture into the center of each square. Spread it slightly, staying inside the scored border.
In a small bowl, beat the egg with a splash of water. Use a pastry brush to brush the exposed edges of the pastry with the egg wash. This is the secret to that glossy, golden color.
Step 5: Bake
Bake for 15-20 minutes. Keep an eye on them! You want the pastry to be puffed and deep golden brown. The filling might look a little bubbly, which is perfect.
Step 6: Glaze and Serve
While the danishes cool slightly, whisk together 1/2 cup of powdered sugar with 1 tablespoon of milk until you have a thick glaze. Drizzle over the warm pastries. Serve immediately for the best “gooey” experience.
Tips for Puff Pastry Success
Keep it Cold: Puff pastry relies on cold layers of butter to rise. If your dough gets too warm and sticky, pop it back in the fridge for 10 minutes before baking.
Don’t Overfill: It is tempting to pile on the cheese, but too much filling can weigh down the pastry and cause it to bake unevenly or spill over.
Thaw Properly: Do not try to unfold frozen pastry, or it will crack. Let it thaw gently.
Variations: Before baking, add a dollop of strawberry jam or a few blueberries on top of the cream cheese for a fruit danish variation.
Storing and Reheating
Storage: These are best eaten fresh, but you can store leftovers in an airtight container in the refrigerator for up to 3 days.
Reheating: To restore the flaky texture, reheat in a toaster oven or air fryer at 350°F for 3-5 minutes. Microwaving will make the pastry chewy and soft (which is still delicious, but less authentic).
Freezing: You can freeze the unbaked assembled danishes. When ready to eat, bake them from frozen, adding a few extra minutes to the baking time.
Final Thoughts
These Easy Cream Cheese Puff Pastry Danishes are the ultimate “cheat” recipe. They deliver all the satisfaction of a high-end bakery treat with a fraction of the effort. Whether you serve them for a special holiday breakfast or just a Tuesday morning pick-me-up, the combination of warm, flaky crust and sweet, creamy filling is guaranteed to bring a smile to your face. Enjoy the flakiness!