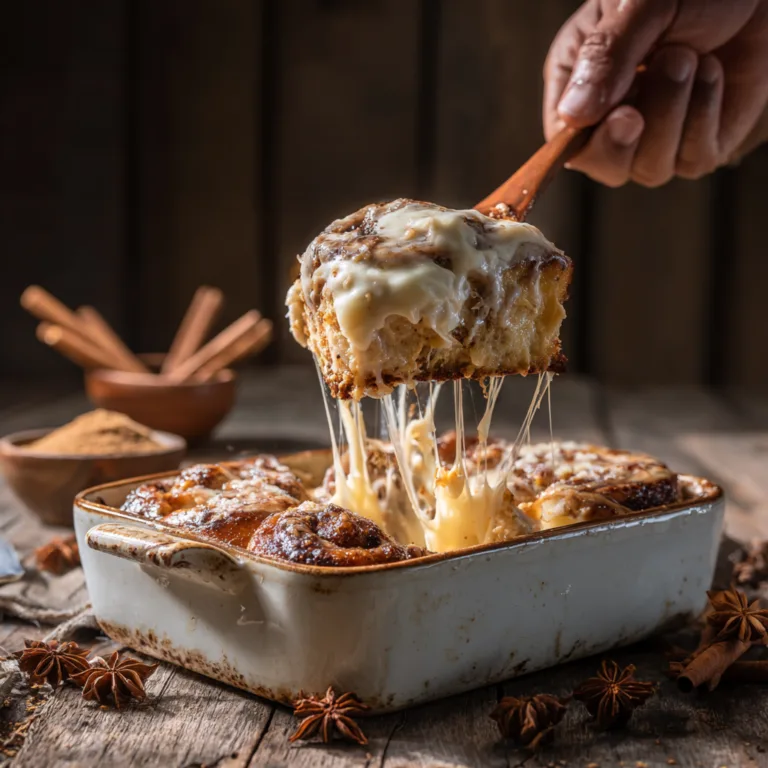
No-Bake Chocolate Peanut Butter Rice Krispie Bars
🍫 The Easiest Indulgence: No-Bake Chocolate Peanut Butter Rice Krispie Bars
🚀 Speed and Sweetness: Why No-Bake is the Best Bake
There is a profound, nostalgic comfort found in classic cereal treats, but this version—the No-Bake Chocolate Peanut Butter Rice Krispie Bars—takes that simple pleasure and elevates it into a truly decadent dessert. What makes this recipe an absolute staple? It requires zero oven time, demands minimal effort, and delivers maximum flavor impact. This is the ultimate solution for satisfying a fierce sweet craving in under 30 minutes of active work, making it perfect for last-minute gatherings, rainy day baking projects, or simply when you need a quick, chocolatey pick-me-up.
This isn’t just a basic rice krispie bar; this is a dense, deeply flavored layer of sweet, salty, and gooey peanut butter crunch, topped with a generous, thick, viscous coating of rich chocolate. The crowning glory is the sprinkle of flaked sea salt, which provides a crucial contrast, elevating the entire experience from simple treat to sophisticated confection. The peanut butter layer achieves a heavy, gooey consistency that binds the cereal perfectly, while the melted chocolate sets into a satisfying, glossy shell. It’s a texture lover’s dream: crunchy cereal, creamy peanut butter, and a smooth, thick chocolate layer—all working in perfect harmony. Prepare to forget every other no-bake dessert you’ve ever tried.
🥜 The Core Four: Building the Decadent Layers
The genius of this recipe lies in its incredibly short ingredient list. We use just four main components (plus salt) to build a complex, multi-layered flavor profile. The quality of your ingredients, especially the chocolate chips and peanut butter, will significantly impact the final thick, gooey texture and taste.
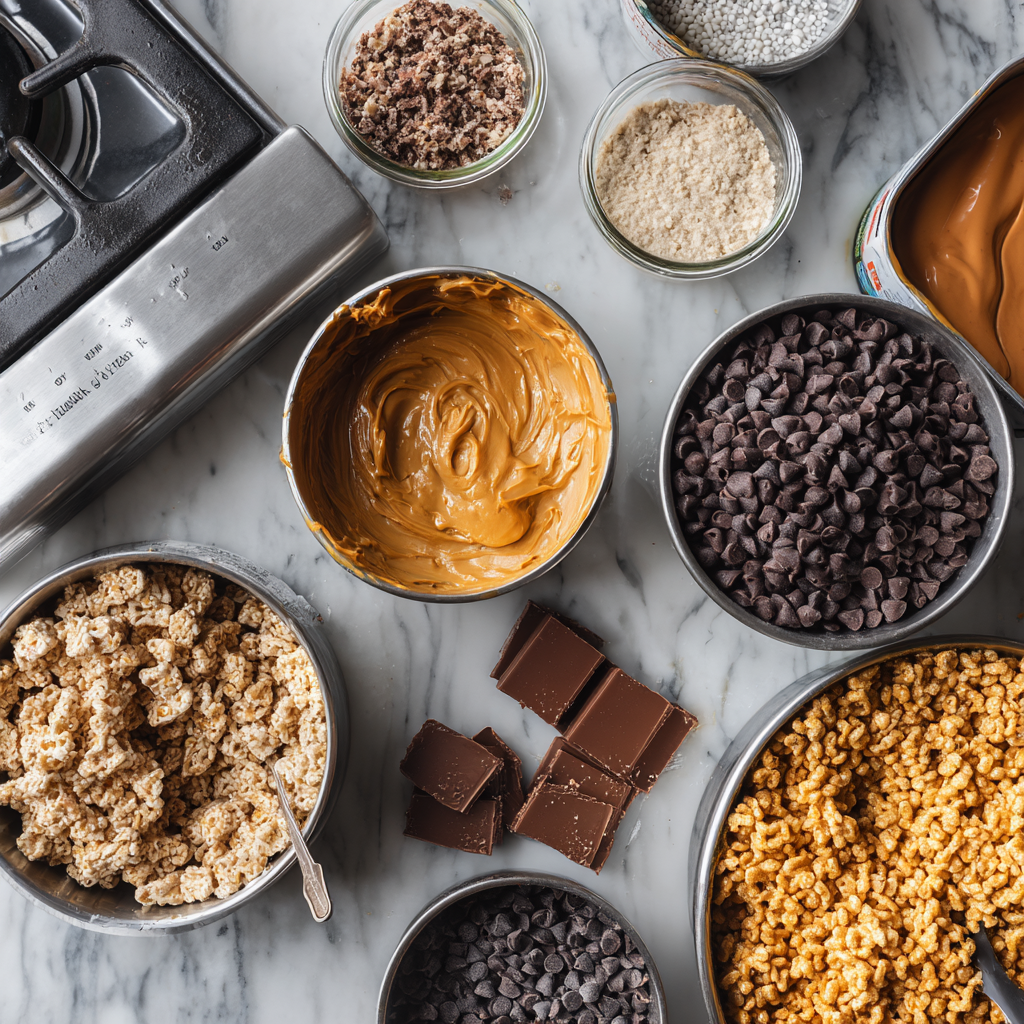
Ingredients
| Component | Amount | Unit | Name | Notes |
|---|---|---|---|---|
| Peanut Butter Base | 1.5 | cups | Chocolate Chips | Semi-sweet or milk chocolate |
| 1/3 | cup | Creamy Peanut Butter | Natural style can be too oily | |
| 1 | cup | Rice Krispies | Crisped rice cereal | |
| Chocolate Topping | 1.5 | cups | Chocolate Chips | For the top layer |
| 1/3 | cup | Creamy Peanut Butter | For the top layer, adds gooey consistency | |
| 1 | tbsp | Unsalted Butter or Coconut Oil | Aids melting and gloss | |
| Finishing Touch | 1/2 | tsp | Flaked Sea Salt | Maldon or other coarse flakes |
Note: The ingredients in the image are slightly different (1 1/2 cups chips, 1/3 cup peanut butter, 1 cup rice krispies). We will use these proportions for the base and adapt them for a separate topping layer to achieve the classic “bar” look from the image, ensuring a rich chocolate-to-peanut-butter ratio.
🥄 The Melting Point: Crafting the Gooey Perfection
The key to these bars is the technique used to melt the components, which determines the final thick, heavy, viscous consistency of both the base and the topping. We use two separate melting phases to ensure distinct layers, giving the bars a professional, appealing look, despite the amateur cooking style.
Instructions
- Prepare the Pan: Line an 8×8 inch square baking dish with parchment paper, leaving an overhang on two sides to easily lift the bars out later. Lightly grease the exposed paper.
- Melt the Base (Chocolate Peanut Butter): In a heavy-bottom stainless steel saucepan, combine the first 1.5 cups of chocolate chips and the first 1/3 cup of creamy peanut butter. Heat over the lowest setting of your compact stainless steel gas range, stirring constantly until the mixture is completely smooth and melted. Alternatively, use a microwave safe bowl and heat in 30-second intervals until smooth. The mixture should achieve a thick, gooey, viscous consistency.
- Mix the Base: Remove the melted mixture from the heat. Quickly stir in the 1 cup of Rice Krispies cereal until the cereal is completely coated. The mixture will be heavy and sticky.
- Press the Base: Immediately press the heavy, gooey cereal mixture firmly and evenly into the bottom of the prepared 8×8 inch pan. Use the back of a spatula or a piece of lightly oiled parchment paper to press it down tightly. Set aside.
- Melt the Topping (Chocolate Peanut Butter Coating): In a clean saucepan or microwave safe bowl, combine the second 1.5 cups of chocolate chips, the second 1/3 cup of creamy peanut butter, and the 1 tbsp of butter or coconut oil. Melt gently over low heat, stirring constantly until the mixture is glossy and perfectly smooth. This mixture should also be thick and viscous, forming the perfect gooey topping.
- Pour and Spread: Pour the melted chocolate peanut butter coating evenly over the pressed rice krispie base. Tilt the pan gently to spread the thick, gooey layer to the edges.
- Sprinkle the Salt: Immediately sprinkle the flaked sea salt evenly over the warm chocolate topping. The salt will adhere as the chocolate begins to set.
- Set the Bars: Transfer the pan to the refrigerator for at least 2 hours, or until the chocolate topping is completely firm and set.
- Cut and Serve: Once firm, use the parchment paper overhangs to lift the whole block out of the pan. Place on a cutting board and cut into 16 even squares or rectangles. Serve immediately or store.
🌰 The Peanut Butter Principle: Ensuring Optimal Goo
The choice of peanut butter is surprisingly critical to the final texture of these bars. To ensure the gooey, thick consistency that holds the bars together and provides that rich, familiar flavor, there are a few rules to follow:
- Go Creamy: Always use creamy peanut butter. Crunchy peanut butter will work, but it sacrifices some of the luxurious mouthfeel and the gooey binding power needed for a firm, yet yielding, bar.
- Avoid Natural/Stir-Style: While healthy, the all-natural peanut butters that separate into oil and solids are generally too oily for no-bake recipes. They don’t provide the necessary structure, leading to a base that crumbles or is too greasy. For a true, heavy, gooey texture that sets up well, stick to conventional, stabilized creamy peanut butter.
- Don’t Overcook: When melting the base, use the lowest possible heat setting. Overheating chocolate and peanut butter can cause the mixture to seize or become grainy, destroying the viscous, smooth consistency you are aiming for. Gentle warmth and patience are key for a flawless melt.

🍪 Variations and Customization: Beyond the Crunch
While the core recipe is simple perfection, these No-Bake Chocolate Peanut Butter Rice Krispie Bars are incredibly adaptable to various tastes and dietary needs.
- Chocolate Depth: For a darker, more complex flavor, use a mix of semi-sweet and dark chocolate chips (up to 70% cacao) for the topping. The bitterness will enhance the saltiness of the flaky sea salt.
- Nut Butter Swap: Replace the peanut butter entirely with almond butter, cashew butter, or sunflower seed butter for allergy reasons or simply a flavor change. Note that textures may vary slightly, but the thick, gooey consistency should generally be maintained.
- Cereal Crunch: Substitute the Rice Krispies with another crispy cereal like Corn Flakes, Cheerios, or even crushed pretzels for a salty twist. The proportion remains the same, but the final bar may be denser and less “crispy.”
- Add-Ins: Before pressing the base, stir in 1/4 cup of mini chocolate chips, chopped peanuts, or even finely chopped pretzels for extra crunch and complexity within the gooey base.
❄️ Storage and Serving: Maximizing Shelf Life
One of the great advantages of a no-bake dessert is its excellent shelf life, making these bars perfect for prepping ahead for parties or daily treats.
Storage: Once cut, the bars can be stored in an airtight container at room temperature for up to 5 days. If your kitchen is very warm, the chocolate coating may soften too much, compromising the thick, gooey consistency. In that case, refrigeration is best.
Refrigeration: The bars will firm up significantly in the refrigerator and maintain their shape perfectly. They can be stored chilled for up to 10 days. For the best texture (slightly less hard), allow them to sit at room temperature for 10-15 minutes before serving.
Freezing: These bars freeze exceptionally well! Wrap individual bars tightly in plastic wrap, then place them in a freezer-safe bag or container. They can be frozen for up to 3 months. Thaw them in the refrigerator overnight or on the counter for about 30 minutes before serving. Even after freezing, the thick, heavy, viscous peanut butter and chocolate layers should maintain their structure beautifully.
💯 The Final Bite: An Unstoppable Sweet Treat
The No-Bake Chocolate Peanut Butter Rice Krispie Bars are the ultimate marriage of flavor, texture, and convenience. They offer that dense, gooey consistency we all crave, paired with the irresistible salty-sweet crunch that makes them utterly addictive. This recipe proves that you don’t need a complicated baking process or high-end equipment—just a few simple ingredients and a little patience while the chocolate sets. With the perfect balance of creamy peanut butter, rich chocolate, and the essential flair of flaked sea salt, this easy-to-make treat is guaranteed to become your new favorite go-to dessert.
No-Bake Chocolate Peanut Butter Rice Krispie Bars
Ingredients
Equipment
Method
- Line an 8×8 inch pan with parchment paper, leaving an overhang.
- Melt the base ingredients (1.5 cups chips and 1/3 cup peanut butter) gently until smooth and achieving a thick, viscous consistency. Do not overheat.
- Remove from heat and quickly stir in the 1 cup of Rice Krispies until fully coated.
- Press the heavy, gooey mixture firmly and evenly into the prepared pan. Set aside.
- Melt the topping ingredients (1.5 cups chips, 1/3 cup peanut butter, 1 tbsp butter/oil) until smooth, glossy, and thick.
- Pour the thick, gooey coating over the base and spread evenly. Immediately sprinkle with flaked sea salt.
- Refrigerate for at least 2 hours until the chocolate is completely firm and set.
- Lift bars out of the pan using the parchment paper and cut into 16 squares. Store airtight.