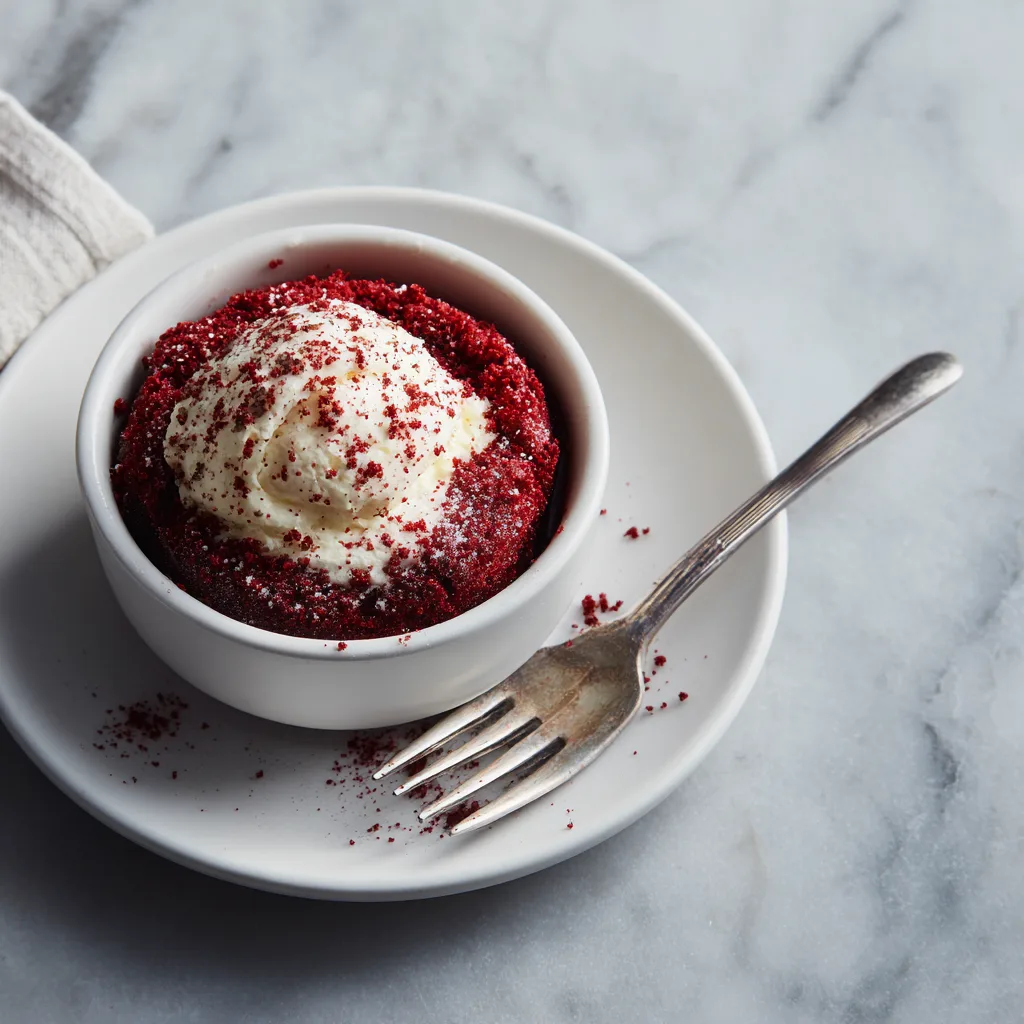
The Ultimate Guide to the Perfect Red Velvet Mug Cake
There is a unique kind of magic in the ability to conjure a warm, fluffy, deeply comforting dessert out of thin air—or rather, out of a few pantry staples and a microwave. We have all experienced those sudden, undeniable cravings for something sweet, rich, and satisfying. Perhaps it is late at night, or maybe it is a rainy afternoon, and the thought of preheating an oven, lining cake pans, and waiting an hour is simply out of the question. Enter the red velvet mug cake: a single-serving masterpiece that delivers all the luxurious flavor and velvety texture of a traditional red velvet cake, but in a fraction of the time. This isn’t just a quick fix; it’s a legitimate, delicious dessert experience that you can whip up in less than five minutes.
Red velvet is more than just chocolate cake with red food dye. It is a distinct flavor profile—a delicate balance of mild cocoa, tangy buttermilk or vinegar, and sweet vanilla, all wrapped in a tender, moist crumb. Recreating this delicate balance in a microwave might seem like a tall order, but with the right ratios and a little bit of microwave science, it is entirely possible. In this comprehensive guide, we will explore everything you need to know to master the beginner-friendly red velvet mug cake. From the history of the flavor to the science of microwave baking, we are leaving no stone unturned.
The History and Mystique of Red Velvet
Before we dive into the mechanics of making a mug cake, it is worth understanding what makes red velvet so special. The origins of red velvet cake are somewhat debated, but it is generally agreed that it rose to prominence in the United States during the early 20th century. During the Victorian era, “velvet” cakes were a class of cakes known for their smooth, soft crumb, which was achieved by using almond flour, cocoa, or cornstarch to break down the protein in the wheat flour.
The “red” part of the equation has a fascinating scientific origin. Before the widespread use of heavily processed Dutch cocoa, natural cocoa powder contained a high level of anthocyanins—colorless compounds that turn dark red when exposed to an acid. Traditional red velvet recipes relied on the chemical reaction between natural cocoa powder, acidic buttermilk, and vinegar to create a subtle, mahogany-red hue. It wasn’t the bright, shocking crimson we often see today; it was a more rustic, reddish-brown.
During World War II, when foods were rationed, bakers began using boiled beet juices to enhance the color and retain moisture in their cakes. However, the bright, vibrant red velvet cake we know today largely owes its popularity to the Adams Extract company, an American flavor extract and food coloring business. In the mid-20th century, they heavily marketed their red food coloring with a recipe for “Adams Red Velvet Cake,” and the brightly colored dessert became a national sensation, particularly in the Southern United States.
Today, red velvet is a beloved flavor worldwide, finding its way into cookies, pancakes, ice cream, and, of course, our ultra-convenient mug cake. The goal of a great red velvet mug cake is to capture that historical balance of cocoa, vanilla, and tanginess, ensuring it tastes as good as it looks.
Why You Will Love This Mug Cake Recipe
If you have ever been skeptical of microwave baking, this recipe is guaranteed to change your mind. Here are just a few reasons why this red velvet mug cake will become your go-to dessert:
- Instant Gratification: From craving to first bite, the entire process takes about five minutes. There is no waiting for the oven to preheat or the cake to cool down before frosting.
- Portion Control: Baking a whole cake when you live alone or only want a small treat can be dangerous. A mug cake provides exactly one satisfying serving, eliminating the temptation of leftovers.
- Minimal Cleanup: You mix and “bake” the cake in the exact same vessel you eat it from. All you need to wash is a mug, a measuring spoon, and a fork.
- Egg-Free Perfection: One of the most common complaints about mug cakes is that they taste like sweet omelets. This happens when a whole egg is used in such a small amount of batter. This recipe completely skips the egg, relying on baking powder and vinegar for lift, resulting in a perfectly tender, cakey crumb.
- Customizable: The base recipe is incredibly versatile. You can tweak the sweetness, add mix-ins like chocolate chips, or experiment with different types of frosting.
Detailed Ingredient Breakdown
To achieve the perfect texture and flavor, it is important to understand the role of each ingredient in your mug cake. Because we are working with such small quantities, precision is key.
- All-Purpose Flour: The foundation of our cake. It provides the necessary structure. Be sure to measure by spooning the flour into your measuring spoon and leveling it off, rather than scooping directly from the bag, which can pack the flour and lead to a dense, dry cake.
- Granulated Sugar: Provides sweetness and helps keep the cake moist by locking in water during the brief cooking process.
- Unsweetened Cocoa Powder: You only need a small amount—just one tablespoon. Red velvet is not a chocolate cake; it should have only a mild chocolate flavor. Natural cocoa powder is traditional, but Dutch-processed works perfectly well here too.
- Baking Powder: Our primary leavening agent. Without an egg, baking powder is crucial for making the cake rise and become fluffy rather than heavy and gummy.
- Salt: A tiny pinch is essential in all baking. It enhances the vanilla and cocoa flavors and balances the sweetness.
- Milk: Adds moisture and richness. Whole milk yields the best flavor, but you can easily substitute 2%, skim, or any plant-based milk like almond, oat, or soy.
- Vegetable Oil: Fat is necessary for a tender crumb. Oil is actually preferable to melted butter in mug cakes because oil remains liquid at room temperature, which keeps the cake tasting moister. Canola, sunflower, or melted coconut oil all work beautifully.
- White Vinegar (or Apple Cider Vinegar): This is the secret ingredient! The acid reacts with the baking powder to give the cake an extra lift, and it provides that signature red velvet tang that normally comes from buttermilk.
- Vanilla Extract: Vanilla is a dominant flavor profile in authentic red velvet. Do not skip it!
- Red Food Coloring: Liquid or gel coloring works. Gel is more concentrated, so you will need less. If you prefer to avoid artificial dyes, you can omit it entirely—it will just be a “brown velvet” cake, but it will taste exactly the same!
The Science of Microwave Baking
Baking in an oven relies on conduction and convection—hot air surrounds the pan, slowly transferring heat from the outside in. This takes time, allows for caramelization (browning), and creates a crust.
Microwaves, on the other hand, work by emitting electromagnetic waves that specifically target water, fat, and sugar molecules, causing them to vibrate rapidly. This vibration generates heat, which cooks the food from the inside out almost instantaneously. Because there is no hot dry air surrounding the cake, a microwave cake will not develop a crust or brown on top. Instead, it essentially steams itself in its own moisture.
This rapid steaming is why mug cakes can sometimes become rubbery if overcooked. The water evaporates too quickly, leaving the starches tough. By omitting the egg (whose proteins can easily become rubbery in the microwave) and balancing the liquid-to-flour ratio carefully, we ensure the steam creates a spongy, delightful texture instead of a chewy one.
Step-by-Step Instructions for the Perfect Mug Cake
- Choose the Right Mug: This is arguably the most important step! Use a microwave-safe mug that holds at least 12 to 14 ounces of liquid. The cake will rise significantly while cooking, often peaking above the rim of the mug before settling down. If your mug is too small, you will have a volcanic eruption of red batter all over your microwave plate.
- Whisk the Dry Ingredients: In your chosen mug, add the flour, sugar, cocoa powder, baking powder, and a pinch of salt. Use a small fork or a mini whisk to thoroughly combine these until no streaks of cocoa remain. Mixing the dry ingredients first prevents clumps of baking powder or cocoa later.
- Add the Wet Ingredients: Pour in the milk, oil, vinegar, vanilla extract, and red food coloring.
- Mix Thoroughly: Stir the mixture vigorously with your fork. Be sure to scrape the “corners” at the bottom of the mug, as dry flour loves to hide down there. You want a smooth, vibrantly red batter. If it looks too pale, add another drop of food coloring. Do not overmix once the batter is smooth, or you may develop too much gluten.
- Microwave: Place the mug in the center of your microwave. Cook on high power for anywhere from 60 to 90 seconds. Because microwaves vary wildly in wattage (ranging from 700W to 1200W+), you must watch it closely. The cake is done when the top looks set and dry, though it may still be slightly shiny. If you gently touch the top, it should spring back.
- Let it Rest: This is the hardest part. Let the mug cake sit for at least 2 minutes before eating. The residual heat will finish cooking the center, and allowing it to cool slightly prevents you from burning your tongue and allows the crumb to set.
- Frost and Enjoy: Top with your chosen frosting and dive in!
Red Velvet Mug Cake
Ingredients
Equipment
Method
- In a 12-ounce or larger microwave-safe mug, whisk together the flour, sugar, cocoa powder, baking powder, and salt until completely blended.
- Add the milk, vegetable oil, vanilla extract, white vinegar, and red food coloring to the mug. Stir vigorously with a fork until the batter is smooth and uniformly red. Be sure to scrape the bottom edges to mix in any trapped dry flour.
- Microwave on high for 60 to 90 seconds. The exact time depends on your microwave’s wattage. The cake is done when the top looks set and springs back when lightly touched.
- Carefully remove the mug from the microwave (it will be hot) and let it cool for at least 2 minutes.
- While the cake cools, mash the softened cream cheese, butter, powdered sugar, and vanilla together in a small bowl until smooth.
- Spoon the frosting over the warm mug cake and enjoy immediately.
Notes
The Crowning Glory: Cream Cheese Frosting
A red velvet cake without cream cheese frosting is practically a culinary crime. The rich, sweet, and tangy frosting is the perfect foil to the mild cocoa cake. While you can certainly eat this mug cake plain, whipping up a quick single-serving frosting elevates it from a late-night snack to a true gourmet dessert.
Quick Single-Serve Cream Cheese Frosting:
- 1 ounce (about 2 tablespoons) full-fat cream cheese, softened
- 1 tablespoon unsalted butter, softened
- 3 to 4 tablespoons powdered (confectioner’s) sugar
- A tiny dash of vanilla extract
In a small bowl, aggressively mash the softened cream cheese and butter together with a fork until smooth. Stir in the powdered sugar one tablespoon at a time until you reach your desired sweetness and consistency. Add the vanilla and mix well. Dollop generously onto your warm (but not piping hot) mug cake. The heat from the cake will slightly melt the frosting, creating a luscious, creamy sauce that seeps into every bite.
Pro Tips for Mug Cake Success
Even though mug cakes are famously easy, a few expert tips can take your dessert from “good enough” to “bakery quality.”
- Know Your Microwave Wattage: A 1200-watt microwave might cook this cake in exactly 60 seconds. A 700-watt microwave might take 1 minute and 45 seconds. Start checking at the 60-second mark. It is always better to slightly undercook a mug cake than to overcook it. An undercooked cake is just a bit gooey in the center (like a lava cake); an overcooked cake is dry and rubbery.
- Level Your Flour: As mentioned earlier, too much flour is the enemy of a moist cake. Use the spoon-and-level method.
- Don’t Skip the Acid: The tiny splash of vinegar might seem strange, but it is doing heavy lifting. It reacts with the baking powder to make the cake light and airy, and it cuts the sweetness just enough to balance the flavor profile.
- Clean the Edges: Before microwaving, wipe down the inside edges of the mug above the batter with a damp paper towel. Stray drops of batter on the sides will cook instantly and burn, which can impart a bitter flavor to the whole cake.
Delicious Variations and Dietary Adaptations
One of the joys of a single-serve recipe is how easily you can experiment without risking a whole batch of ingredients. Here are a few ways to customize your red velvet mug cake:
- Vegan Red Velvet: This recipe is already incredibly close to being vegan! Just ensure your sugar is vegan-friendly (some are processed with bone char) and use a plant-based milk (like almond, soy, or oat) and a neutral vegetable oil. For the frosting, use a dairy-free cream cheese and vegan butter alternative.
- Gluten-Free: Swap the all-purpose flour for a high-quality 1:1 gluten-free baking blend that contains xanthan gum. Oat flour can also work in a pinch, though the texture will be slightly denser and less traditionally “cake-like.”
- Chocolate Chip Red Velvet: Stir a tablespoon of mini semi-sweet or white chocolate chips into the batter before microwaving. The chips will melt into little pockets of molten chocolate throughout the cake.
- The Lava Center: For an extra decadent treat, mix the batter as directed. Then, drop a small spoonful of Nutella, a piece of dark chocolate, or a spoonful of cream cheese frosting directly into the center of the raw batter. Do not stir. As the cake cooks around it, the center will remain a gooey, delicious surprise.
- Dye-Free Red Velvet: If you are sensitive to food coloring or simply don’t have any on hand, you can omit it. To get a naturally reddish hue, try using a teaspoon of beetroot powder, though this will slightly alter the flavor. Alternatively, just embrace the “brown velvet”—it tastes identical!
Troubleshooting Common Mug Cake Issues
Did your mug cake not turn out perfectly? Here is how to diagnose and fix common problems for next time:
The cake is rubbery or chewy: This is almost always caused by overcooking. Next time, reduce the cooking time by 10 to 15 seconds. It can also be caused by overmixing the batter, which develops the gluten in the flour too much. Mix just until the ingredients are combined.
The cake overflowed and made a huge mess: Your mug was too small, or you added too much baking powder. Ensure your mug is at least 12 ounces. If you are using a smaller, teacup-style mug, divide the batter into two cups and cook them separately.
The cake is dry: Again, overcooking is a likely culprit. Another possibility is that you packed too much flour into your measuring spoon. Make sure you are leveling off your dry ingredients properly.
The cake is gooey and undercooked: Your microwave might be on the lower end of the wattage scale. Pop it back in for 10-second bursts until the top is set.
Serving Suggestions and Presentation
While a mug cake is inherently casual, that doesn’t mean it can’t look beautiful. If you want to impress a late-night guest (or just treat yourself), try these serving ideas:
- Dusting: A light dusting of powdered sugar or cocoa powder over the frosting adds an immediate touch of elegance.
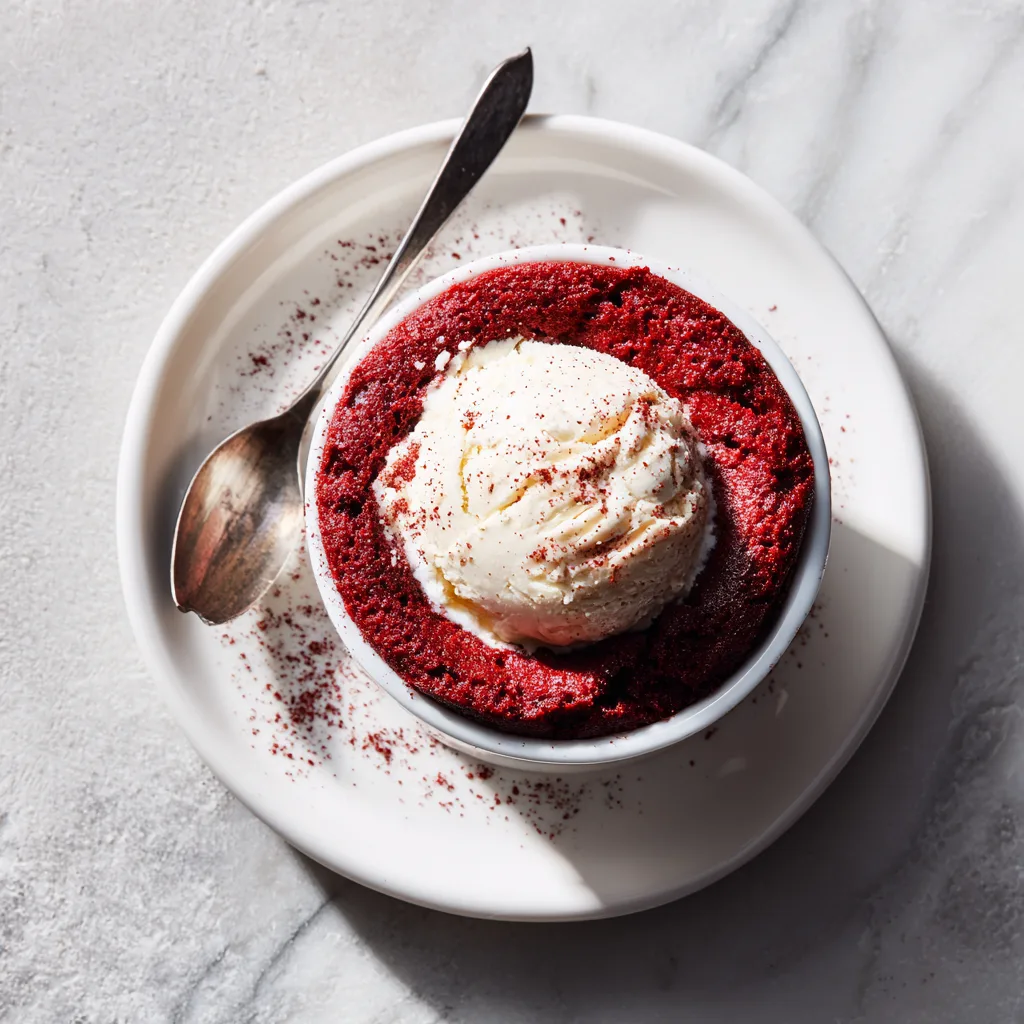
- Ice Cream: Skip the frosting and immediately top the warm cake with a scoop of premium vanilla bean ice cream. The contrast of the hot cake melting the cold ice cream is phenomenal.
- Fresh Fruit: Red velvet pairs beautifully with fresh berries. A few raspberries or sliced strawberries on top add a bright, acidic bite that cuts through the richness of the cake.
- The “Un-Mugged” Cake: If you spray your mug generously with non-stick spray before mixing the batter, you can often run a butter knife around the edge of the cooked cake and invert it onto a small plate. Suddenly, you have a beautiful, freestanding mini cake ready to be frosted like a professional tier.
Conclusion
The red velvet mug cake is a triumph of modern convenience meeting classic culinary tradition. It allows anyone, regardless of baking skill or available equipment, to enjoy a warm, homemade dessert in mere minutes. By understanding the simple science behind microwave baking, measuring carefully, and balancing the iconic flavors of cocoa, vanilla, and tang, you can achieve a perfect single-serving cake every time. So the next time that sweet tooth strikes, put away the mixing bowls and cake pans. Grab your favorite mug, head to the pantry, and treat yourself to the fastest, easiest, and most satisfying red velvet experience imaginable.