5-Ingredient Gluten-Free Crepes (Dairy-Free & Nut-Free)
The Ultimate 5-Ingredient Gluten-Free Crepes (Dairy-Free & Nut-Free)
There is something undeniably magical about a fresh, warm crepe. The delicate, lacy edges, the tender center, and the endless possibilities for both sweet and savory fillings make crepes a beloved breakfast, brunch, or dessert option around the world. However, if you live with dietary restrictions, the traditional crepe—heavy on wheat flour, butter, and cow’s milk—can feel entirely out of reach. That is precisely why we have developed this revolutionary recipe for Gluten-Free Crepes that are also entirely dairy-free and nut-free. Best of all? They require only five simple, healthy ingredients that you likely already have in your pantry.
For years, the gluten-free community has struggled with crepe recipes that tear in the pan, taste overly gritty, or require a laundry list of expensive, hard-to-find specialty gums and starches. Furthermore, many gluten-free recipes rely heavily on almond flour or dairy milk to achieve the right texture and flavor, alienating those with nut allergies or lactose intolerance. This recipe is designed to strip away the complexity and deliver a classic, authentic crepe experience without any of the common allergens. Whether you are cooking for someone with celiac disease, a dairy allergy, or a school environment that requires nut-free meals, these crepes are going to become a staple in your culinary repertoire.
Why You Will Love This 5-Ingredient Recipe
When we say this recipe is a game-changer, we mean it. Here is exactly why these gluten-free crepes will become your new go-to weekend breakfast:
- Only 5 Ingredients: Forget complicated flour blends with ten different components. This recipe utilizes accessible, whole-food ingredients to create the perfect batter.
- Allergy-Friendly: Being gluten-free, dairy-free, and nut-free means almost anyone can enjoy these, regardless of their dietary restrictions. They are perfect for hosting guests with diverse needs.
- Perfect Texture: Despite missing gluten, butter, and heavy cream, these crepes roll, fold, and stretch beautifully without cracking or tearing.
- Versatile Flavor Profile: The base batter is neutral enough to support both sweet fillings (like berries and maple syrup) and savory fillings (like spinach, mushrooms, and dairy-free cheese).
- Quick and Easy: From mixing bowl to hot skillet, these crepes come together in minutes. There is no complicated kneading, rising, or baking required.
The History and Evolution of the Crepe
To truly appreciate a great crepe, it helps to understand its origins. Crepes originated in Brittany, a region in the northwest of France. The landscape there was famously rocky and the climate damp, making it difficult to grow traditional wheat. However, buckwheat thrived in these conditions. The original French crepes (often called galettes) were actually made from buckwheat flour, making them naturally gluten-free! It wasn’t until the turn of the 20th century, when white wheat flour became more affordable and widely available, that the sweet, white-flour crepes we commonly associate with French cuisine became popular.
In a way, returning to a gluten-free crepe is a return to the dish’s historical roots. While this specific recipe utilizes a modern gluten-free oat or all-purpose blend rather than traditional savory buckwheat, the spirit of adaptability remains the same. The crepe was always meant to be a simple, humble vessel for local ingredients, and this allergy-friendly adaptation honors that tradition by making the dish accessible to modern households.
Deep Dive: The 5 Healthy Ingredients
When a recipe has only five ingredients, the quality and role of each component are incredibly important. Here is a breakdown of what goes into these healthy gluten-free crepes and why each ingredient is crucial to the final result.
1. Certified Gluten-Free Oat Flour (or GF All-Purpose Blend)
The foundation of our crepe is a high-quality gluten-free flour. We highly recommend using certified gluten-free oat flour. Oats provide a wonderful, slightly nutty flavor (without actual nuts) and have a soft, tender crumb that mimics traditional wheat flour beautifully. Oat flour is also packed with dietary fiber, particularly beta-glucan, which is known for its heart-health benefits and ability to keep you feeling full and satisfied. Important note: If you are highly sensitive to gluten or have celiac disease, you must ensure your oat flour is certified gluten-free, as standard oats are often cross-contaminated in processing facilities. If you prefer, a standard 1-to-1 gluten-free baking flour blend works exceptionally well here too.
2. Eggs
Eggs are the unsung heroes of gluten-free baking. Because we are omitting gluten—the protein network that gives traditional doughs and batters their elasticity and structure—we need another binder to hold the crepe together. The proteins in the egg whites provide structure and prevent the crepe from tearing when you flip it, while the egg yolks add richness, moisture, and a beautiful golden color to the batter. They are essential for achieving that classic, pliable crepe texture.
3. Plant-Based Milk (Oat or Soy)
To keep this recipe dairy-free and nut-free, we skip the cow’s milk and almond milk entirely. Instead, we use a neutral-tasting plant-based milk. Oat milk is a fantastic choice as it complements the oat flour (if using) and provides a creamy, rich mouthfeel thanks to its natural carbohydrate structure. Soy milk is another excellent alternative; it has a higher protein content than most plant milks, which aids in browning the crepes beautifully in the pan. Ensure your plant milk is unsweetened if you plan to make savory crepes.
4. Melted Coconut Oil
Traditional French crepes rely heavily on melted butter in the batter to create tender edges and prevent sticking. To achieve this while remaining dairy-free, we use melted refined coconut oil. Refined coconut oil has a neutral flavor, meaning your crepes won’t taste like a tropical vacation unless you want them to. The fat from the oil coats the flour particles, inhibiting any toughness and ensuring the crepes cook up with perfectly crispy, lacy edges. You can also use a light olive oil or avocado oil if you prefer.
5. Vanilla Extract (or a pinch of sea salt for savory)
The final ingredient dictates the flavor direction of your crepes. A splash of pure vanilla extract adds a beautiful aroma and a perception of sweetness without adding any refined sugar. This is perfect if you are planning to fill your crepes with fruit, maple syrup, or dairy-free chocolate. If you are leaning towards a savory meal, swap the vanilla for a generous pinch of fine sea salt to enhance the natural flavors of the flour and eggs.
The Science of Gluten-Free Crepe Batter
Making crepes might seem simple, but there is a fascinating bit of food science happening in your mixing bowl and skillet, especially when working with gluten-free ingredients.
One of the most critical steps in making any crepe batter—but particularly a gluten-free one—is the resting period. Gluten-free flours, especially oat flour and rice flours commonly found in blends, take much longer to absorb liquids than traditional wheat flour. If you mix the batter and immediately pour it into a hot pan, the starches haven’t had time to hydrate. This results in a crepe that is gritty in texture and fragile to flip. By allowing the batter to rest for at least 15 to 30 minutes (or even overnight in the refrigerator), you give the starches time to swell and absorb the plant milk and eggs. This hydration process thickens the batter naturally and creates a smoother, more cohesive matrix that yields a tender, resilient crepe.
Essential Equipment for Success
You do not need a professional French crepe maker to achieve stunning results, but having the right basic tools will make the process infinitely smoother.
- The Pan: A high-quality non-stick skillet is non-negotiable for crepes, especially gluten-free ones which can be slightly more prone to sticking. An 8-inch or 10-inch skillet works best. If you have a dedicated cast-iron crepe pan that is very well seasoned, that is fantastic, but a standard non-stick pan is the most foolproof option for home cooks.
- The Blender: While you can whisk this batter by hand, using a high-speed blender is a pro-move. Blending ensures that the eggs and oil are perfectly emulsified into the milk and flour, eliminating any lumps and incorporating a tiny bit of air for lightness.
- A Thin Spatula: An offset spatula or a very thin, flexible silicone spatula is essential for gently lifting the delicate edges of the crepe and executing a seamless flip.
Step-by-Step Instructions
- Blend the Batter: In a high-speed blender, combine the gluten-free flour, eggs, plant-based milk, melted coconut oil, and vanilla extract (or salt). Blend on medium-high for 20-30 seconds until the mixture is completely smooth and frothy. Scrape down the sides if necessary.
- Rest the Batter: Let the blender sit on the counter for at least 15-20 minutes. This is a crucial step to allow the gluten-free flours to hydrate. The batter should be the consistency of heavy cream—thin enough to swirl, but thick enough to coat the back of a spoon. If it thickens too much during resting, whisk in an extra tablespoon of plant milk.
- Heat the Pan: Place your non-stick skillet over medium heat. Allow the pan to get fully heated before cooking. Lightly grease the pan with a tiny drop of coconut oil, wiping away any excess with a paper towel. You only need a microscopic layer of fat.
- Pour and Swirl: Lift the pan off the heat. Pour about 1/4 cup of batter into the center of the pan. Immediately tilt and swirl the pan in a circular motion so the batter coats the entire bottom in an even, thin layer.
- Cook the First Side: Place the pan back on the heat. Cook for 1 to 2 minutes. You will know it is ready to flip when the edges start to look dry and slightly lacey, and the bottom is a light golden brown.
- The Flip: Gently slide your thin spatula under the edges to loosen the crepe. Slide the spatula under the center and quickly flip the crepe over. Cook for an additional 30 to 45 seconds on the second side until set.
- Repeat: Transfer the cooked crepe to a warm plate and cover with a clean kitchen towel to keep it pliable. Repeat the process with the remaining batter, greasing the pan slightly only if necessary.
Pro Tips for Perfect Gluten-Free Crepes Every Time
Even with the best recipe, crepe making is a technique-driven art. Keep these professional tips in mind to avoid common pitfalls:
- The First Crepe Rule: Accept that the very first crepe is almost always a “sacrifice.” It is the crepe that tests the temperature of your pan and the consistency of your batter. Do not get discouraged if the first one is a bit ugly or tears; adjust your heat and proceed. It makes a great chef’s snack!
- Temperature Control: Medium heat is usually the sweet spot, but every stove is different. If your crepes are browning too fast before the top sets, lower the heat. If they are taking more than 2 minutes to brown, bump it up slightly.
- The Swirl Technique: The key to paper-thin crepes is the immediate swirl. The batter begins cooking the second it hits the hot pan, so you must have your wrist ready to tilt the pan the moment you pour.
- Stir Between Pours: Gluten-free flours have a tendency to settle at the bottom of the bowl or blender over time. Give your batter a quick stir or pulse before pouring each new crepe to ensure an even consistency.
Delicious Serving Suggestions and Variations
The beauty of a 5-ingredient neutral crepe is that it acts as a blank canvas for your culinary imagination. Because this recipe is dairy-free and nut-free, here are some allergy-friendly filling ideas to inspire your next brunch:
Sweet Variations
- Classic Berry and Cream: Fill the crepes with fresh strawberries, blueberries, and a dollop of whipped coconut cream. Drizzle with pure maple syrup.
- SunButter and Banana: Since we are keeping it nut-free, swap traditional peanut or almond butter for sunflower seed butter. Spread a layer inside the crepe, add sliced bananas, and fold.
- Cinnamon Sugar Roll-Ups: Brush the warm crepes with a tiny bit of melted coconut oil and sprinkle heavily with a mixture of granulated monk fruit (or regular sugar) and cinnamon. Roll tightly and enjoy warm.
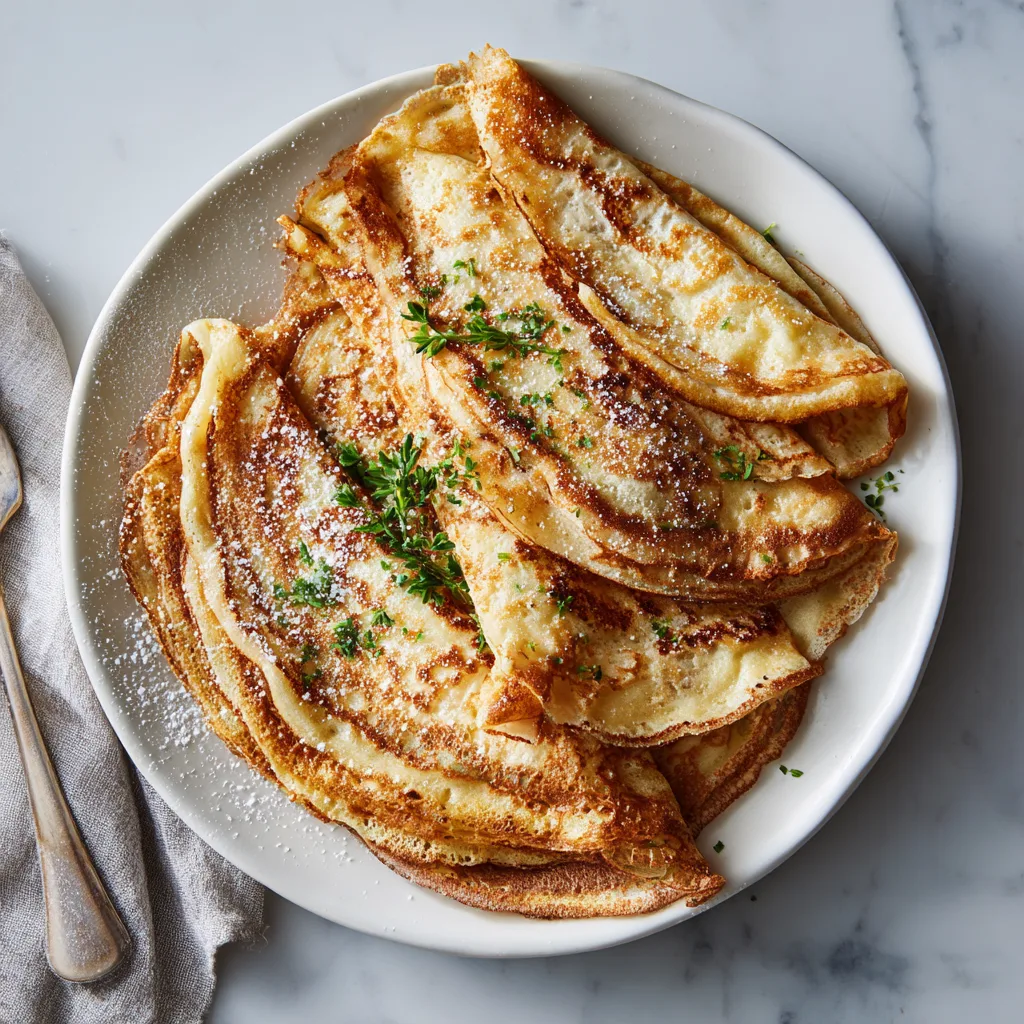
- Lemon Sugar: The traditional British way. A squeeze of fresh lemon juice and a dusting of powdered sugar is incredibly refreshing and light.
Savory Variations
- Spinach and Vegan Feta: Sauté fresh spinach with garlic and fold it into the crepe along with some crumbled, high-quality dairy-free feta cheese.
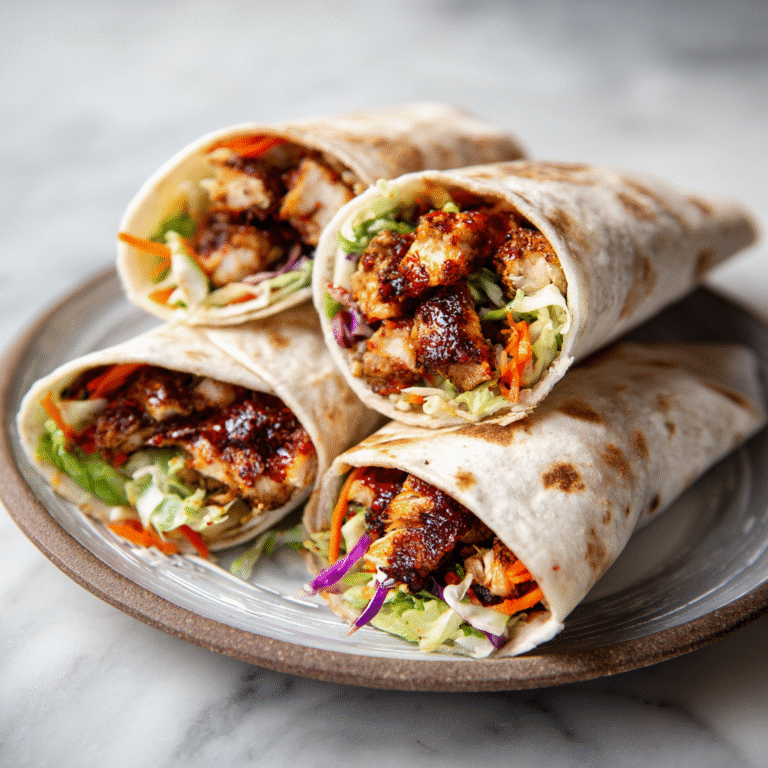
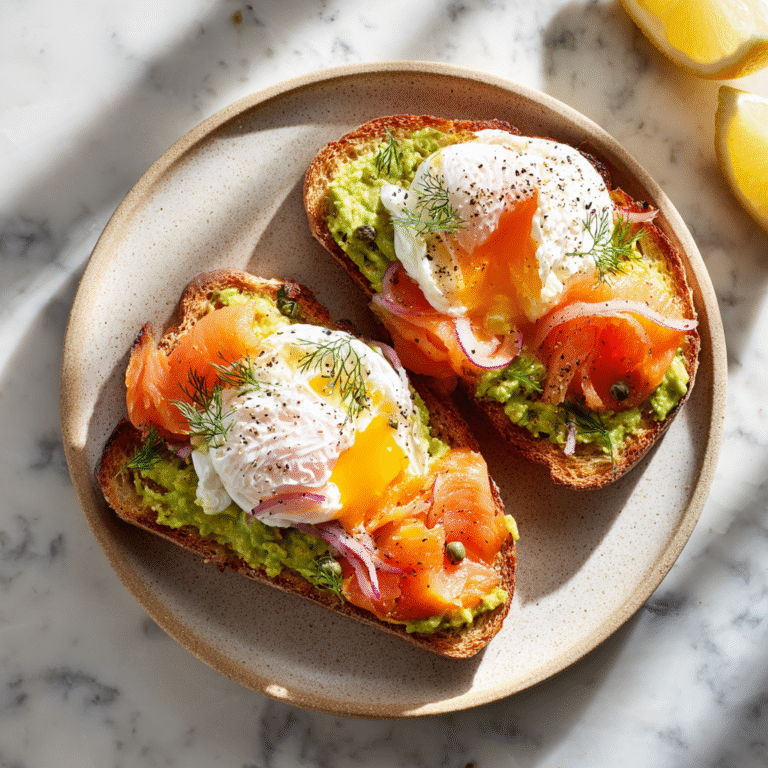
- Smoked Salmon and Dill: Spread a dairy-free cream cheese alternative on the crepe, top with smoked salmon, fresh dill, and capers.
- Roasted Vegetable and Hummus: Fill with a layer of creamy hummus and top with leftover roasted zucchini, bell peppers, and eggplant.
Storage, Freezing, and Reheating Instructions
Crepes are fantastic for meal prep! If you want to make a large batch on Sunday to enjoy throughout the week, they store beautifully.
To Store in the Fridge: Allow the cooked crepes to cool completely. Stack them with a small piece of parchment paper or wax paper between each crepe to prevent them from sticking together. Place the stack in an airtight container or a large zip-top bag and store in the refrigerator for up to 4 days.
To Freeze: Follow the same stacking method with parchment paper between each crepe. Place the stack in a freezer-safe bag, squeeze out as much air as possible, and freeze for up to 2 months. You do not need to thaw them before reheating!
To Reheat: For the best texture, reheat crepes individually in a dry skillet over medium-low heat for about 15-20 seconds per side until warm and pliable. You can also microwave a stack of 2-3 crepes, covered with a damp paper towel, for 15-20 seconds, though the skillet method preserves their delicate edges better.
Conclusion
Living with dietary restrictions should never mean missing out on culinary joys like a lazy Sunday morning filled with warm crepes. By utilizing the magic of just 5 healthy ingredients—gluten-free flour, eggs, plant milk, coconut oil, and a touch of flavor—you can create a dish that is safe, nutritious, and absolutely delicious. Grab your skillet, fire up the stove, and get ready to flip your way to the perfect allergy-friendly breakfast.
Gluten-Free Crepes
Ingredients
Equipment
Method
- In a blender, combine the gluten-free flour, eggs, plant milk, melted coconut oil, and vanilla extract.
- Blend on medium-high until completely smooth, scraping down the sides if necessary.
- Let the batter rest for 15-20 minutes to allow the flour to hydrate.
- Heat a non-stick skillet over medium heat and lightly grease with a tiny bit of coconut oil.
- Pour about 1/4 cup of batter into the pan, immediately swirling it to coat the bottom evenly.
- Cook for 1-2 minutes until the edges are golden and lift easily.
- Carefully flip the crepe with a thin spatula and cook for another 30-45 seconds on the other side.
- Transfer to a plate and repeat until all batter is used.