Mummy Oreo Balls
The Secret of the Spooky Spheres: A Deep Dive into Mummy Oreo Balls
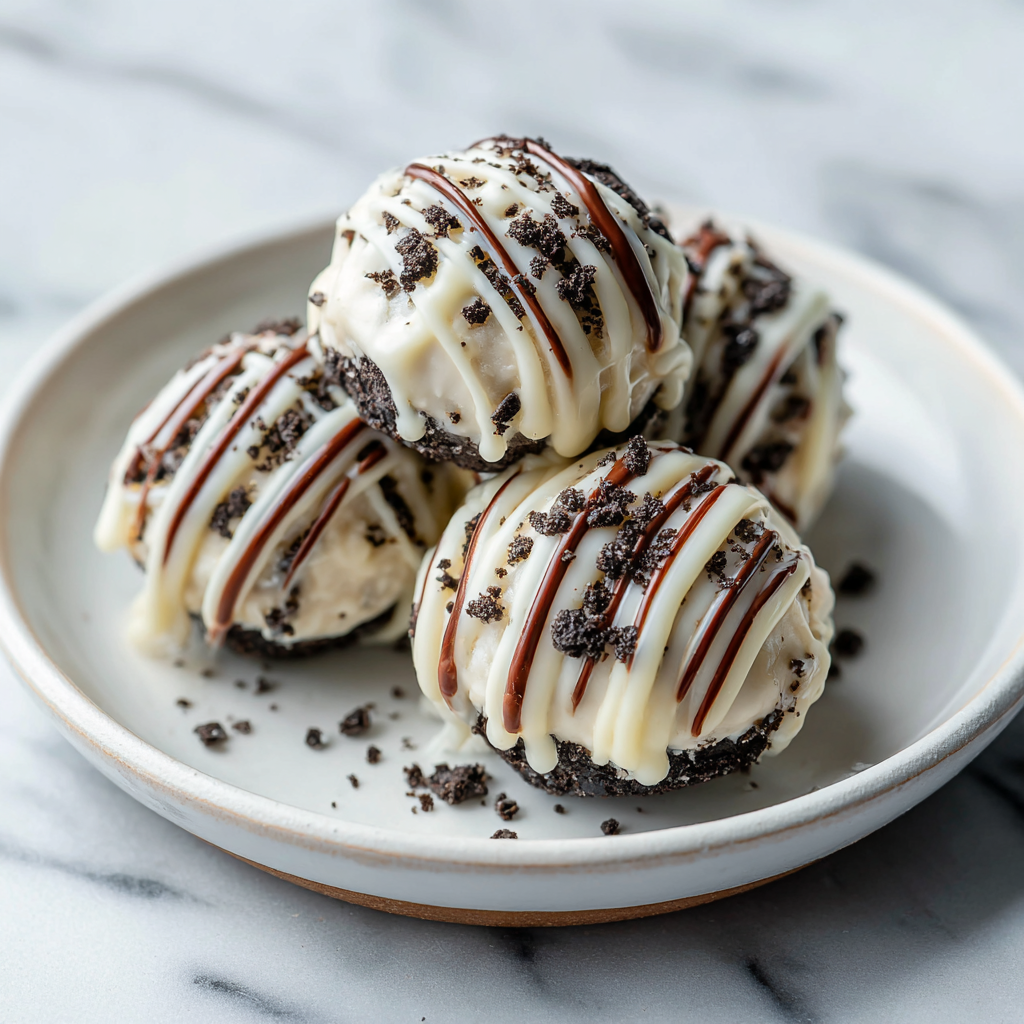
In the crowded landscape of holiday baking, where elaborate gingerbread houses and meticulously carved pumpkins reign supreme, a simple, no-bake treat has risen to viral fame: the Mummy Oreo Ball. This delightful confection takes the already beloved combination of crushed Oreo cookies and cream cheese, coats it in a sweet, enigmatic white chocolate shroud, and brings it to life with two whimsical candy eyes. It’s a recipe that perfectly encapsulates the spirit of Halloween—spooky, fun, and utterly addictive. This article will not only provide the definitive guide to creating these eerie spheres but will also explore the psychological appeal of no-bake desserts, offer troubleshooting tips for common coating disasters, and suggest creative ways to customize these party favorites for any occasion beyond October.
The Allure of the No-Bake Dessert: Simplicity Meets Satisfaction
Why are no-bake recipes, particularly those featuring the classic Oreo-cream cheese combination, perennial crowd-pleasers? The answer lies in a powerful confluence of convenience, texture, and nostalgia. For the busy modern host, the lack of oven time is a massive advantage. These desserts bypass the complexities of baking chemistry—the fear of a sunken cake or undercooked brownies—offering a virtually foolproof path to success.
The texture of an Oreo ball is also a primary component of its appeal. The cookies are pulverized, their distinctive crunch replaced by a dense, fudgy, truffle-like interior that offers a satisfying resistance to the bite. This smooth, rich interior, contrasting with the brittle, snappy exterior of the white chocolate shell, creates a multi-sensory experience. Furthermore, the ingredients themselves—Oreos and cream cheese—are deeply nostalgic staples that transport many adults back to childhood parties and simple pleasures. The Mummy Oreo Ball simply dresses up this familiar comfort food in a holiday costume, making it irresistible to all ages. It’s a treat that proves you don’t need elaborate culinary techniques to deliver maximum deliciousness.
Ingredients – The Three Simple Pillars of Perfection
The beauty of the Mummy Oreo Ball lies in its minimalist ingredient list. Success hinges on the quality of these few components and, more importantly, their proper preparation—particularly ensuring the cream cheese is at the perfect state of softness and the chocolate is melted without scorching.
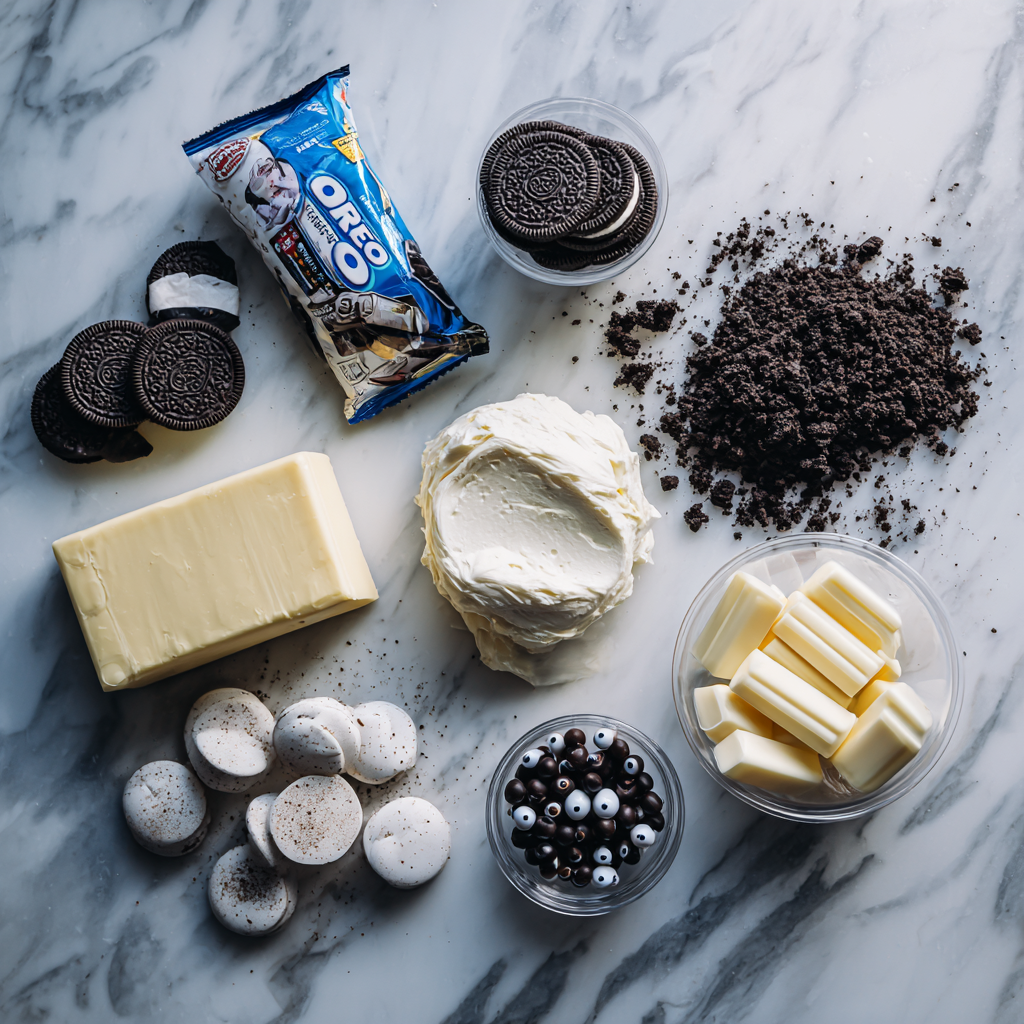
— Ingredients —
- 1 package (14.3 ounces) Oreo Cookies (original or ‘double stuf’ for extra richness).
- 1 package (8 ounces) Cream Cheese, full-fat, completely softened to room temperature. This is crucial for smooth mixing.
- 1 pound White Melting Chocolate (wafers or bark are preferred over chips for better melting consistency).
- 1 tub or package of Edible Candy Eyes (various sizes can add character).
- Optional: A splash of vanilla extract or a pinch of salt to enhance flavor complexity.
The ratio of cookie to cream cheese is paramount. Too little cream cheese and the mixture will be dry and crumbly, refusing to hold a ball shape. Too much, and the balls will be too soft and difficult to coat, leading to a runny, messy exterior. Using a food processor to crush the Oreos (including the cream filling) to a fine, sandy texture is the easiest way to ensure a consistent, non-gritty final product. Do not skimp on softening the cream cheese—it should be soft enough to easily blend with a spatula, not just the mixer.
The Masterclass: Instructions for the Perfectly Coated Mummy
The process of making Oreo balls is simple, but the dipping and decorating stages are where amateur mistakes often occur. Achieving that smooth, even coating and the perfect “mummy wrap” requires attention to detail regarding temperature and technique.
— Instructions —
- Crush the Cookies: Place the entire package of Oreo cookies (including the filling) into a food processor and pulse until they reach a fine, uniform crumb texture. Reserve about $2$ tablespoons of the crumbs for an optional garnish.
- Form the Base: In a large mixing bowl, combine the crushed Oreo crumbs with the $8$ ounces of softened cream cheese. Mix thoroughly until the mixture is uniform, dark, and holds together easily. A rubber spatula or low-speed hand mixer works best.
- Chill and Shape: Roll the mixture into $40$ to $45$ uniform balls, about $1$ inch in diameter. Place the balls on a parchment-lined baking sheet and chill them in the freezer for a minimum of $30$ minutes. This step is non-negotiable; cold balls prevent the chocolate coating from melting them and slipping off.
- Melt the Chocolate: In a microwave-safe bowl, melt the white melting chocolate in $30$-second intervals, stirring vigorously between each interval. Heat until the chocolate is smooth and completely fluid. If the chocolate is too thick, stir in $1$ teaspoon of coconut oil or vegetable shortening to thin it.
- Dip and Coat: Using a fork or a candy dipping tool, drop one chilled Oreo ball into the melted chocolate. Turn it quickly to coat completely. Lift the ball out with the fork, tapping the handle gently against the bowl’s edge to let the excess chocolate drip off. Place the coated ball back on the parchment-lined sheet.
- Add the Eyes: While the chocolate is still wet, immediately press two edible candy eyes onto the upper third of the ball. The melted chocolate will act as the “glue.”
- Create the Mummy Wrap: Allow the first layer of chocolate to fully set (about $10$ minutes in the fridge). Scoop the remaining melted white chocolate into a small piping bag or a Ziploc bag with a tiny corner snipped off. Drizzle the chocolate back and forth over the balls in random, thin, close lines, mimicking the uneven wrappings of a mummy.
- Final Chill: Refrigerate the completed Mummy Oreo Balls for at least $1$ hour until the chocolate is completely set before serving or storing.
A common issue is the chocolate seizing or becoming too thick. This is often caused by overheating or introducing a small amount of water. If it thickens, a tiny bit of coconut oil can often save it; if it seizes, unfortunately, you may need to start with a fresh batch of melting chocolate. Always work quickly, as the chilled balls will cause the chocolate to set rapidly.
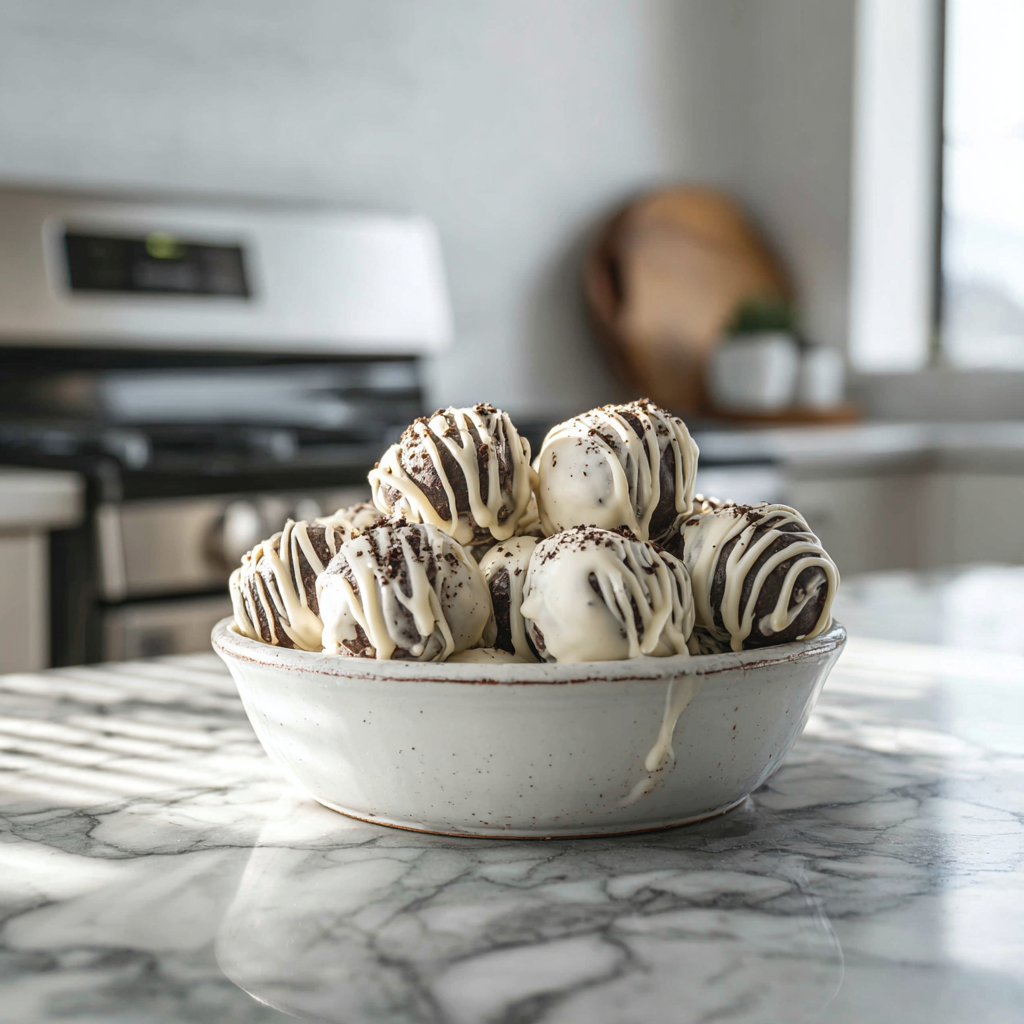
Troubleshooting and Texture Mastery
The journey to the perfect Mummy Oreo Ball is occasionally fraught with minor disaster. Here are key areas where home cooks stumble and how to fix them:
Problem: Crumbly Mixture: If your Oreo and cream cheese base won’t hold a ball shape, it is too dry. The Fix: Add cream cheese in $1$-teaspoon increments until the mixture is pliable and holds together easily.
Problem: Slippery Coating: If the chocolate slides right off the ball, your balls were not chilled enough, or your chocolate was too hot. The Fix: Re-chill the balls for at least $30$ minutes. Ensure your melted chocolate is only warm to the touch, not hot.
Problem: Thick, Unruly Chocolate: The melted chocolate is too viscous for a smooth coating. The Fix: Add a half-teaspoon of neutral, flavorless fat like coconut oil or vegetable shortening and stir until the desired thin consistency is reached. Do not add water.
Problem: Melting Eyes: The candy eyes melt or slide off. The Fix: Ensure the first coat of white chocolate is set before trying to attach the eyes. You can use a small dab of the melted chocolate as “glue” rather than pressing them into the main coating.
Mastering the texture means recognizing that the key is temperature control. The base must be cold, and the chocolate must be warm but not hot. This temperature differential is what creates the quick-setting, hard shell that prevents the delicious but messy interior from escaping.
Creative Customizations: Beyond the Mummy
While the mummy design is perfect for Halloween, the basic Oreo ball truffle recipe is infinitely adaptable.
- The Vampire Bite: Dip the balls in dark chocolate instead of white. Instead of the mummy wrap, use a toothpick to dab a small spot of red gel food coloring (mixed with a bit of corn syrup for a blood-like effect) and place two tiny, slivered almonds for fangs.
- The Christmas Coal: Use dark chocolate for the coating and sprinkle them with black sanding sugar while the coating is wet, creating a “coal” effect. Package them in small clear bags for a cheeky holiday gift.
- The Birthday Cake Pop: Use Golden Oreos instead of the original, add rainbow sprinkles to the cream cheese mixture, and coat them in brightly colored candy melts (pink, blue, yellow). Drizzle with contrasting colors for a fun, festive look.
- The Spiced Fall Ball: Add a teaspoon of pumpkin pie spice to the cream cheese mixture before rolling. Coat them in a caramel-flavored candy melt and drizzle with a dusting of cinnamon sugar.
These variations prove the versatile nature of the simple Oreo-cream cheese core, making these balls a go-to dessert for virtually any holiday or party theme, simply by changing the coating and the decoration.
Final Thoughts: A Simple Recipe with Superstar Status
The Mummy Oreo Ball is a testament to the fact that the most beloved recipes are often the simplest. It taps into the deep satisfaction of working with your hands, the fun of creating a holiday-themed food, and the sheer joy of biting into that dense, creamy, chocolate-covered interior. It is an ideal entry point for beginner bakers, a fun activity for kids, and a guaranteed showstopper on any Halloween dessert table. By focusing on the quality of the chill and the fluidity of the melt, you will achieve confectionery excellence. So grab your Oreos, soften that cream cheese, and prepare to unleash a batch of spooky, sweet perfection that will disappear faster than you can say “Trick or Treat!”