Chewy Red Velvet Oreo Cookies with Gooey Centers
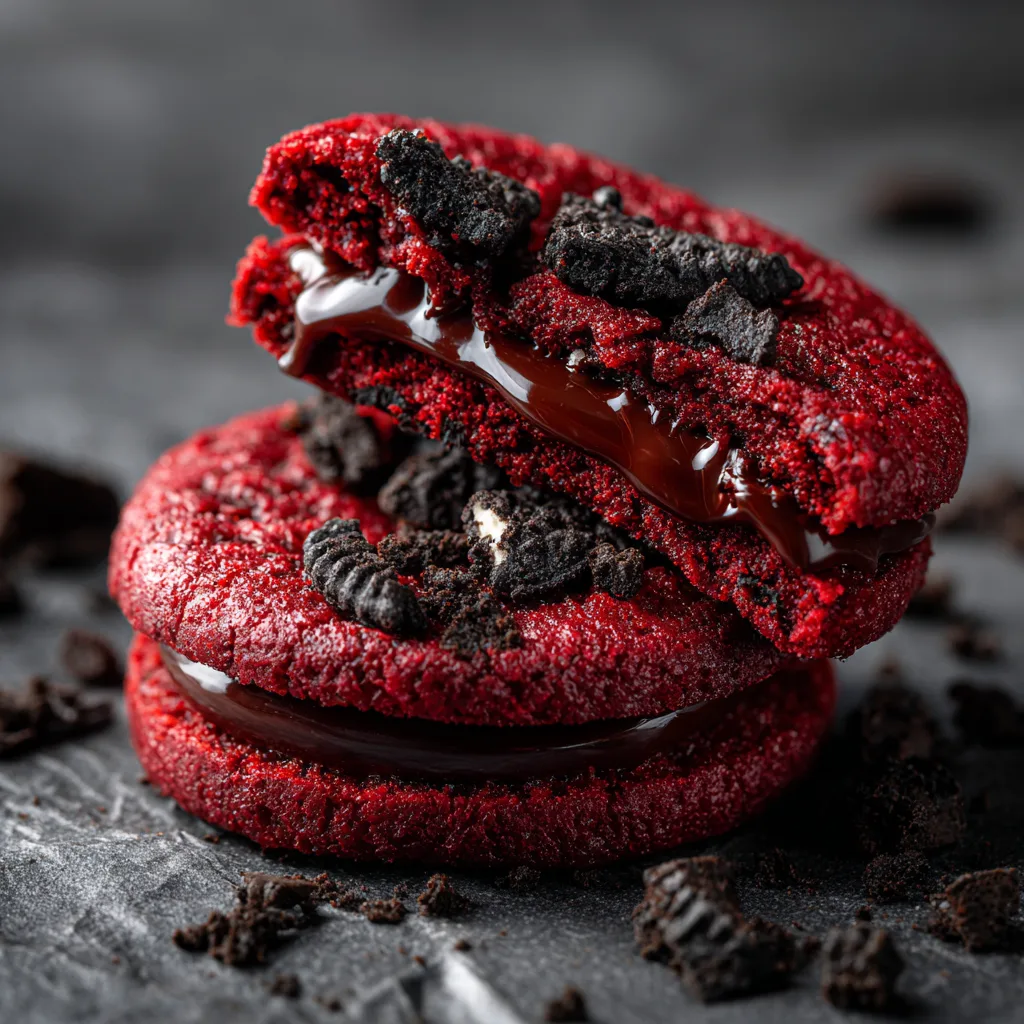
Every so often, a cookie comes along that makes you question every other dessert you’ve ever had. These Chewy Red Velvet Oreo Cookies are that dessert. We are talking about a dense, fudgy red velvet base, a massive amount of Oreo crunch, and a hidden treasure of melted chocolate waiting in the center.
Whether you’re baking for a holiday, a bake sale, or a “just because it’s Tuesday” treat, these bakery-style mega-cookies are guaranteed showstoppers.
The Science of the “Glow Up”
Before we preheat the oven, let’s address the elephant in the room: What exactly is red velvet? Some people think it’s just chocolate with a lot of red dye. Actually, it’s a bit more sophisticated than that. True red velvet is a delicate balance of cocoa powder for mild chocolate notes and an acidic element that creates a tender, tangy crumb. We’re using that foundational science to ensure these cookies aren’t just sweet—they’re complex.
The Anatomy of a Perfect Chewy Cookie
- The Sugar Ratio: We use more brown sugar than white. The molasses in brown sugar keeps the center dense and fudgy.
- The Egg Yolk Secret: Adding one extra egg yolk provides fat and emulsification, which prevents the cookie from becoming dry or “cakey.”
- The Non-Negotiable Chill: You must chill this dough for at least 2 hours. This prevents the butter from melting too fast in the oven, giving you a thick, bakery-style cookie instead of a flat pancake.
The Ingredient Breakdown
Quality matters here. If you want that “Instagrammable” molten center, skip the chocolate chips (which have stabilizers to keep their shape) and go for a high-quality chocolate bar chopped into chunks.
Master Ingredient Table
| Ingredient | Amount | Why it Matters |
| All-Purpose Flour | 2 1/4 cups | The structural backbone. |
| Unsweetened Cocoa | 1/4 cup | Use Dutch-processed for a richer color. |
| Unsalted Butter | 3/4 cup | Softened, not melted! |
| Light Brown Sugar | 3/4 cup | For that deep, chewy texture. |
| Red Gel Coloring | 1 tbsp | Gel provides vibrancy without thinning the dough. |
| Oreos | 1 1/2 cups | Roughly chopped (about 12-14 cookies). |
| Baking Chocolate | 1 cup | Semi-sweet chunks for the gooey center. |
Step-by-Step Instructions
- Whisk Dry Ingredients: Mix flour, cocoa, baking soda, and salt in a medium bowl.
- Cream the Base: Beat softened butter and both sugars for 2–3 minutes until light and fluffy.
- Add the “Velvet”: Mix in the whole egg, extra yolk, vanilla, and red gel coloring until the color is uniform.
- Combine: Gradually add the dry ingredients on low speed until just combined. Don’t overmix!
- The Mix-ins: Gently fold in the chopped Oreos and half of your chocolate chunks.
- The Stuffing: Scoop 3 tablespoons of dough, flatten it, place a large chocolate chunk in the middle, and roll it back into a ball.
- The Big Chill: Place dough balls on a tray, press a few extra Oreos on top, and refrigerate for at least 2 hours.
- Bake: Preheat to 350°F (175°C). Bake for 11–13 minutes. They should look slightly underbaked in the center—that’s the secret!
- The “Scoot”: Immediately after baking, use a large circular glass or cutter to “scoot” the edges of the cookies into a perfect circle while they are still hot.
Expert Tips for Cookie Perfection
💡 The “Scoot” Method
If your cookies come out looking a bit wonky, don’t panic. Place a large mug or bowl over the hot cookie and gently swirl it in a circular motion. This “scootches” the edges inward for that perfect, professional round shape.
🌡️ Temperature Control
Make sure your eggs are at room temperature. Cold eggs can “seize” the creamed butter, leading to a lumpy dough that won’t bake evenly.
Frequently Asked Questions
Can I skip the chilling step?
Honestly? No. Chilling is the difference between a thick, gooey cookie and a flat, sad one. If you’re in a rush, 30 minutes in the freezer is better than nothing, but 2 hours in the fridge is the gold standard.
How do I get them gooey again the next day?
Just pop a cookie in the microwave for 10–12 seconds. It’ll taste like it just came out of the oven.
Can I use different Oreos?
Absolutely. Golden Oreos, Peanut Butter Oreos, or even Double Stuf all work perfectly.
Chewy Red Velvet Oreo Cookies with Gooey Centers
Ingredients
Equipment
Method
- Whisk together flour, cocoa powder, baking soda, and salt in a medium bowl. Set aside.
- In a large bowl, cream together the softened butter, brown sugar, and granulated sugar until light and fluffy (about 2-3 minutes).
- Add the egg, egg yolk, and vanilla extract. Mix until combined. Add the red food coloring and mix until vibrantly colored.
- Gradually add the dry ingredients to the wet ingredients, mixing on low speed until just combined. Do not overmix.
- Fold in the chopped Oreos and half of the chocolate chunks.
- Scoop 3 tablespoons of dough, flatten slightly, place a reserved chocolate chunk in the center, and roll into a ball enclosing the chocolate.
- Place dough balls on a plate, top with a few extra Oreo pieces, and chill in the refrigerator for at least 2 hours.
- Preheat oven to 350°F (175°C). Line baking sheets with parchment paper. Place chilled dough balls 2-3 inches apart.
- Bake for 11-13 minutes until edges are set but centers are still very soft. Cool on the baking sheet for 10 minutes before transferring to a wire rack.