Choc Raspberry Bites
The Easiest 3-Ingredient Chocolate Raspberry Bites
Sometimes the most elegant desserts are the simplest ones. If you are looking for a treat that feels luxurious but takes mere minutes to assemble, look no further than these Chocolate Raspberry Bites. Imagine the sharp, tart burst of a fresh raspberry encased in a shell of rich, snapping dark chocolate. It is a flavor combination that has stood the test of time, marrying the deep, bitter notes of cacao with the bright acidity of summer fruit.
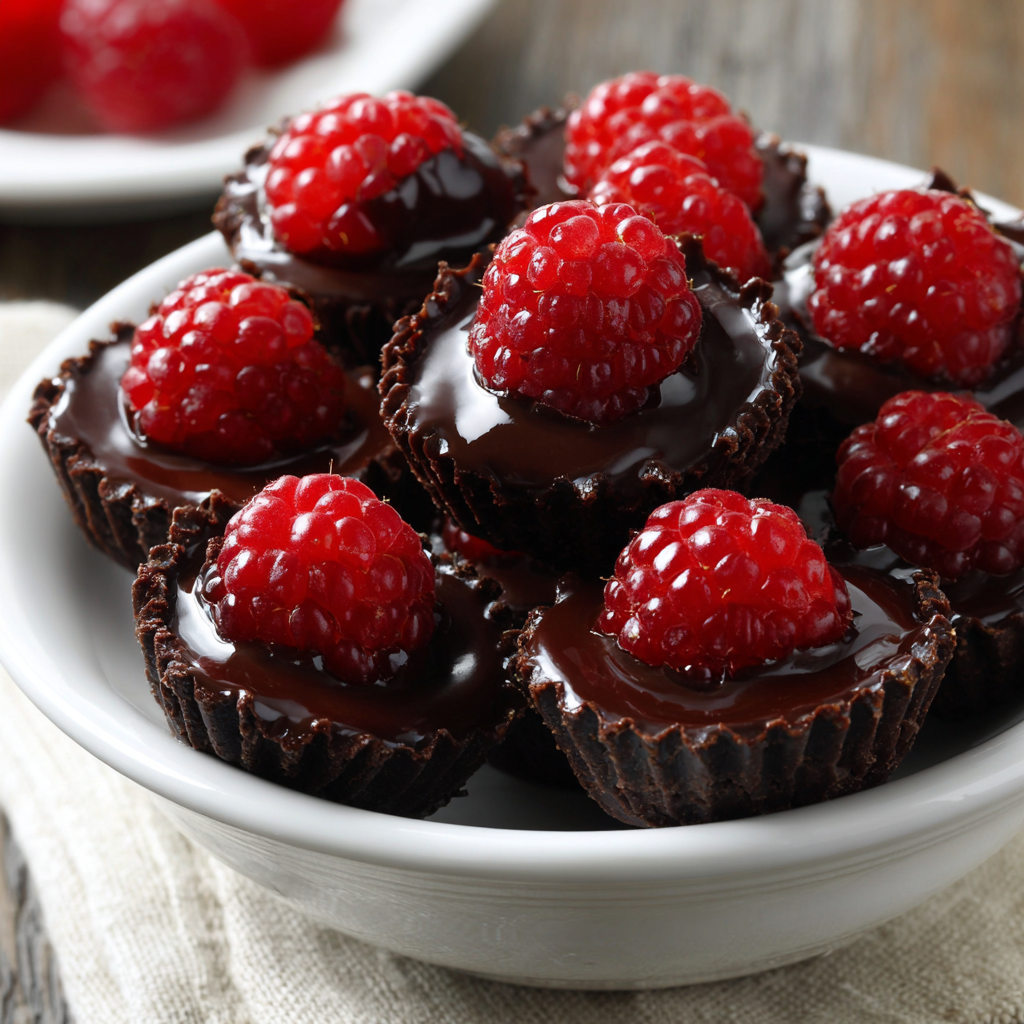
These bite-sized delights are perfect for just about any occasion. Need a romantic treat for Valentine’s Day? A light finish to a heavy dinner party? Or perhaps just a guilt-free snack to keep in the fridge for sweet cravings? These bites deliver on all fronts. Because they use fresh fruit and can be made with high-quality dark chocolate, they are a healthier alternative to processed candies, packed with antioxidants and devoid of artificial fillers. Plus, they look absolutely stunning piled high in a white bowl, like little edible jewels.
Why You Will Love This Recipe
- Minimal Ingredients: You truly only need chocolate and raspberries. Everything else is optional.
- No-Bake: Keep your oven off. This recipe relies entirely on the refrigerator to set the chocolate.
- Texture Contrast: The snap of the cold chocolate shell against the soft, juicy berry is incredibly satisfying.
- Dietary Friendly: Naturally gluten-free, and easily made vegan or keto by choosing the right type of chocolate chips.
Ingredients
The Essentials
- Fresh Raspberries: Look for firm, dry berries. If they are mushy or wet, the chocolate won’t adhere well, and the shelf life will be shorter.
- Semi-Sweet or Dark Chocolate: High-quality chocolate chips or melting wafers work best. Since chocolate is the main flavor, choose one you enjoy eating plain.
- Coconut Oil (Optional): A teaspoon of coconut oil helps the chocolate melt more smoothly and gives the final product a nice glossy sheen. It also makes the chocolate slightly softer to bite into so it doesn’t shatter.
Equipment
- Mini Muffin Tin: This provides the structure for the cups.
- Mini Cupcake Liners: Paper liners give the chocolate that classic fluted edge, just like a peanut butter cup.
- Piping Bag or Ziplock Bag: Useful for neatly filling the cups, though a spoon works just fine too.
Instructions
Step 1: Prepare the Molds
Line a mini muffin tin with mini paper liners. If you don’t have a tin, you can place the liners on a flat baking sheet, but the tin helps them hold their shape better when filled with heavy chocolate.
Step 2: Melt the Chocolate
In a microwave-safe bowl, combine your chocolate chips and the coconut oil (if using). Microwave in 30-second intervals, stirring vigorously in between. It usually takes about 60-90 seconds total. Be careful not to overheat, or the chocolate will seize and become grainy. Stir until completely smooth and glossy.
Step 3: Create the Base
Spoon about 1 teaspoon of melted chocolate into the bottom of each mini muffin liner. You don’t need to brush it up the sides—the raspberry will do that work for you in the next step!
Step 4: Add the Raspberry
Make sure your raspberries are completely dry. Water is the enemy of chocolate. Gently press one raspberry, open side down (or pointy side up, depending on the look you want), into the center of the wet chocolate. Press it down lightly so the chocolate rises up around the base of the berry, anchoring it in place.
Step 5: The Chocolate Cap
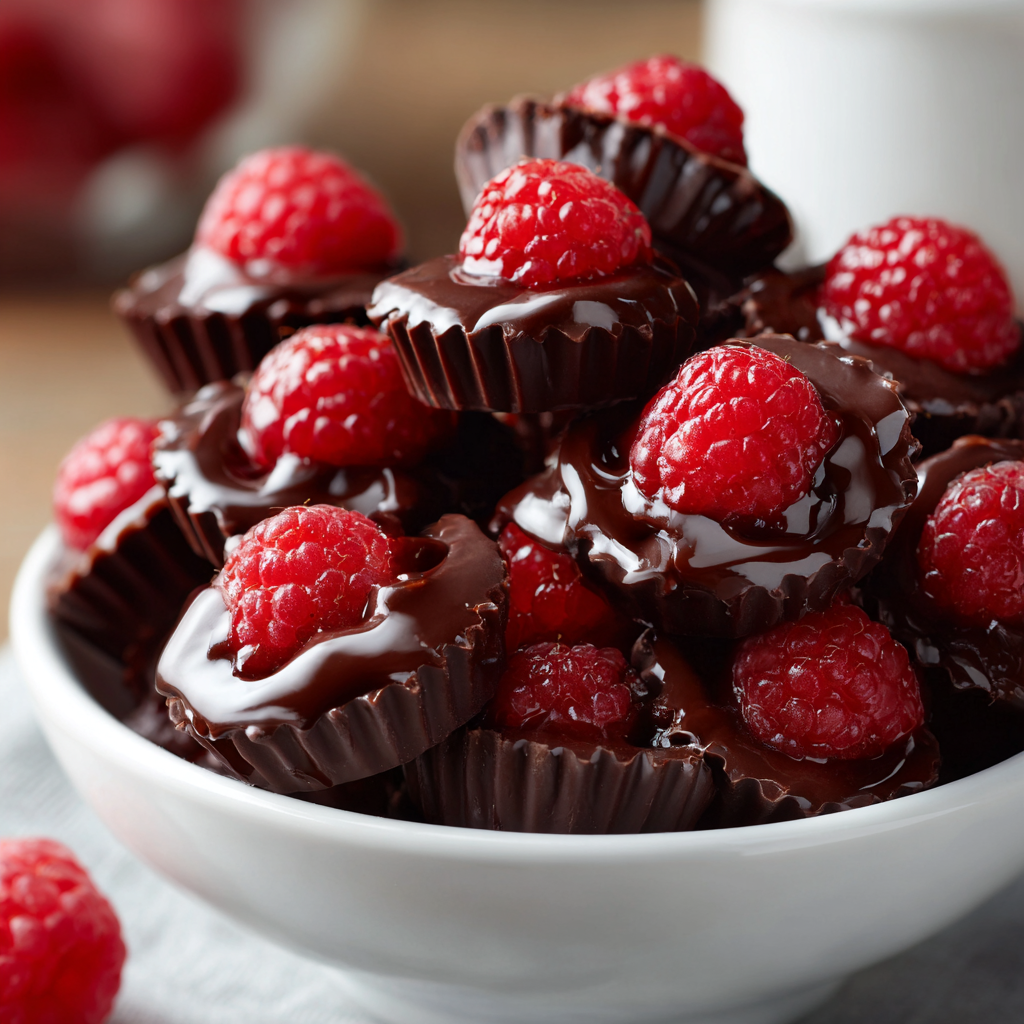
Take another teaspoon of melted chocolate and drizzle it over the top of the raspberry. You can cover the berry completely for a surprise center, or just add a dollop on top (as seen in the photos) to let the red fruit peek through. The little chocolate “hat” not only looks cute but adds an extra layer of crunch.
Step 6: Set and Serve
Place the tray in the refrigerator for at least 15-20 minutes, or until the chocolate is completely firm. Once set, peel off the paper liners and serve cold.
Tips for Success
Drying the Fruit: After washing your raspberries, lay them out on a paper towel and gently pat them dry. Let them air dry for another 10 minutes to ensure no moisture remains. Wet berries can cause the chocolate to bloom (turn white) or the filling to spoil faster.
Choosing Chocolate: For a sweeter treat that kids will love, use milk chocolate. For a sophisticated, “grown-up” dessert, opt for 70% dark chocolate. White chocolate is also a delicious, creamy alternative that pairs beautifully with tart berries.
Filling the Cups: If you want a more substantial chocolate cup (like a peanut butter cup style), you can use a small pastry brush to coat the bottom and sides of the liner with chocolate first, chill it, then add the berry and more chocolate. However, the “press and fill” method described above is much faster and easier.
Variations
Stuffed Raspberries: Before placing the raspberry in the chocolate, stuff the hollow center of the berry with a white chocolate chip, a blueberry, or a little bit of almond butter for a hidden surprise.
Crunchy Toppings: While the top layer of chocolate is still wet, sprinkle on some crushed pistachios, sea salt flakes, or freeze-dried strawberry dust for added texture and flair.
Berry Medley: This method works great with other fruits too! Try using blackberries, pomegranate arils, or slices of strawberry.
Storage
Because these contain fresh fruit, they are best eaten within 1-2 days. Store them in an airtight container in the refrigerator. Do not freeze them with the fresh berries inside, as the fruit will expand and crack the chocolate, then turn mushy upon thawing.
These Chocolate Raspberry Bites prove that you don’t need complicated techniques or a long grocery list to create something magical. They are a bite of pure joy—sweet, tart, and undeniably delicious.
Chocolate Raspberry Bites
Ingredients
Equipment
Method
- Line a mini muffin tin with 24 mini paper liners.
- Place chocolate chips and coconut oil in a microwave-safe bowl. Microwave in 30-second intervals, stirring in between, until completely smooth.
- Spoon about 1 teaspoon of melted chocolate into the bottom of each liner.
- Gently press a fresh raspberry into the center of the chocolate in each cup. The chocolate will rise slightly up the sides.
- Spoon a small dollop (about 1/2 teaspoon) of the remaining chocolate over the top of each raspberry.
- Place the tin in the refrigerator for 15-20 minutes until the chocolate is firm.
- Remove wrappers and keep refrigerated until ready to serve.