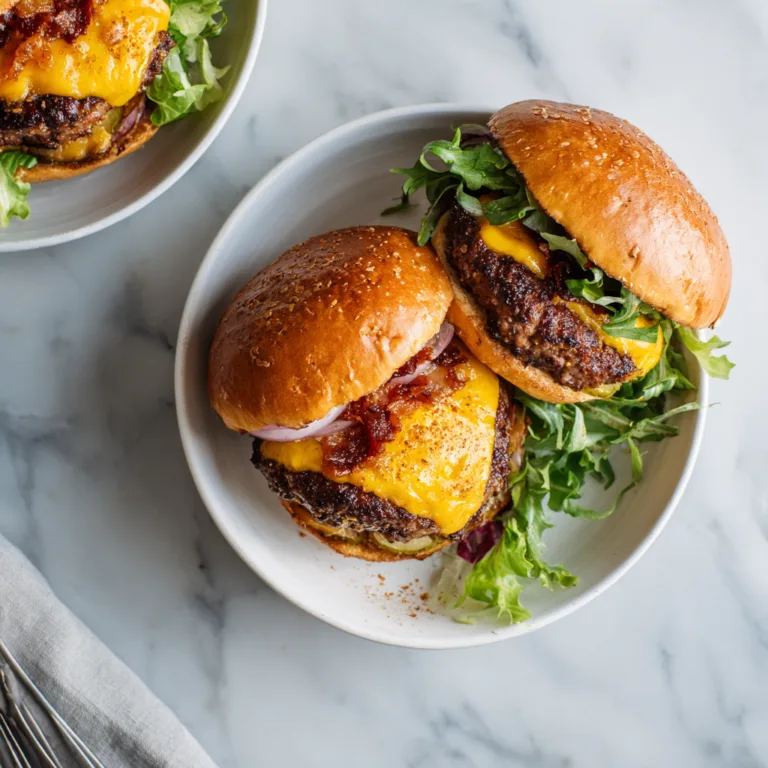
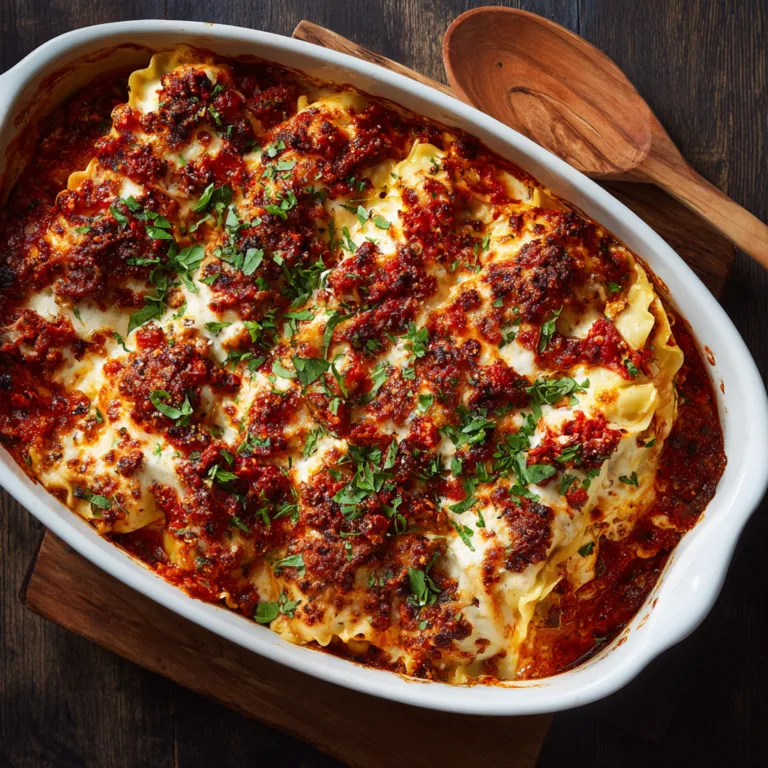
Cowboy Bacon Cheeseburger Sliders
Loaded Cowboy Bacon Cheeseburger Sliders: The Ultimate Game Day Snack
If you are looking for the undisputed champion of party appetizers, look no further. These **Cowboy Bacon Cheeseburger Sliders** are messy, cheesy, savory, and absolutely packed with flavor. We take the concept of a classic BBQ bacon burger and shrink it down into a pull-apart format using sweet, fluffy Hawaiian rolls.
What makes these “Cowboy” sliders? It’s the irresistible combination of savory beef, smoky bacon, sharp cheddar, zesty jalapeños, and the secret weapon: crispy fried onions. These add a crunch that contrasts perfectly with the soft bread and melted cheese. Whether it’s the Super Bowl, a birthday party, or just a Friday night, this tray will disappear in minutes.
Why This Recipe Wins
- Sweet & Savory: The slight sweetness of the Hawaiian rolls balances the salty bacon and spicy jalapeños perfectly.
- Crowd Friendly: You make 12 sliders at once in a single baking dish. No standing over a hot grill flipping individual mini patties.
- Texture Heaven: You get gooey cheese, soft bread, tender meat, and that signature crunch from the fried onions and fresh peppers.
- Customizable: Too spicy? Skip the jalapeños on half. Love BBQ? Add extra sauce.
Ingredients
This recipe relies on bold ingredients to pack a punch in a small bite.
Cowboy Bacon Cheeseburger Sliders
Ingredients
Equipment
Method
- Preheat oven to 350°F (175°C).
- Brown ground beef in a skillet. Drain fat well. Stir in Worcestershire, garlic powder, and half the BBQ sauce.
- Slice the Hawaiian rolls in half horizontally. Place bottom half in a baking dish.
- Spread beef mixture over buns. Top with cheese slices, bacon, sliced jalapeños, and crispy onions.
- Add top buns. Mix melted butter with garlic salt and brush over the tops.
- Cover with foil and bake 15 minutes. Remove foil and bake 5 more minutes until golden.
Notes
The Sliders
- Hawaiian Sweet Rolls – 1 package (12 count). Keep them connected when you slice them!
- Ground Beef – 1 lb. Lean ground beef (85/15) works best so the sliders aren’t too greasy.
- Bacon – 6-8 slices, cooked until crispy and broken into half-strips.
- Cheddar Cheese – 6-8 slices of sharp cheddar (or 1.5 cups shredded). Slices melt more evenly for coverage.
- Crispy Fried Onions – 1 cup. The kind you use for green bean casserole (e.g., French’s).
- Fresh Jalapeños – 1-2 peppers, thinly sliced. Remove seeds if you want less heat.
- BBQ Sauce – ½ cup. Choose a smoky, thick sauce.
The Beef Seasoning
- Worcestershire Sauce – 1 tablespoon.
- Garlic Powder & Onion Powder – 1 teaspoon each.
- Salt & Pepper – To taste.
The Butter Glaze
- Unsalted Butter – 3 tablespoons, melted.
- Garlic Salt – ½ teaspoon.
- Dried Parsley – 1 teaspoon (optional, for color).
Instructions
Step 1: Cook the Beef
Preheat your oven to 350°F (175°C). In a large skillet over medium-high heat, brown the ground beef. Break it up into small crumbles as it cooks. Drain the excess fat thoroughly—nobody likes a soggy bottom bun!
Stir in the Worcestershire sauce, garlic powder, onion powder, salt, pepper, and about half of the BBQ sauce. Simmer for 1 minute, then remove from heat.
Step 2: Prep the Rolls
Slice the entire slab of Hawaiian rolls in half horizontally using a large serrated bread knife. Place the bottom slab in a 9×13 inch baking dish or on a baking sheet lined with parchment paper.
Step 3: Layer the Fillings
Spread the beef mixture evenly over the bottom buns. Drizzle the remaining BBQ sauce over the meat.
Layer the cheddar cheese slices over the beef, ensuring full coverage. Top with the crispy bacon pieces. Scatter the sliced fresh jalapeños and the crispy fried onions generously over the cheese and bacon.
Step 4: Top and Glaze
Place the top slab of rolls over the filling. In a small bowl, mix the melted butter with garlic salt and parsley. Brush this mixture liberally over the tops of the buns.
Step 5: Bake
Cover the dish loosely with foil (tent it so the cheese doesn’t stick if it oozes out) and bake for 15 minutes. Remove the foil and bake for another 5-8 minutes, or until the tops are golden brown and the cheese is fully melted.
Step 6: Serve
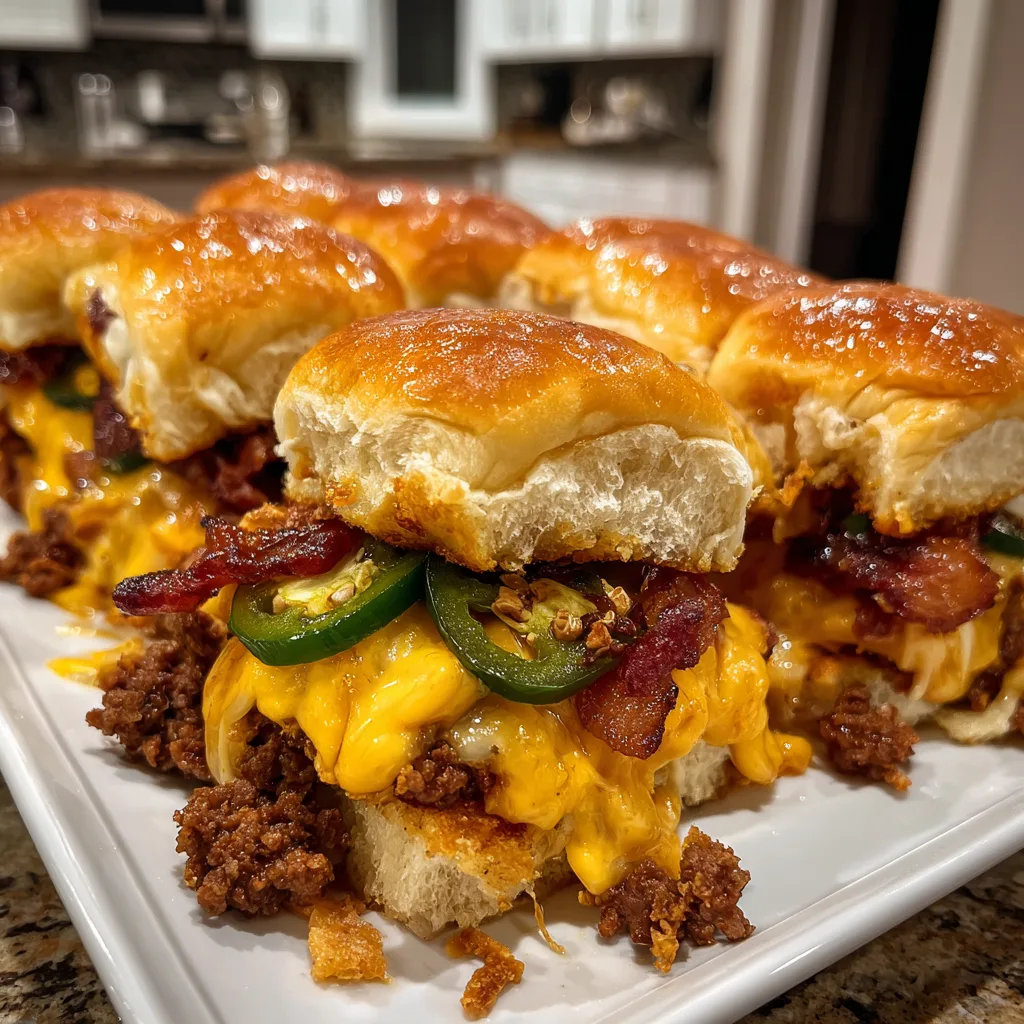
Let the sliders cool for about 5 minutes (the filling will be molten hot!). Slice between the rolls with a sharp knife to separate them and serve immediately.
Tips for Non-Soggy Sliders
1. Toast the Bottoms: If you are worried about the bread getting mushy from the meat juices, place the bottom slab of rolls in the oven for 3-5 minutes alone to toast slightly before adding the toppings.
2. Drain the Meat: Seriously, drain the fat well. You can even pat the cooked beef with a paper towel before adding the sauce.
3. Cheese Barrier: You can place a layer of cheese directly on the bread before the meat to act as a barrier against moisture.
Variations
- Chicken Sliders: Swap the ground beef for shredded rotisserie chicken tossed in BBQ sauce.
- Breakfast Style: Use breakfast sausage, scrambled eggs, and bacon for a morning version.
- Spicy Kick: Use Pepper Jack cheese instead of Cheddar and add a dash of cayenne to the butter glaze.
Serving Suggestions
These are rich, so pair them with lighter sides or classic finger foods:
- Coleslaw: The vinegar crunch cuts through the richness.
- Sweet Potato Fries: A classic pairing with BBQ flavors.
- Pickles: Serve a spear on the side or chop them into the burger mix.
Storage
Leftovers: These are best eaten fresh, but you can store leftovers in the fridge for up to 3 days. Reheat in the oven wrapped in foil at 350°F for 10 minutes. Microwaving tends to make the bread tough.
Grab a napkin, you’re going to need it!