The Unexpected Marvel of Flavorful Dill Pickle Sourdough Bread
If you consider yourself a sourdough enthusiast, you already know that the world of wild yeast is full of endless possibilities. From sweet inclusions like chocolate and dried cherries to savory additions like roasted garlic and rosemary, the sourdough canvas is beautifully versatile. But prepare yourself for a flavor profile that pushes the boundaries of traditional artisanal baking: Flavorful Dill Pickle Sourdough Bread. This eccentric yet undeniably brilliant combination marries the complex, earthy tang of naturally leavened bread with the bright, briny, and herbaceous punch of garlic dill pickles. It is a revelation in every single slice.
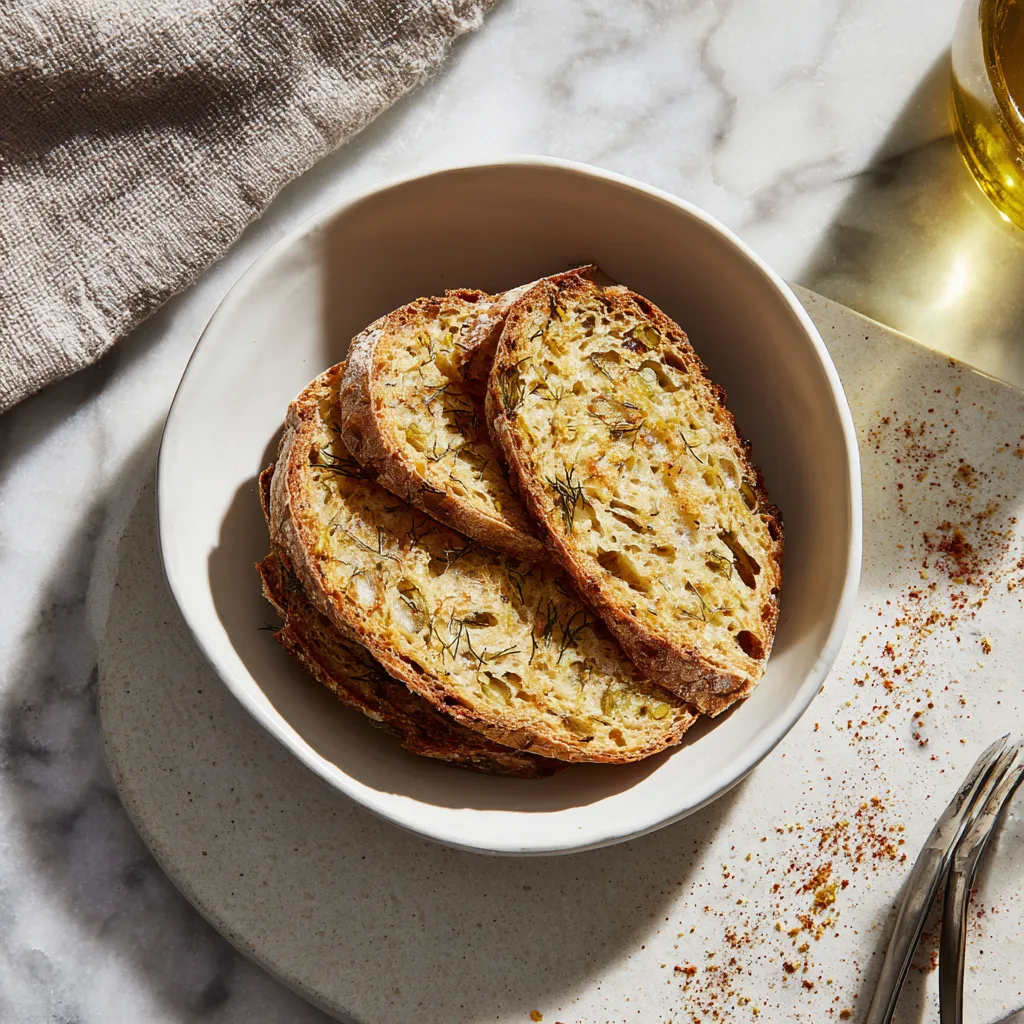
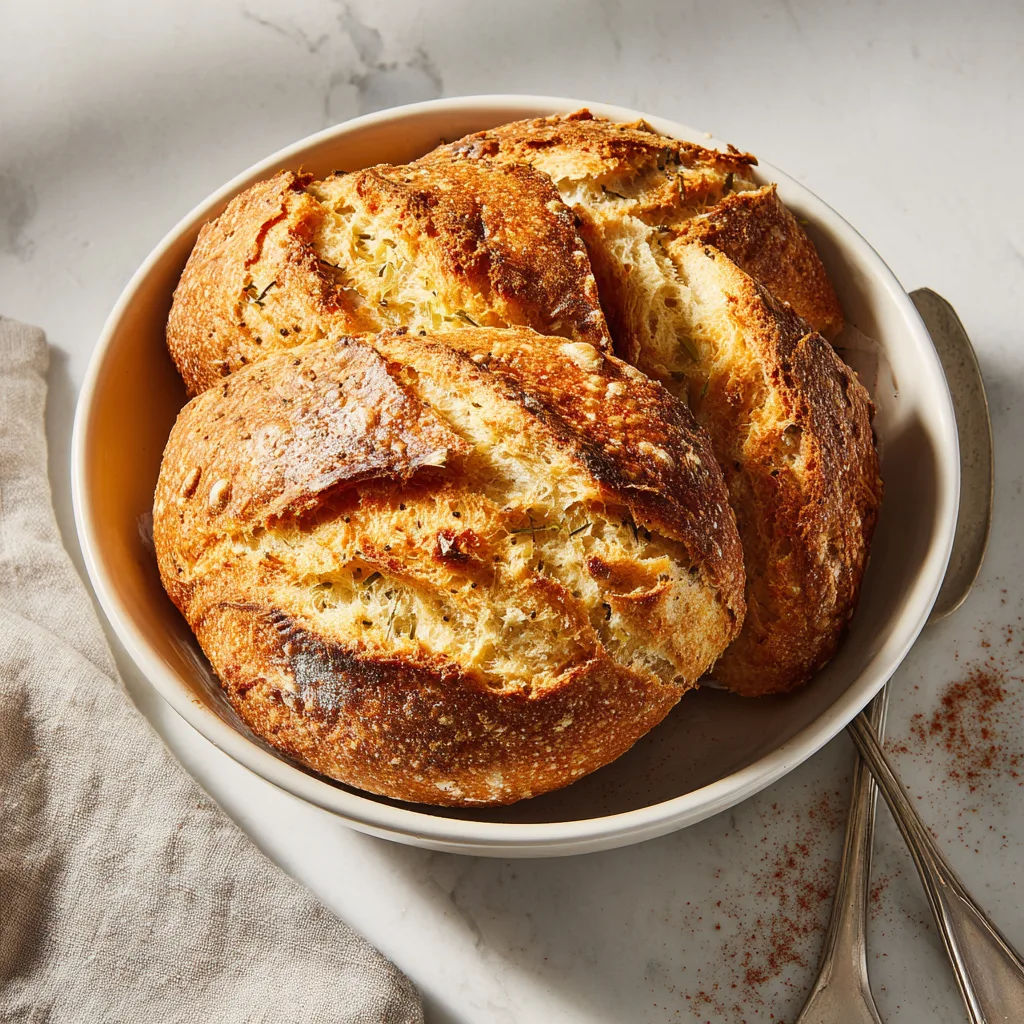
The concept of adding pickles to bread might sound unconventional at first glance, but when you break down the flavor science, it makes perfect sense. Sourdough bread relies on lactic and acetic acids produced during fermentation for its signature sourness. Pickles, specifically those fermented or pickled in vinegar, share this exact acidic profile. By introducing chopped dill pickles, a splash of pickle brine, and fresh dill weed into a classic sourdough matrix, you are layering complementary acids that elevate the bread’s overall flavor. The result is a loaf with a beautifully blistered crust, an open, chewy crumb, and little pockets of juicy, savory pickle goodness suspended throughout.
Whether you are looking to create the ultimate grilled cheese sandwich, a show-stopping pastrami melt, or simply want a slice of warm bread smeared with salted butter that makes your taste buds sing, this dill pickle sourdough is going to become a permanent fixture in your baking rotation. Let us dive deep into the artistry, the ingredients, and the meticulous process required to bake the perfect loaf of pickle-infused sourdough.
Why This Recipe Works: The Science of Tang
Baking sourdough is as much a science as it is an art, and introducing wet inclusions like pickles adds a layer of complexity to the dough chemistry. Here is why this specific recipe is formulated the way it is, ensuring you get a robust rise and an open crumb rather than a dense, gummy brick:
- Hydration Management: Pickles carry a significant amount of water. Even after patting them dry, they will release moisture into the dough during bulk fermentation. To counteract this, our base dough is formulated at a slightly lower hydration (around 70%). This allows the dough to absorb the extra moisture from the pickles without turning into a soupy, unmanageable mess.
- Brine as a Flavor Enhancer: We replace a small percentage of the water in the dough with actual pickle brine. This not only infuses the bread with an unmistakable pickle aroma right from the start but also strengthens the gluten network. The salt and acidity in the brine tighten the dough, giving it incredible structure.
- Timing of Inclusions: Adding the pickles too early can tear the delicate gluten strands you work so hard to build. We introduce the chopped pickles and fresh dill during the lamination phase or the second stretch-and-fold, ensuring the gluten is already strong enough to support the heavy inclusions.
Essential Ingredients for Dill Pickle Sourdough
To craft a bakery-worthy loaf, you need high-quality ingredients. Here is a breakdown of what you will need to gather before you begin your dough-making journey:
- Active Sourdough Starter (Levain): Your starter should be bubbly, active, and at its peak. It should double or triple in volume and pass the float test. A mature starter ensures a strong rise and proper fermentation.
- Bread Flour: For sourdough with heavy inclusions, high-protein bread flour (around 12.5% to 14% protein) is essential. It provides the necessary gluten strength to trap the fermentation gases and hold the chunks of pickle without collapsing.
- Filtered Water: Always use filtered or bottled water if your tap water is heavily chlorinated, as chlorine can inhibit the wild yeast in your starter.
- Pickle Brine: Use the juice straight from the pickle jar. This adds a depth of flavor that plain water simply cannot provide.
- Fine Sea Salt: Salt regulates fermentation and enhances the flavor of the wheat. Do not skip it, but keep in mind that pickle brine also contains salt, so the recipe adjusts the added salt accordingly.
- Dill Pickles: Opt for high-quality, crunchy garlic dill pickles. Avoid sweet pickles or bread-and-butter pickles, as their sugar content will clash with the savory profile. Chop them roughly, but not too fine—you want distinct bites of pickle in the finished crumb.
- Fresh Dill: While the pickles provide the acidity, fresh chopped dill weed provides a bright, aromatic, herbaceous quality that makes the loaf smell irresistible as it bakes.
Mastering Sourdough Inclusions: How and When to Add Pickles
The inclusion process is the most critical step when making this bread. The chopped pickles must be prepared properly to avoid ruining the dough’s hydration. First, chop your pickles into quarter-inch pieces. Place them on a double layer of paper towels and gently press another paper towel on top. Let them sit for at least 15 minutes to draw out the excess moisture. If you add soaking wet pickles to your dough, you will end up with large, gummy holes around the pickles in your baked bread.
There are two primary methods for incorporating inclusions into sourdough:
- The Lamination Method: This is the preferred method for even distribution. After the dough has developed some strength (usually after autolyse and one set of stretch-and-folds), you gently stretch the dough out into a large, thin rectangle on a wet countertop. You scatter the dried pickles and fresh dill evenly over the surface, then fold the dough up into a neat package. This creates beautiful layers of inclusions throughout the crumb.
- The Stretch and Fold Method: If you are intimidated by lamination, you can simply press the inclusions into the dough during your second or third set of stretch-and-folds. Sprinkle a portion of the inclusions over the dough, stretch the side over, sprinkle more, and repeat. It may take an extra fold to get them evenly distributed.
Step-by-Step Instructions: From Starter to Bake
- Prepare the Levain: In the morning, mix your mature sourdough starter with equal parts flour and water to create your levain. Let it sit in a warm spot (about 75°F to 80°F) for 4 to 6 hours, or until bubbly, active, and doubled in size.
- Autolyse the Dough: About an hour before your levain is ready, whisk together the filtered water and the pickle brine in a large mixing bowl. Add the bread flour and mix by hand or with a Danish dough whisk until no dry spots remain. The dough will look shaggy. Cover and let it rest. This autolyse process hydrates the flour and jumpstarts gluten development without the presence of yeast or salt.
- Mix the Dough: Once the levain is at its peak, dimple it into the autolysed dough. Sprinkle the fine sea salt over the top. Use a pinching and folding motion to thoroughly incorporate the levain and salt into the dough. This should take about 3 to 5 minutes. The dough will become smoother and more cohesive. Cover and rest for 30 minutes.
- First Stretch and Fold: Wet your hands slightly to prevent sticking. Grab one side of the dough, stretch it up as far as it will go without tearing, and fold it over the center. Repeat this on all four sides of the dough. Cover and rest for 30 minutes.
- Incorporate the Inclusions (Lamination): Lightly mist your countertop with water. Gently turn the dough out and stretch it from the center outwards until it forms a large, thin rectangle (be careful not to tear it). Scatter the thoroughly dried, chopped dill pickles and the fresh chopped dill evenly across the surface. Fold the right third of the dough into the center, then the left third over that (like a letter). Roll the dough up from the bottom to the top into a tight bundle. Place it back in the bowl, cover, and rest for 30 minutes.
- Coil Folds: Perform two more sets of coil folds (or gentle stretch and folds) spaced 30 to 45 minutes apart. By the final fold, the dough should feel strong, aerated, and hold its shape well.
- Bulk Fermentation: Let the dough rest undisturbed in a warm place until it has increased in volume by about 50% to 75%, is domed on top, and shows visible bubbles beneath the surface. The total bulk fermentation time (from the time you added the levain) will be roughly 4 to 6 hours, depending on the temperature of your kitchen.
- Pre-shape: Turn the dough out onto a lightly floured surface. Using a bench scraper, gently round the dough into a tight boule (ball). Let it rest, uncovered, on the counter for 20 to 30 minutes. This bench rest relaxes the gluten for final shaping.
- Final Shape: Lightly flour the top of the dough and flip it over. Shape the dough into a tight batard (oval) or boule. Ensure there is adequate surface tension, which will help the bread spring up in the oven rather than flattening out.
- Cold Retard: Heavily flour a proofing basket (banneton) with rice flour to prevent sticking. Place the shaped dough into the basket, seam side up. Pinch the seams closed if necessary. Cover the basket with a plastic bag or shower cap and place it in the refrigerator for 12 to 24 hours. This slow, cold fermentation deepens the sour flavor and firms up the dough for easy scoring.
- Preheat the Oven: The next day, place a Dutch oven (with the lid on) into your oven and preheat to 500°F (260°C) for at least 45 minutes to an hour.
- Score and Bake: Turn the cold dough out onto a piece of parchment paper. Using a sharp razor blade or bread lame, score the dough down the center at a 45-degree angle to allow for expansion. Carefully transfer the parchment paper and dough into the hot Dutch oven. Place the lid on and return to the oven. Bake covered for 20 minutes.
- Finish Baking: After 20 minutes, remove the lid of the Dutch oven. Reduce the oven temperature to 450°F (230°C). Continue to bake for another 20 to 25 minutes, or until the crust is a deep, golden mahogany brown.
- Cool Completely: Remove the bread from the Dutch oven and transfer it to a wire cooling rack. This is the hardest part: you must let the bread cool completely (at least 2 to 3 hours) before slicing. Cutting into hot sourdough will result in a gummy, wet crumb because the bread is still cooking and releasing steam internally.
Flavorful Dill Pickle Sourdough Bread
Ingredients
Equipment
Method
- Mix the filtered water, pickle brine, and bread flour in a large bowl until a shaggy dough forms. Cover and let rest (autolyse) for 45-60 minutes.
- Add the active sourdough starter and fine sea salt to the dough. Dimple and fold to thoroughly incorporate for 3-5 minutes. Cover and rest for 30 minutes.
- Perform one set of stretch and folds. Cover and rest for 30 minutes.
- Mist the counter lightly with water. Gently stretch the dough into a large thin rectangle (lamination). Scatter the dried, chopped dill pickles and fresh dill evenly over the dough. Fold into a neat package. Place back in bowl and rest 30 minutes.
- Perform two additional sets of coil folds, spaced 30 minutes apart. Then let the dough bulk ferment undisturbed until increased by 50-75% in volume.
- Turn the dough onto a floured surface. Pre-shape into a loose round and let rest for 20 minutes.
- Final shape the dough into a tight batard or boule. Place seam-side up in a rice-floured proofing basket. Cover and cold retard in the refrigerator for 12 to 24 hours.
- Preheat a Dutch oven in the oven at 500°F (260°C) for 1 hour.
- Turn the dough onto parchment paper, score the top with a bread lame, and carefully transfer into the hot Dutch oven. Cover and bake for 20 minutes.
- Remove the lid, reduce the oven temperature to 450°F (230°C), and bake for an additional 20-25 minutes until deeply browned.
- Remove the bread from the Dutch oven and allow it to cool completely on a wire rack for at least 2 hours before slicing.
Notes
Pro Tips for Sourdough Success
Even seasoned bakers can run into trouble when adding wet inclusions like pickles. Keep these professional tips in mind for the best results:
- Dry the Pickles Thoroughly: This cannot be overstated. If your pickles are weeping juice into the dough during the bulk fermentation, you will compromise the gluten structure. Squeeze them gently in paper towels before use.
- Monitor Dough Temperature: Fermentation is heavily dependent on temperature. A dough proofer or a warm spot in your kitchen (around 78°F) is ideal for a predictable bulk fermentation. If your kitchen is cold, expect the process to take significantly longer.
- Use Rice Flour for Dusting: Rice flour does not contain gluten, meaning it will not absorb into the dough while it sits in the refrigerator. It is the absolute best insurance policy against your beautiful dough sticking to the proofing basket.
- Create Steam: The Dutch oven naturally traps the moisture evaporating from the dough to create a steamy environment, which is necessary for a crispy crust and good oven spring. For extra blistering, you can drop one or two ice cubes into the Dutch oven (under the parchment paper) right before putting the lid on.
Delicious Variations and Flavor Pairings
While this dill pickle sourdough is extraordinary on its own, it also serves as a fantastic base for further flavor experimentation. Consider trying these delicious variations:
- Cheddar Dill Pickle Sourdough: Cheese and pickles are a match made in heaven. Add 100 grams of cubed sharp white cheddar or gruyere cheese during the lamination phase along with the pickles. The melty pockets of cheese contrast beautifully with the sharp bite of the pickle.
- Spicy Jalapeño Pickle: For those who love heat, substitute half of the dill pickles with pickled jalapeños, or add a teaspoon of red pepper flakes to the dough.
- Roasted Garlic and Pickle: Mash a whole bulb of roasted garlic into a paste and spread it over the dough during lamination before sprinkling the pickles on top. The sweet, mellow flavor of the roasted garlic balances the harsh acidity of the brine perfectly.
Serving Suggestions
Once you have baked and cooled your masterpiece, how should you eat it? The savory nature of this bread makes it incredibly versatile for meals:
- The Ultimate Grilled Cheese: Slice the bread thick, butter the outside generously, and fill it with a blend of sharp cheddar, provolone, and gruyere. The pickles baked right into the bread provide the acid needed to cut through the rich, fatty cheese.
- Deli Sandwiches: This bread is practically screaming to be piled high with hot pastrami or corned beef, a smear of whole grain mustard, and perhaps a slice of Swiss cheese. It is a deli-lover’s dream.
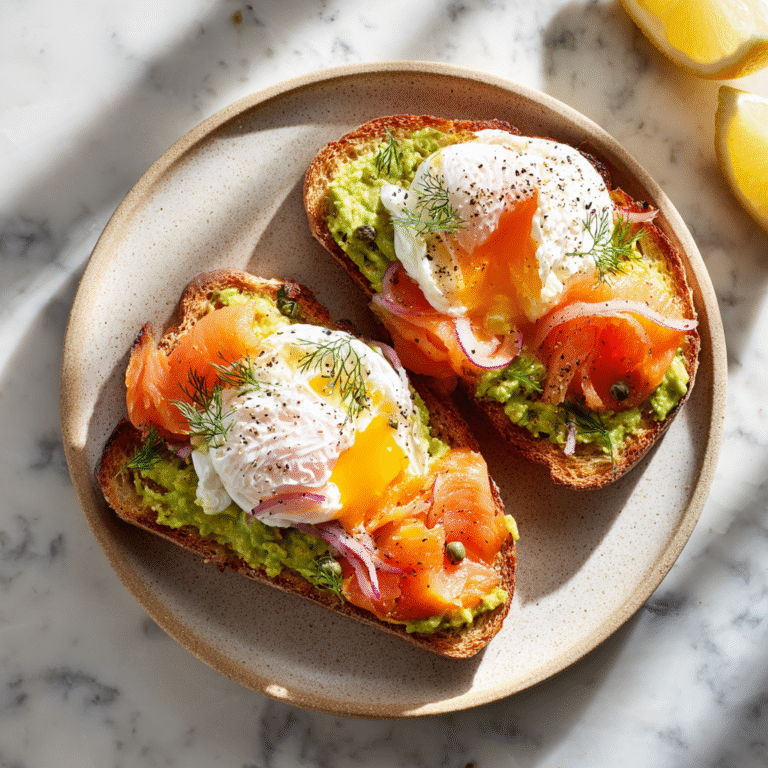
- Avocado Toast: The tanginess of the bread pairs wonderfully with creamy, rich avocado. Top with a sprinkle of flaky sea salt, black pepper, and a dash of hot sauce.
- Simple Butter: Do not underestimate the power of a warm, toasted slice of this bread slathered with high-quality, salted European butter. It is pure comfort food.
Storage and Freezing Guidelines
Because authentic sourdough relies on wild yeast and contains no commercial preservatives, it requires proper storage to maintain its texture and freshness.
Room Temperature: Once cooled and sliced, store the loaf cut-side down on a wooden cutting board to protect the exposed crumb from drying out, while leaving the crust exposed to the air so it stays crispy. Alternatively, wrap the loaf loosely in a linen bread bag or a beeswax wrap. It will stay fresh at room temperature for up to 3 to 4 days.
Avoid the Fridge: Never store sourdough bread in the refrigerator. The cold temperature accelerates the staling process by causing the starches in the bread to crystallize much faster.
Freezing for Long-Term Storage: Sourdough freezes remarkably well. The best method is to slice the entire loaf once it has completely cooled. Place pieces of parchment paper between the slices so they do not freeze together, then place the sliced loaf into a heavy-duty freezer bag, squeezing out as much air as possible. You can freeze it for up to 3 months. When you want a slice, simply pull one out and pop it directly into the toaster from frozen. It will taste as fresh as the day you baked it.
Final Thoughts
Baking Flavorful Dill Pickle Sourdough Bread is a wildly fun and rewarding project that yields a show-stopping result. The aroma that fills your kitchen while this bakes—a mix of toasted grain, sharp vinegar, and earthy dill—is unparalleled. It is a testament to the magic of sourdough baking: taking simple, humble ingredients and transforming them through time, temperature, and technique into something truly spectacular. Roll up your sleeves, feed your starter, and get ready to bake your new favorite savory loaf.