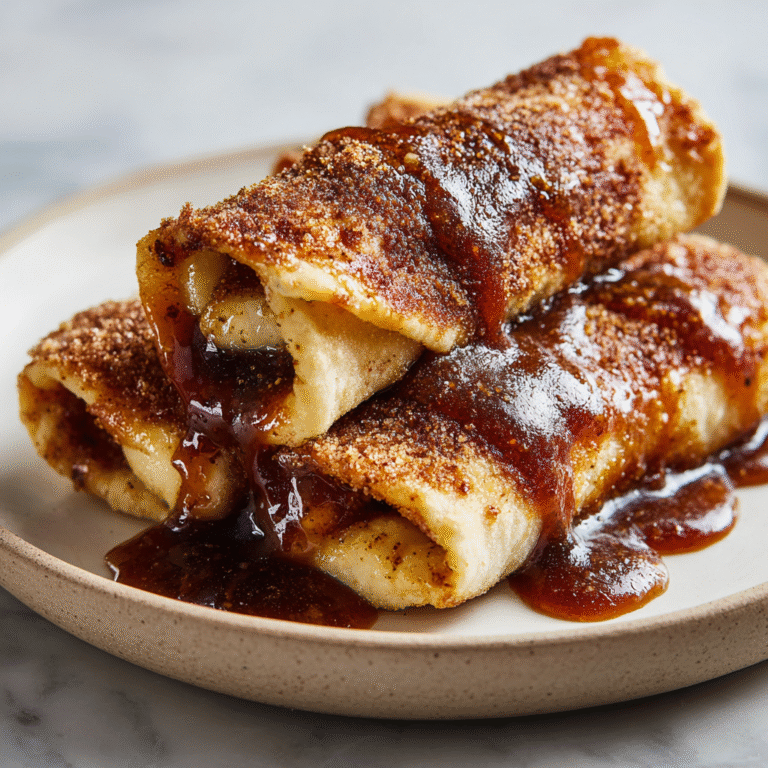
Mini Halloween Mummy Pizzas
Unwrap the Fun: Spooky Mini Halloween Mummy Pizzas
A Ghoulishly Good Treat for All Ages
Halloween is all about dressing up, and your food should be no exception! These Mini Halloween Mummy Pizzas are the perfect blend of spooky and delicious, transforming simple ingredients into an adorable and irresistible holiday treat. Ideal for Halloween parties, a fun family dinner, or an after-school snack, these mini pizzas are incredibly easy to make, even for little hands. With a golden crust, a base of vibrant pizza sauce, stretches of gooey melted mozzarella cheese, and watchful olive eyes, they’re sure to bring smiles and maybe a few delightful shivers to your spooky spread.
The charm of this recipe lies in its simplicity and the creative way basic pizza components are used to create the mummy effect. The cheese strips mimic bandages, while the sliced olives form haunting eyes peering out. Best of all, they come together quickly, making them a fantastic last-minute addition to any Halloween gathering. The gooey melted mozzarella provides that classic cheesy pull, making each bite savory and satisfying, while the savory pizza sauce and the slightly salty olives round out the flavor profile. Get ready for a Halloween food craft that’s as fun to make as it is to eat!
The Graveyard Grub: Essential Ingredients
You’ll only need a handful of readily available ingredients to bring these mummies to life.
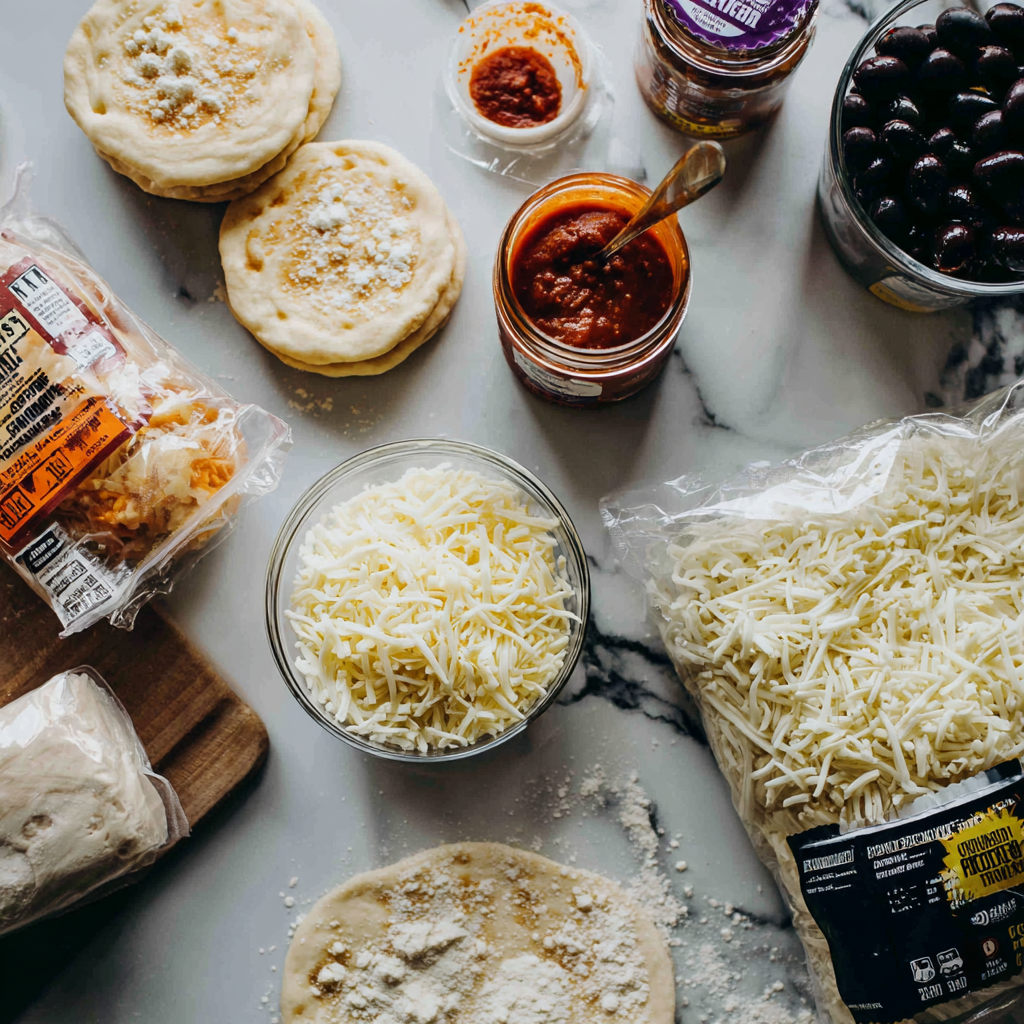
Ingredients
For the Mummy Bases:
- 1 package (13.8 oz) refrigerated pizza dough (or pre-made mini pizza crusts)
- Flour, for dusting
For the Mummy’s Inner Layers (The Gooey Heart):
- 1/2 cup pizza sauce (or marinara sauce)
- 1 cup shredded mozzarella cheese
For the Mummy’s Eyes:
- 12-16 black olives, sliced into rounds (or use green olives as shown)
The Ritual: Crafting Your Mini Mummy Pizzas
These step-by-step instructions will guide you through creating your edible mummies, from dough to deliciousness.
Instructions
- Prepare the Dough: Preheat your oven to 400°F (200°C). Lightly flour a clean work surface. If using a roll of pizza dough, unroll it and use a round cookie cutter (about 3-4 inches in diameter) to cut out 12-16 circles. If using pre-made mini crusts, skip this step. Place the dough circles/crusts on a baking sheet lined with parchment paper.
- Sauce the Bases: Spoon about 1 teaspoon of pizza sauce onto each dough circle, spreading it evenly but leaving a small border around the edges.
- Add the Gooey Cheese: Sprinkle a small amount of shredded mozzarella cheese over the sauce on each mini pizza, leaving the cheese slightly sparse in the middle where the olive eyes will go.
- Create the Bandages: Now for the mummy effect! Take the remaining shredded mozzarella cheese and pull or cut it into thin strips. Arrange these strips diagonally across each mini pizza, overlapping them slightly to resemble mummy bandages. Leave a small gap near the top for the eyes. The cheese, as it melts, will transform into a thick gooey sauce, binding the pizza together.
- Place the Eyes: Place two sliced olives in the “eye gap” on each mummy pizza. The olives will stand out, giving your mummies their characteristic spooky gaze.
- Bake to Life: Bake for 10-12 minutes, or until the pizza crusts are golden brown and the mozzarella cheese is completely melted, bubbly, and gooey. The cheese strips should look like actual bandages.
- Serve Hot: Carefully remove the mummy pizzas from the oven. Let them cool for a minute or two before serving. They are best enjoyed warm when the cheese is still wonderfully gooey and stretchy.
The Magic of Mozzarella: Gooey Goodness
The choice of cheese is paramount to achieving that classic “mummy” effect and an irresistible texture.
Why Mozzarella? Shredded mozzarella cheese is the ideal choice for these mummy pizzas because of its excellent melting properties. When baked, it softens into a wonderfully thick gooey sauce that stretches and pulls, perfectly mimicking torn fabric bandages. Its mild flavor also allows the tangy pizza sauce and the briny olives to shine through. Using freshly shredded mozzarella is always preferred, as pre-shredded varieties often contain anti-caking agents that can hinder smooth melting. However, for convenience in a quick Halloween treat, pre-shredded works just fine. The way the cheese melts and fuses with the pizza sauce creates a delightful gooey, viscous consistency that is both delicious and visually appealing.
The “Bandage” Effect: The key to convincing bandages is to use irregularly shaped strips of mozzarella. Don’t be too neat! Pulling or lightly tearing the cheese creates a more organic, mummy-like look. As the cheese melts, these strips will fuse, but their original pattern will remain visible, making your spooky creations come to life.

Customizations and Spooky Variations
These mini mummy pizzas are already fantastic, but you can easily customize them for even more flavor and fun.
Dough Options:
- English Muffins or Bagel Halves: For an even quicker base, use split English muffins or mini bagel halves. Toast them lightly before saucing to prevent sogginess.
- Puff Pastry: For a flakier crust, cut puff pastry into squares or circles. This will give a more delicate, pastry-like texture.
Cheese & Topping Enhancements:
- Different Cheeses: While mozzarella is standard, a tiny sprinkle of Parmesan cheese over the top before baking adds a salty, nutty depth.
- Spicy Twist: For adult palates, a few tiny pieces of pickled jalapeño can be placed under the olive eyes for a fiery gaze.
- Meat Lovers’ Mummy: Add tiny pieces of cooked pepperoni or crumbled cooked sausage underneath the cheese strips for extra flavor.
Serving Suggestions: Serve these Mini Halloween Mummy Pizzas warm, perhaps with a side of extra marinara sauce for dipping. They are fantastic as a centerpiece for a Halloween party buffet or as a fun, interactive meal where kids can help arrange the “bandages” and “eyes.” Pair them with a spooky green punch or a bowl of Halloween-themed snacks to complete the festive spread. These pizzas are not just food; they’re part of the Halloween experience, and their irresistible, gooey charm will make them a highlight of your holiday table.
Mini Halloween Mummy Pizzas
Ingredients
Equipment
Method
- Preheat oven to 400°F (200°C). Cut pizza dough into 3-4 inch circles (12-16 total) using a cookie cutter, or use pre-made mini crusts. Place on a parchment-lined baking sheet.
- Spoon ~1 tsp pizza sauce onto each dough circle, spreading evenly but leaving a small border.
- Sprinkle a small amount of mozzarella cheese over the sauce, leaving a space for the eyes.
- Tear or cut remaining mozzarella into thin strips. Arrange diagonally over each pizza to create ‘bandages,’ leaving a gap for eyes.
- Place two sliced olives in the ‘eye gap’ on each mummy pizza.
- Bake for 10-12 minutes, or until crusts are golden and cheese is melted, bubbly, and gooey.
- Let cool slightly and serve warm when the cheese is still wonderfully gooey.