Tortilla Pizza Rolls
Tortilla Pizza Rolls: The Ultimate 15-Minute Snack
We have all been there: the craving for pizza hits, but the thought of making dough from scratch, waiting for it to rise, and heating up the entire oven feels like a marathon. Or perhaps it is 3:00 PM, the kids are home from school, and they are demanding a snack that isn’t fruit or crackers. Enter the Tortilla Pizza Roll. This genius culinary hack takes all the beloved flavors of a pepperoni pizza—zesty tomato sauce, gooey mozzarella, and savory cured meat—and wraps them in a crispy, golden flour tortilla shell.
Unlike traditional pizza rolls found in the freezer aisle, which can often be soggy on the inside and lava-hot on the outside, these homemade versions offer a superior texture profile. The tortilla crisps up beautifully in the oven or air fryer, mimicking a thin-crust pizza, while the interior remains cheesy and comforting. Plus, they are fully customizable, budget-friendly, and ready in a fraction of the time it takes to order delivery.
In this comprehensive guide, we will walk you through the art of the perfect roll, how to prevent the filling from exploding, and the secret garlic butter finish that makes these taste like they came from a restaurant.

Why You Need This Recipe in Your Arsenal
The beauty of the Tortilla Pizza Roll lies in its simplicity and versatility. It bridges the gap between a quesadilla and a calzone. By rolling the tortilla tightly, you create layers of flavor in every bite. The outer layer becomes crunchy and buttery, the middle layers soften slightly from the sauce, and the center is a molten core of cheese and toppings.
Furthermore, this is a fantastic “clean out the fridge” recipe. Have a few slices of ham left? Throw them in. A handful of spinach that needs using? Tuck it inside. It is also one of the most lunchbox-friendly items you can make; they taste surprisingly good at room temperature and hold their shape well, unlike traditional floppy pizza slices.
Ingredients Checklist
You likely have most of these ingredients in your kitchen right now. Here is what you need to achieve that golden, cheesy stack:
The Essentials
- Flour Tortillas: You want soft taco-sized (8-inch) or burrito-sized (10-inch) flour tortillas. Corn tortillas are not recommended as they tend to crack when rolled tightly. Whole wheat or low-carb tortillas work too, though the texture will be slightly different.
- Pizza Sauce: Choose a thick sauce. If your marinara is too watery, it can make the tortillas soggy. You can also use pesto or a white garlic sauce for variation.
- Mozzarella Cheese: Shredded low-moisture mozzarella is the gold standard for that classic pizza stretch. String cheese sticks are also a brilliant hack—just place one in the center and roll!
- Pepperoni: Sliced thin. Mini pepperoni works great, or you can chop regular slices into quarters so they distribute evenly.
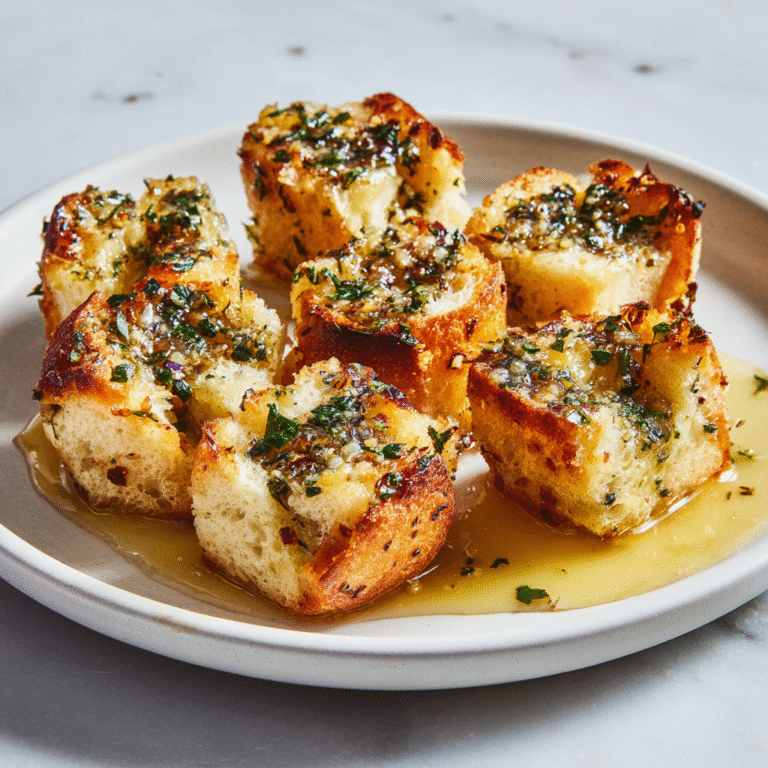
- Butter & Garlic: This is the secret weapon. Brushing the outside with garlic butter before baking gives it that garlic-knot flavor profile.
- Italian Seasoning & Parmesan: Sprinkled on top for the finishing touch.
Step-by-Step Instructions
Follow these steps to ensure your rolls stay sealed and crispy.
Phase 1: The Assembly
- Preheat: If using an oven, preheat to 400°F (200°C). If using an air fryer, preheat to 375°F (190°C). Line a baking sheet with parchment paper for easy cleanup.
- Prep the Base: Lay a tortilla flat on a clean surface or cutting board.
- Sauce It: Spread about 1 tablespoon of pizza sauce over the surface of the tortilla, leaving a small 1/2-inch border around the edges. Tip: Go easy on the sauce inside the roll to prevent leakage; serve extra on the side for dipping.
- Fill It: Sprinkle a generous layer of shredded mozzarella cheese over the sauce. Top with pepperoni slices (or your chosen toppings) in a single layer.
- Roll It: Starting from one edge, tightly roll the tortilla all the way to the other side. Think of it like rolling a sleeping bag—keep it tight to prevent air pockets.
Phase 2: The Glaze and Bake
- Secure: Place the rolls seam-side down on the baking sheet. The weight of the roll will keep it sealed as it bakes.
- The Magic Touch: Melt the butter in a small bowl and mix in garlic powder and dried parsley. Brush this mixture generously over the tops and sides of the rolls. Sprinkle with grated parmesan cheese and dried oregano.
- Bake (Oven Method): Bake for 10-12 minutes, or until the tortillas are golden brown and crisp, and the cheese is just starting to bubble out the ends.
- Air Fry (Alternative Method): Place rolls in the air fryer basket in a single layer (do not crowd). Cook at 375°F for 6-8 minutes, flipping halfway through if needed.
- Serve: Let them cool for 2-3 minutes (the filling will be hot!). Serve with a side of warm marinara sauce.
Tips for Perfection
Don’t Overfill:
It is tempting to stuff these to the brim, but overfilling will cause the tortilla to burst open or the cheese to leak out entirely onto the pan. A balanced ratio is key.
The Seam is Crucial:
Always bake seam-side down. If you are worried about them unrolling, you can use a dab of sauce or cream cheese as “glue” on the edge of the tortilla before sealing, or stick a toothpick through the center (just remember to remove it before eating!).
Crispy Factor:
For extra crunch, broil the rolls for the last 1 minute of baking. Watch them closely, as tortillas burn very quickly under the broiler.
Flavor Variations
Customize your rolls to fit your mood:
- Hawaiian: Ham, pineapple chunks (patted dry), and mozzarella.
- BBQ Chicken: Cooked shredded chicken, BBQ sauce instead of marinara, red onion, and cheddar cheese.
- Veggie Supreme: Finely diced bell peppers, mushrooms, olives, and onions. Sauté the veggies first to remove excess moisture.
- Three Cheese: A blend of mozzarella, cheddar, and Monterey Jack for the ultimate cheese pull.
- Spicy Kick: Add sliced jalapeños or a drizzle of hot honey inside the roll.
Storage and Reheating
These store remarkably well, making them great for meal prep.
- Fridge: Store leftovers in an airtight container for up to 3-4 days.
- Freezer: Freeze unbaked or baked rolls in a single layer, then transfer to a freezer bag. They keep for up to 2 months.
- Reheating: To restore the crunch, reheat in an air fryer at 350°F for 3-4 minutes or in a toaster oven. Microwaving will heat them up but leave the tortilla soft and chewy.
Frequently Asked Questions
Can I use corn tortillas?
Corn tortillas are prone to cracking when rolled cold. If you must use them (for a gluten-free option), warm them in a damp towel first to make them pliable, or fry them like flautas.
Why are my rolls soggy?
This usually happens if too much sauce was used inside, or if the veggies used had high water content. Try dipping the rolls in sauce rather than putting it all inside.
Can I make these ahead of time?
Yes! You can assemble the rolls, place them on a tray, cover with plastic wrap, and refrigerate for up to 24 hours before baking. Brush with butter right before they go in the oven.
Enjoy these crispy, cheesy bites at your next movie night or game day gathering!
Tortilla Pizza Rolls
Ingredients
Equipment
Method
- Preheat oven to 400°F (200°C) and line a baking sheet with parchment paper.
- Lay a tortilla flat. Spread a thin layer of pizza sauce over the surface, leaving a small border.
- Sprinkle mozzarella cheese evenly over the sauce and top with pepperoni slices.
- Roll the tortilla tightly from one end to the other. Place it seam-side down on the baking sheet.
- Repeat with remaining tortillas.
- In a small bowl, mix melted butter with garlic powder and dried oregano. Brush generously over the tops of the rolls.
- Sprinkle grated parmesan cheese over the buttered rolls.
- Bake for 10-12 minutes until golden brown and crispy. Let cool slightly before serving with extra dipping sauce.