The Ultimate Cherry Chocolate Delight Bread Recipe
The Ultimate Cherry Chocolate Delight Bread Recipe
There are certain flavor combinations that are simply destined to be together. Peanut butter and jelly, tomato and basil, and perhaps the most romantic of them all: chocolate and cherry. This Cherry Chocolate Delight Bread is a celebration of that timeless duo. It bridges the gap between a morning quick bread and a decadent evening dessert. It is rich, moist, and deeply chocolatey, punctuated by bursts of bright, tart cherry filling and topped with a sweet, cascading glaze.
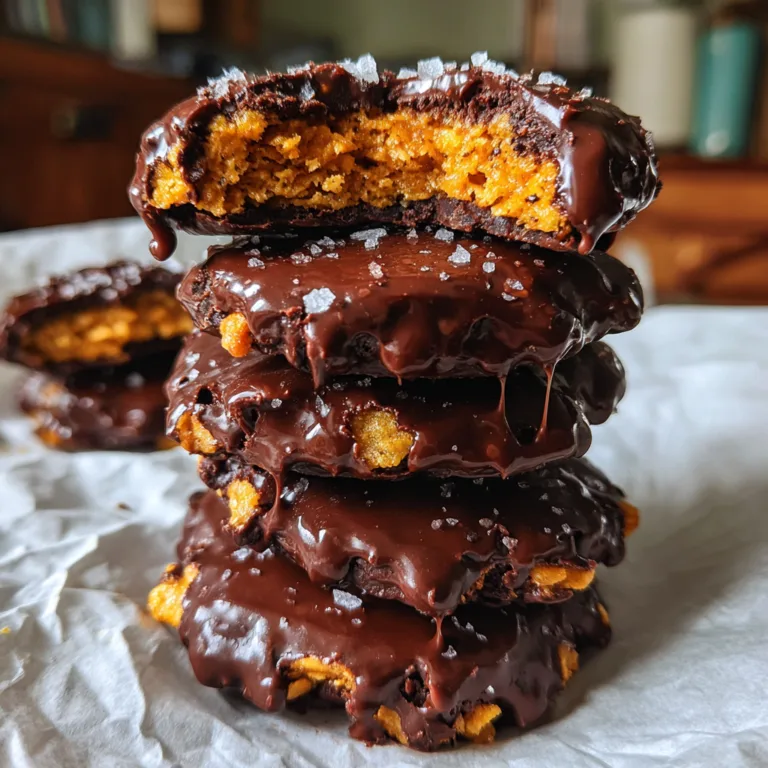
As you can see in the image, this isn’t a dry, crumbly loaf. It is a dense, fudge-like creation that leans almost into brownie territory. The dark cocoa base provides a sophisticated backdrop for the vibrant red swirls of cherry, creating a visual contrast that is as stunning as it is delicious. The pale pink glaze dripping down the sides adds a touch of sweetness and moisture, while the chocolate chips on top offer a satisfying snap. It is the kind of treat that looks impressive on a serving platter but is surprisingly easy to whip up in a home kitchen.
In this comprehensive guide, we will explore how to create this masterpiece. We will discuss the science of keeping chocolate bread moist, the best type of cherries to use for those gooey pockets, and the technique for getting that perfect distribution of filling. Whether you are baking for Valentine’s Day, a holiday brunch, or just a Tuesday night craving, this recipe delivers pure indulgence in every slice.
Why This Recipe Works
What makes this specific bread stand out from a standard chocolate cake? It comes down to texture and balance:
- Moisture Retention: Unlike fluffy birthday cakes, this quick bread uses sour cream (or Greek yogurt) and oil. This combination ensures the crumb remains dense and moist for days, preventing it from drying out—a common pitfall with cocoa-heavy recipes.
- The Cherry Swirl: Instead of just folding in dried cherries which can be chewy, or fresh cherries which can sometimes disappear into the batter, we use cherry pie filling. This creates those distinct, glossy pockets of fruit seen in the photo that stay gooey even after baking.
- Textural Contrast: The softness of the bread and the slickness of the cherry filling are perfectly offset by the crunch of the chocolate chips on top. It’s a sensory experience in every bite.

A Deep Dive Into The Ingredients
To replicate the luscious loaf in the photo, ingredient selection is key. Here is what you need and why:
The Chocolate Base
For a deep, dark color and flavor, use high-quality unsweetened cocoa powder. Dutch-processed cocoa will give you a darker color and a smoother, less acidic flavor, closer to an Oreo cookie. If you use natural cocoa, the bread will be lighter in color and have a bit more tang.
The Fat Source
We use a blend of vegetable oil and melted butter. Butter provides that classic rich flavor, while oil is superior at keeping baked goods moist at room temperature. This hybrid approach gives you the best of both worlds.
The Cherries
To achieve the “Delight” factor with those visible pools of red fruit, Cherry Pie Filling is the secret weapon. It provides instant moisture, sweetness, and a thick, glossy texture that holds up during the hour-long bake time. It creates ribbons of fruit rather than just isolated spots.
The Dairy
Sour cream is essential here. The acidity reacts with the baking soda to create lift, while the high fat content tenderizes the gluten strands. This results in a crumb that is soft and velvety, not tough or bread-like.
The Topping
A simple glaze made from powdered sugar and milk seals the moisture in. By adding a drop of cherry juice or red food coloring, you get that lovely pink hue. Generously sprinkling chocolate chips on top after glazing adds visual appeal and texture.
Step-by-Step Instructions for Success
1. Mixing the Batter
Quick breads follow the “muffin method.” You whisk your dry ingredients in one bowl and your wet ingredients in another. The most crucial step is combining them. You must mix gently and stop exactly when the flour streaks disappear. Overmixing develops gluten, which will make your bread tough and rubbery instead of tender and cake-like.
2. The Layering Technique
To get the swirl effect, don’t just dump the cherries in the bowl. Pour about two-thirds of your chocolate batter into the loaf pan. Then, spoon the cherry pie filling down the center of the batter. Use a knife to gently swirl it a few times, but don’t over-swirl or it will turn the whole loaf muddy. Top with the remaining batter to seal the cherries inside.
3. The Slow Bake
Because this batter is dense and wet, it requires a lower temperature (350°F/175°C) for a longer time (about 55-60 minutes). If you try to rush it with high heat, the outside will burn before the inside is cooked. If the top starts browning too fast, tent it with aluminum foil halfway through.
4. The Cooling Game
This is the hardest part: waiting. You must let the bread cool completely in the pan for at least 20 minutes, then transfer to a wire rack to cool entirely before glazing. If you glaze it while warm, the icing will simply melt and run off, disappearing into the bread.
Ingredients
For the Chocolate Bread:
- 1 ½ cups All-Purpose Flour
- ½ cup Unsweetened Cocoa Powder (Dutch-processed preferred)
- 1 teaspoon Baking Soda
- ½ teaspoon Baking Powder
- ½ teaspoon Salt
- 1 cup Granulated Sugar
- 2 large Eggs, room temperature
- ½ cup Sour Cream or Greek Yogurt
- ½ cup Vegetable Oil
- 1 teaspoon Vanilla Extract
- 1 cup Cherry Pie Filling (store-bought or homemade)
- ½ cup Semi-Sweet Chocolate Chips (for inside the batter)
For the Glaze & Topping:
- 1 cup Powdered Sugar, sifted
- 2-3 tablespoons Milk or Heavy Cream
- ½ teaspoon Vanilla Extract
- 1 drop Red Food Coloring or Cherry Juice (optional for pink tint)
- ½ cup Semi-Sweet Chocolate Chips (for sprinkling on top)
Instructions
- Preheat and Prep: Preheat your oven to 350°F (175°C). Grease a 9×5 inch loaf pan liberally with non-stick spray or line it with parchment paper for easy removal.
- Whisk Dry Ingredients: In a medium bowl, sift together the flour, cocoa powder, baking soda, baking powder, and salt. Sifting is important here to get rid of cocoa lumps.
- Mix Wet Ingredients: In a large bowl, whisk together the sugar, eggs, sour cream, vegetable oil, and vanilla extract until smooth and glossy.
- Combine: Pour the dry ingredients into the wet ingredients. Switch to a spatula and fold gently until just combined. Fold in the ½ cup of chocolate chips. Do not overmix.
- Layer the Loaf: Pour about half of the chocolate batter into the prepared loaf pan, spreading it to the corners. Spoon the cherry pie filling evenly over this layer. Top with the remaining chocolate batter, carefully spreading it to cover the cherries as best as possible. You can run a knife through it once or twice for a marble effect.
- Bake: Bake for 55-65 minutes. A toothpick inserted into the center should come out with moist crumbs (some melted chocolate or cherry goo is fine, but raw batter is not). If the top is browning too quickly after 40 minutes, cover loosely with foil.
- Cool: Let the bread cool in the pan for 20 minutes. Run a knife around the edges to loosen, then carefully transfer to a wire rack to cool completely.
- Glaze: In a small bowl, whisk powdered sugar, milk, vanilla, and tint until smooth. The consistency should be like thick honey. Pour over the cooled bread. Immediately sprinkle the remaining ½ cup chocolate chips on top so they stick to the wet glaze.
- Serve: Allow the glaze to set for 15 minutes before slicing.
Expert Tips
- Room Temp Ingredients: Ensure your eggs and sour cream are at room temperature. This helps them emulsify better with the oil, creating a uniform crumb structure.
- Don’t Skip the Salt: Salt is crucial in chocolate recipes. It suppresses bitterness and enhances the sweet and savory notes of the cocoa.
- Checking for Doneness: Because of the cherry filling, a toothpick test can be tricky. Try to poke a spot that looks mostly like cake. If you hit a cherry, wipe and try again.
- Storage: This bread tastes even better the next day as the flavors meld. Store it in an airtight container at room temperature for up to 3 days, or in the fridge for up to a week.
Variations
Customize your loaf with these ideas:
- Black Forest: Add a tablespoon of kirsch (cherry liqueur) to the glaze for an adult twist.
- Double Chocolate: Swap the semi-sweet chips for white chocolate chips for a stark color contrast against the dark bread.
- Nutty Crunch: Add ½ cup of chopped toasted almonds or walnuts to the batter for texture.
- Fresh Cherry Option: If you prefer fresh cherries, pit and chop 1.5 cups of fresh sweet cherries. Toss them in 1 tablespoon of flour before folding into the batter to prevent sinking. Note that this will result in a less “gooey” filling than the pie filling version.
This Cherry Chocolate Delight Bread is a showstopper. The visual appeal of the dark chocolate against the red fruit and pink glaze makes it perfect for special occasions, yet the simple preparation means you can enjoy it whenever the mood strikes. Happy Baking!
Cherry Chocolate Delight Bread
Ingredients
Equipment
Method
- Preheat oven to 350°F (175°C). Grease a 9×5 loaf pan.
- Whisk flour, cocoa powder, baking soda, baking powder, and salt in a bowl.
- In a separate large bowl, whisk sugar, eggs, sour cream, oil, and vanilla until smooth.
- Fold dry ingredients into wet ingredients until just combined. Fold in 1/2 cup chocolate chips.
- Pour half the batter into the pan. Spoon cherry pie filling over the center. Top with remaining batter.
- Bake for 55-65 minutes until a toothpick comes out mostly clean.
- Cool in pan for 20 minutes, then transfer to a wire rack to cool completely.
- Whisk glaze ingredients together. Pour over cooled bread and sprinkle with remaining chocolate chips.