Easy Geode Cookies
Easy Geode Cookies Recipe: Edible Crystal Masterpieces
If you are looking for a dessert that stops people in their tracks, these Easy Geode Cookies are the ultimate showstopper. Combining the buttery, tender crumb of a classic vanilla sugar cookie with the crunch of sparkling rock candy, these treats look like they were mined straight from the earth rather than baked in an oven. They are the perfect intersection of geology and gastronomy, making them a massive hit for science-themed parties, elegant birthdays, or just a fun weekend baking project with the kids.
The magic of this recipe lies in the marbling technique. By swirling purple and white dough together, you create a realistic “stone” exterior. The center is then filled with crushed hard candy or rock crystals, mimicking the glittering interior of a real geode. While they look incredibly professional and complex, the process is surprisingly forgiving. You don’t need to be a master pastry chef to create these gemstone delights; you just need a little creativity and a love for shiny things.
Why You Will Love This Recipe
- Visually Stunning: These are arguably some of the most photogenic cookies you will ever make. The contrast between the matte cookie dough and the glittering crystal center is beautiful.
- Customizable: While we use purple and blue to mimic amethyst, you can easily swap the food coloring and candy for pink (rose quartz), green (emerald), or yellow (citrine).
- Fun Texture: You get a soft, chewy cookie paired with a satisfying crunchy candy center.
- No Fancy Equipment: You don’t need expensive molds. Just standard cookie cutters and some parchment paper.
Ingredients
To make these geological wonders, you will need a standard sugar cookie base and some specific decorations for the crystal effect.
Easy Geode Cookies
Ingredients
Equipment
Method
- Preheat oven to 375°F (190°C) and line baking sheets with parchment paper.
- Cream butter and sugar until fluffy. Beat in egg and vanilla.
- Whisk flour, baking powder, and salt together, then gradually mix into wet ingredients.
- Divide dough into 3 parts: leave one white, dye one light purple, dye one dark purple.
- Gently knead pieces of different colored dough together to create a marble effect.
- Roll out dough, cut into circles, and create a depression or hole in the center.
- Bake for 8-10 minutes until edges are set. Cool completely.
- Brush the center depression with corn syrup and press in rock candy crystals.
Notes
For the Cookie Dough:
- Unsalted Butter (1 cup): Softened to room temperature. This ensures your cookies are tender and don’t spread too much.
- Granulated Sugar (1 cup): For sweetness and crisp edges.
- Egg (1 large): Binds the dough together.
- Vanilla Extract (1 tsp): Use high-quality extract for the best flavor.
- All-Purpose Flour (3 cups): Spooned and leveled. Too much flour will make the cookies dry.
- Baking Powder (2 tsp): Gives the cookies a slight lift.
- Salt (1/2 tsp): Balances the sweetness.
- Gel Food Coloring: Purple and Blue (or colors of choice). Gel works better than liquid as it doesn’t water down the dough.
For the Geode Filling:
- Rock Candy or Hard Candies: You can buy rock candy on sticks (remove the stick) or use hard candies like Jolly Ranchers. Blue and purple colors work best for the geode look.
- Clear Corn Syrup: Acts as the edible glue to hold fresh crystals in place if you are applying them after baking.
- Chocolate Sprinkles or Dark Sanding Sugar: For the “crust” edge of the geode.
Step-by-Step Instructions
1. Prepare the Dough
In a large bowl, cream together the softened butter and granulated sugar until light and fluffy (about 2-3 minutes). Add the egg and vanilla extract, beating until fully combined. In a separate bowl, whisk together the flour, baking powder, and salt. Gradually add the dry ingredients to the wet ingredients, mixing until just combined and a soft dough forms. Do not overmix, or the cookies will be tough.

2. Color and Marble
Divide the dough into three portions: leave one white, color one light purple, and color the last one dark purple (or blue). To create the marble effect, take small chunks of each color and squish them together into a large ball. Gently knead them a few times to swirl the colors, but stop before they blend completely—you want distinct streaks.
3. Chill the Dough
Wrap the marbled dough disc in plastic wrap and refrigerate for at least 1 hour. This is crucial for easy rolling and to prevent the cookies from spreading into puddles in the oven.
4. Shape the Geodes
Preheat your oven to 375°F (190°C). Line a baking sheet with parchment paper. Roll out the dough to about 1/4-inch thickness. Use a round cookie cutter to cut out circles. To create the “geode” shape, use a smaller cutter or a knife to cut out the center of each cookie, leaving a jagged, irregular hole in the middle. Alternatively, you can make a thumbprint-style depression if you don’t want a see-through center.
5. Prepare the Crystals
If using hard candies (like Jolly Ranchers), crush them into small bits. Place the cookie rings on the baking sheet. Fill the center holes generously with the crushed candy.
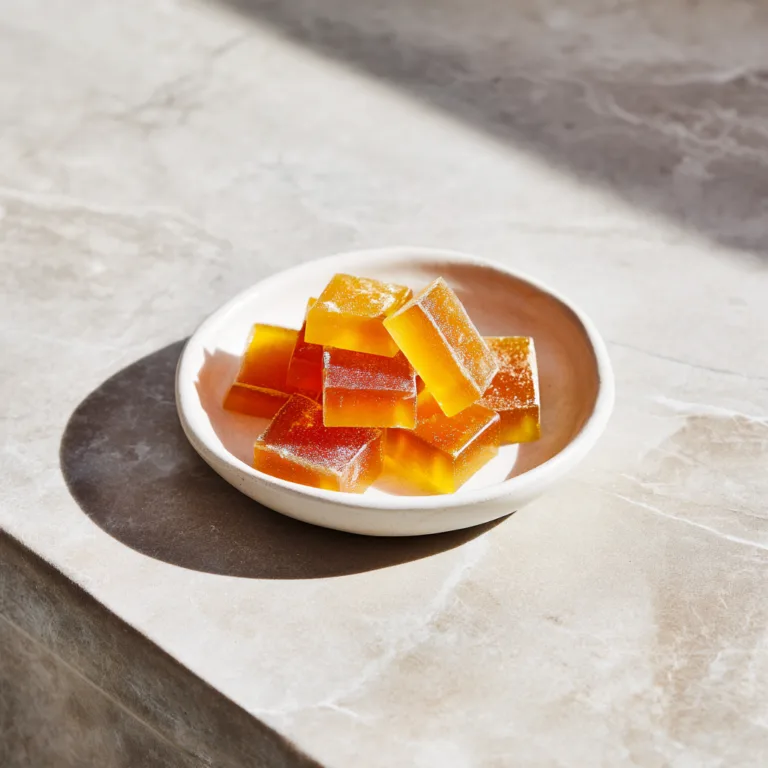
Alternative Method (Pictured Style): If you want the 3D crystal look shown in the image, bake the cookies with an empty center or a slight depression first.
6. Bake
Bake for 8–10 minutes. The cookies should be set, and if you used the crushed candy method, the candy should be melted and bubbling. If you are doing the post-bake assembly method, remove the cookies when the edges are slightly golden.
7. Assembly (For 3D Crystal Look)
If you baked the cookies with empty centers or depressions: Let them cool completely. Brush the center cavity with a thick layer of corn syrup. Press large, jagged pieces of rock candy into the syrup. For the outer edge, you can brush a little syrup on the rim of the cookie and dip it in chocolate sprinkles or dark sanding sugar to mimic the rocky crust of a geode.
Tips for Success
- Don’t Over-marble: When mixing your colored doughs, less is more. If you mix too much, you’ll end up with a muddy gray color instead of beautiful striations of white and purple.
- Crushing Candy: Place your hard candies in a heavy-duty ziplock bag and whack them with a rolling pin or meat mallet. You want a mix of dust and larger chunks for a realistic texture.
- Use Gel Colors: Liquid food coloring can alter the consistency of your cookie dough. Concentrated gel pastes provide vibrant color without adding moisture.
- Parchment Paper is Key: Because we are dealing with melted sugar and sticky fillings, parchment paper (or a silicone baking mat) is non-negotiable. If you bake these directly on the pan, they will stick forever.
Variations and Serving Ideas
Flavor Twists:
While vanilla is classic, you can flavor the dough with almond extract, lemon zest, or even peppermint depending on the season. Just ensure the flavor pairs well with the candy filling.
The “Agate” Slice:
Instead of a hollow center, you can bake a solid round cookie. Once cooled, use royal icing to pipe concentric rings in different shades of blue and purple, flooding the sections to look like a polished agate slice.
Party Favors:
These cookies are sturdy once cooled. Wrap them individually in clear cellophane bags with a silver ribbon for a stunning party favor that guests can take home.
Storage Instructions
Room Temperature: Store the cooled cookies in an airtight container at room temperature for up to 5 days. If you live in a very humid climate, the hard candy centers might become slightly tacky over time, so place parchment paper between layers.
Freezing: You can freeze the baked plain cookies (without the rock candy) for up to 3 months. Thaw and decorate with the crystals before serving for the freshest look. We do not recommend freezing the finished cookies with rock candy, as the moisture can cause the candy to melt or become sticky upon thawing.
Nutritional Note
These cookies are a treat! The rock candy center adds extra sugar compared to a standard cookie. Enjoy them in moderation as a special dessert. The visual impact they provide is worth every calorie for a special occasion.
Get your apron on and start your geological excavation in the kitchen. These Geode Cookies are sure to be the most talked-about treat at your next gathering!