Spooky Halloween Brownies
Unleash the Ghoul: Transforming Sweet Potato Brownies into Spooky Halloween Delights
The Healthier Treat that Doesn’t Skimp on the Scares
Halloween is a time for indulgence, but who says your treats can’t be both decadent and secretly healthy? We start with the base—the incredibly fudgy, naturally gluten-free Sweet Potato Brownie—which brings a welcomed dose of fiber and moisture without sacrificing that intensely rich chocolate flavor. This recipe is your perfect canvas, a nutritious base that’s robust enough to support any ghoulish decoration you dare to dream up. The inherent moisture from the sweet potato keeps the brownies dense and fudgy, preventing them from crumbling as you carve out your spooky shapes or pipe on your ghostly icing.
This article guides you through baking the best healthier brownie base and then dives headfirst into the fun part: transforming them into a terrifyingly tasty tray of Halloween decorated brownies. We’ll cover four core decorating themes, using simple icing and easily found candies to bring Frankenstein, mummies, spiders, and friendly ghosts to life. It’s the ideal way to get your kitchen ready for a Halloween party, a school lunch treat, or just a fun afternoon project with the family. The dark, rich color of the chocolate brownie makes the perfect backdrop for vibrant orange pumpkins and stark white spiderwebs, setting the stage for a dessert that’s guaranteed to be the star of your spooky spread.
The Base: Fudgy Sweet Potato Brownies
We will use the same incredible base recipe, which ensures a dense, chewy, and moist crumb—the ideal foundation for heavy icing and candy eyes.
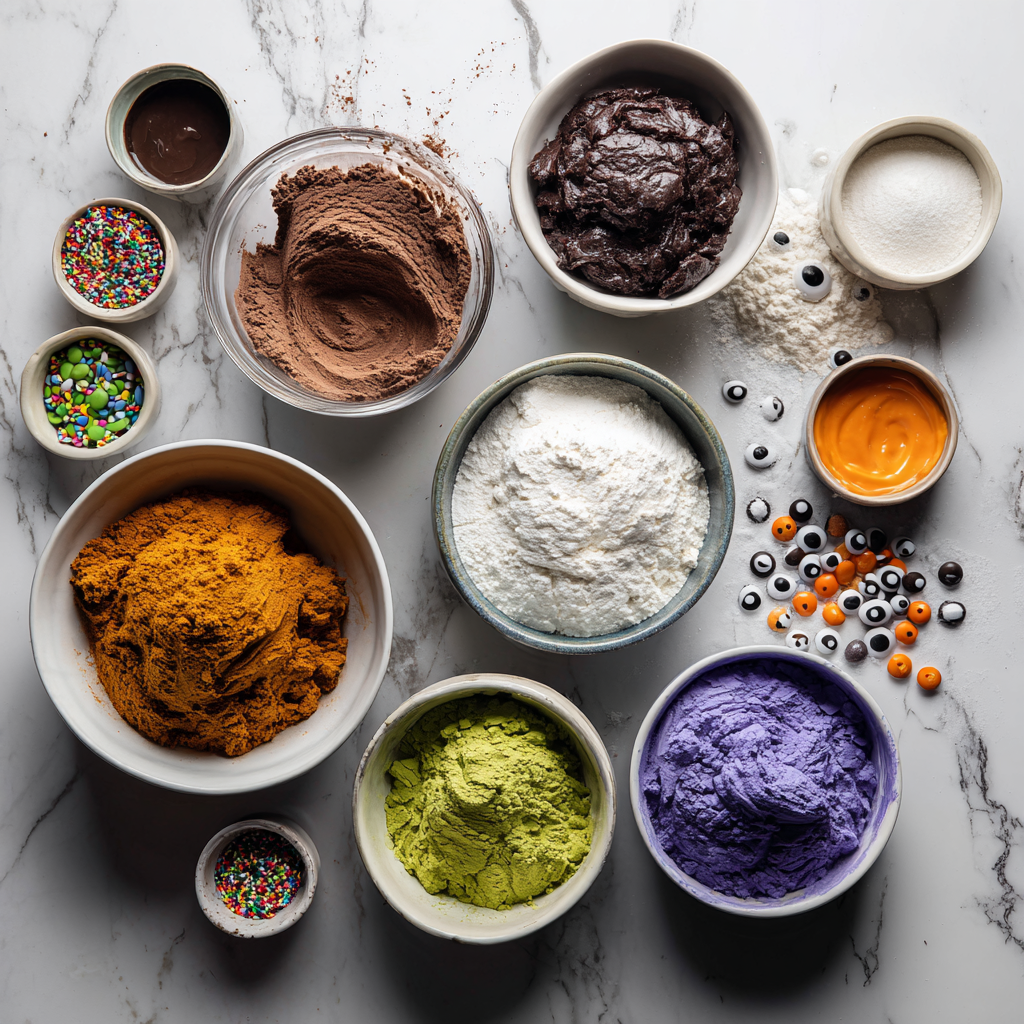
Ingredients
For the Fudgy Brownie Batter:
- 1 cup mashed sweet potato (cooked, peeled, and mashed until very smooth and cooled)
- 1/4 cup cocoa powder (unsweetened, high-quality)
- 1/4 cup almond flour (finely ground)
- 1/2 teaspoon baking powder
- 2 tablespoons honey or maple syrup
- 2 large eggs
- 1 teaspoon vanilla extract (optional)
- Pinch of sea salt
For the Royal Icing/Glaze (The Gooey Sauce):
- 2 cups powdered sugar
- 2-3 tablespoons milk or water (adjust for consistency)
- 1/2 teaspoon vanilla extract
- Gel food coloring (orange, green, black, purple)
- Candy eyes, sprinkles, and small plastic spiders for decoration
The Creation: Baking and Preparing the Canvas
The initial steps focus on baking the best base brownie. Patience is essential during the cooling phase to ensure your brownies don’t crumble when cut or decorated.
Instructions
- Prep the Base: Preheat your oven to 350°F (175°C). Line an 8×8 inch baking pan with parchment paper, leaving an overhang on two sides.
- Mix Wet Ingredients: In a large bowl, whisk the cooled, mashed sweet potato, honey/maple syrup, eggs, vanilla extract, and salt until smooth.
- Mix Dry Ingredients: In a separate medium bowl, whisk together the cocoa powder, almond flour, and baking powder.
- Form the Batter: Gently combine the wet and dry mixtures, stirring just until uniform. The final batter will be thick and dense, with a heavy viscous consistency.
- Bake and Cool: Pour the batter into the prepared pan and spread evenly. Bake for 25 to 30 minutes. Let the brownies cool completely in the pan on a wire rack for at least 2 hours. This prevents crumbling.
- Cut the Squares: Once completely cooled, use the parchment paper overhang to lift the entire block of brownies out of the pan. Cut into 16 perfect squares.
Mastering the Monster Mash: Decoration Guide
Now for the truly spooky fun! We’ll make a basic royal-style icing, which will act as our thick gooey sauce foundation for all the designs. It’s crucial that this icing has a heavy viscous consistency—thick enough to hold its shape when piped, but smooth enough to spread easily.
The Icing: Your Essential Gooey Component
In a medium bowl, whisk the powdered sugar with the vanilla extract and milk/water. Start with 2 tablespoons of liquid and add gradually until the mixture is smooth and thick, showing a glossy, heavy viscous consistency. Divide the icing into separate small bowls for coloring.
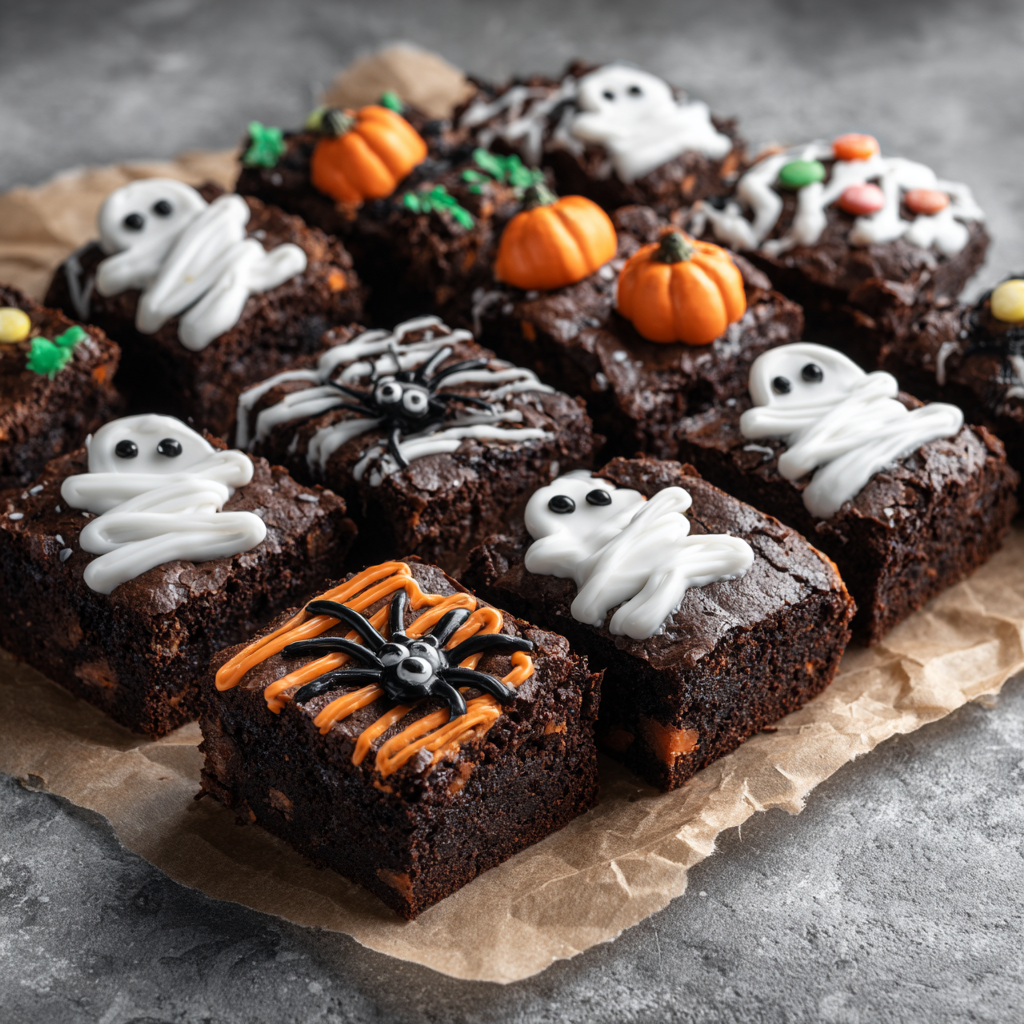
1. The Mummy Brownies:
- Color a portion of the icing white. Spread a thin, even layer of white icing across the top of the brownie square.
- Once slightly set (about 5 minutes), transfer the remaining white icing to a piping bag fitted with a small round or flat tip.
- Pipe thin, uneven lines back and forth across the brownie surface, leaving a small gap for the “eyes.” The lines should look like wrapping mummy bandages.
- Affix two small candy eyes in the gap.
2. The Frankenstein Monsters:
- Color the icing green. Spread an even layer of green icing across the brownie top.
- Pipe a thin black line for a mouth and two small black dots for “bolts” on either side of the top.
- Affix two small candy eyes near the top. Use a small amount of black icing to pipe a messy “hairline” across the top edge.
3. The Spiders and Webs:
- Color a portion of the icing white and another portion black (use black gel coloring).
- For the spiderweb, spread a square with a white base. Pipe concentric circles of black icing starting from the center. Drag a toothpick from the center outward through the lines to create the web effect.
- For the spiders, pipe a large black dot in the center of a brownie and use a very fine tip or toothpick to draw eight thin legs extending outward. You can also press a small plastic spider onto a plain brownie.
4. The Jack-O’-Lantern Faces:
- Color a generous portion of icing orange. Spread an even layer across the brownie top.
- Use a piping bag with black icing and a fine tip to draw classic triangular eyes, a small nose, and a crooked, smiling mouth. This dark chocolate base contrasts perfectly with the vibrant orange.
Achieving Gooey Perfection: Icing Tips
The texture of your icing is critical for successful decoration. It must be thick enough to hold a line but spreadable enough to cover the surface smoothly.
- Adjusting Viscosity: If your icing is too thin, it will run off the edges and lose its shape. Add powdered sugar, one tablespoon at a time, until it reaches that heavy viscous consistency. If it’s too thick (like playdough), add liquid (milk or water), a teaspoon at a time. The ideal consistency should be like thick syrup—it flows, but very slowly.
- Gel is Best: Always use gel food coloring over liquid food coloring. Liquid coloring will introduce too much moisture, immediately thinning your thick gooey sauce and ruining the consistency needed for fine piping work. Gel coloring offers deep, vibrant colors without compromising the texture.
- Piping Bags: Use small Ziploc bags with a tiny corner snipped off for the detail work (like spider legs and mummy eyes). This makes application much easier and cleaner than trying to use a spoon. For spreading the base color (green, orange), a simple offset spatula works best to achieve an even layer.
- Setting Time: Allow the base layers of icing (the green, orange, or white squares) to set for 15-20 minutes before piping details on top. This prevents the colors from bleeding into one another and keeps your monster faces crisp and clean.
Conclusion: A Frightfully Delicious Finale
The Halloween Decorated Sweet Potato Brownies are a perfect example of how you can merge health-conscious baking with celebratory fun. By using a naturally moist and delicious base, you create a treat that everyone, including those with dietary restrictions, can enjoy. The process of decorating is fun, simple, and infinitely customizable, allowing you to unleash your creativity with different colored icing and candy bits. Whether you create a tray of goofy Frankensteins or spooky spiderwebs, these brownies are more than just dessert—they’re edible Halloween art. Embrace the messy, the vibrant, and the frightfully delicious, and enjoy the cheers these nutritious treats bring to your next ghostly gathering!
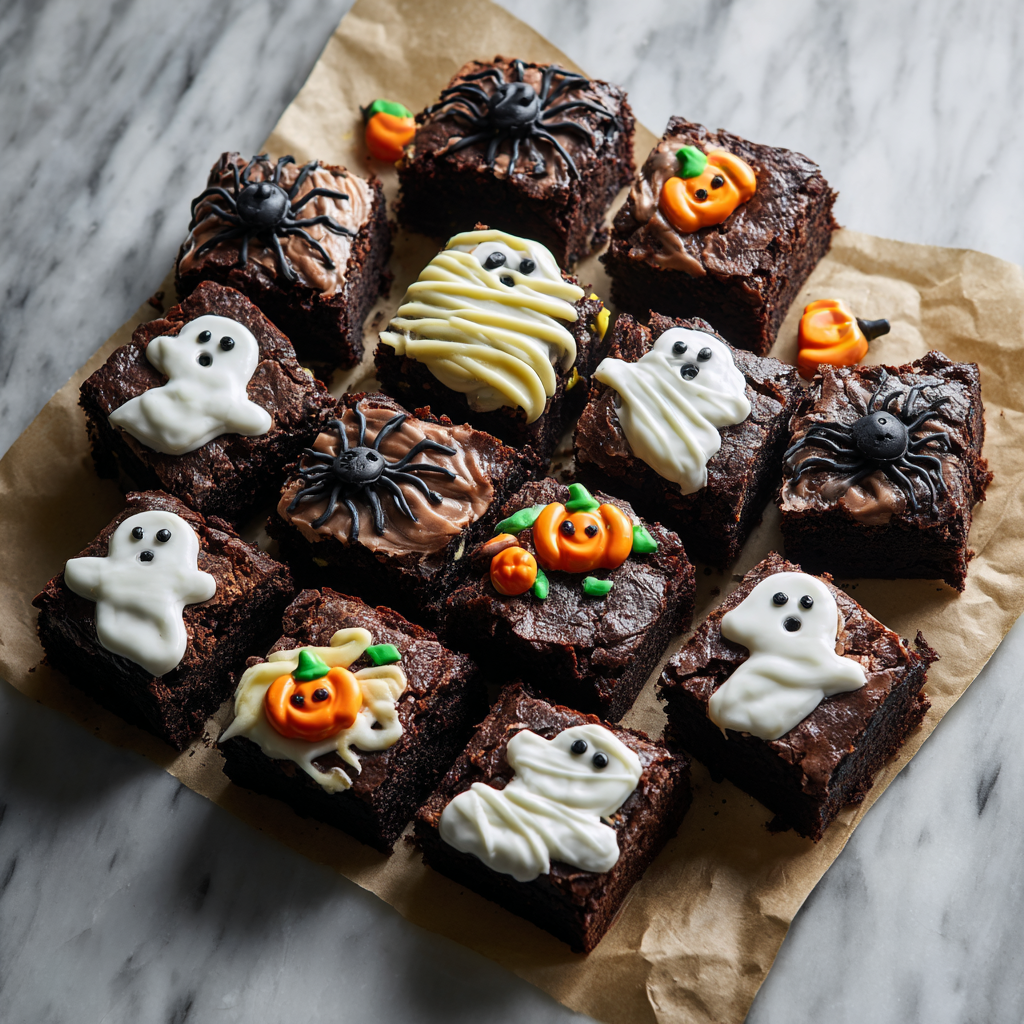
Halloween Decorated Sweet Potato Brownies
Ingredients
Equipment
Method
- Bake the Sweet Potato Brownie base following steps 1-4 from the Brownie Base section. Allow to cool completely (2+ hours) before cutting into 16 squares.
- Make the Icing: Whisk powdered sugar with 2 tbsp liquid and vanilla until a thick, gooey paste forms. Add more liquid sparingly if needed.
- Divide the icing into small bowls and color them using gel food coloring (green, orange, black, white).
- For Monsters (Frankenstein/Jack-O’-Lantern): Spread the green or orange icing evenly over the brownie surface. Let set for 15 minutes.
- For Mummies/Spiderwebs: Use white icing for the mummy base or web background. Pipe thin lines of white (mummy) or black (web) icing for the details.
- Affix candy eyes using a small dot of icing. Use black icing in a piping bag to draw mouths, hair, or spider legs.
- Let the decorated brownies sit at room temperature for at least 30 minutes for the icing to set before serving or packaging.